

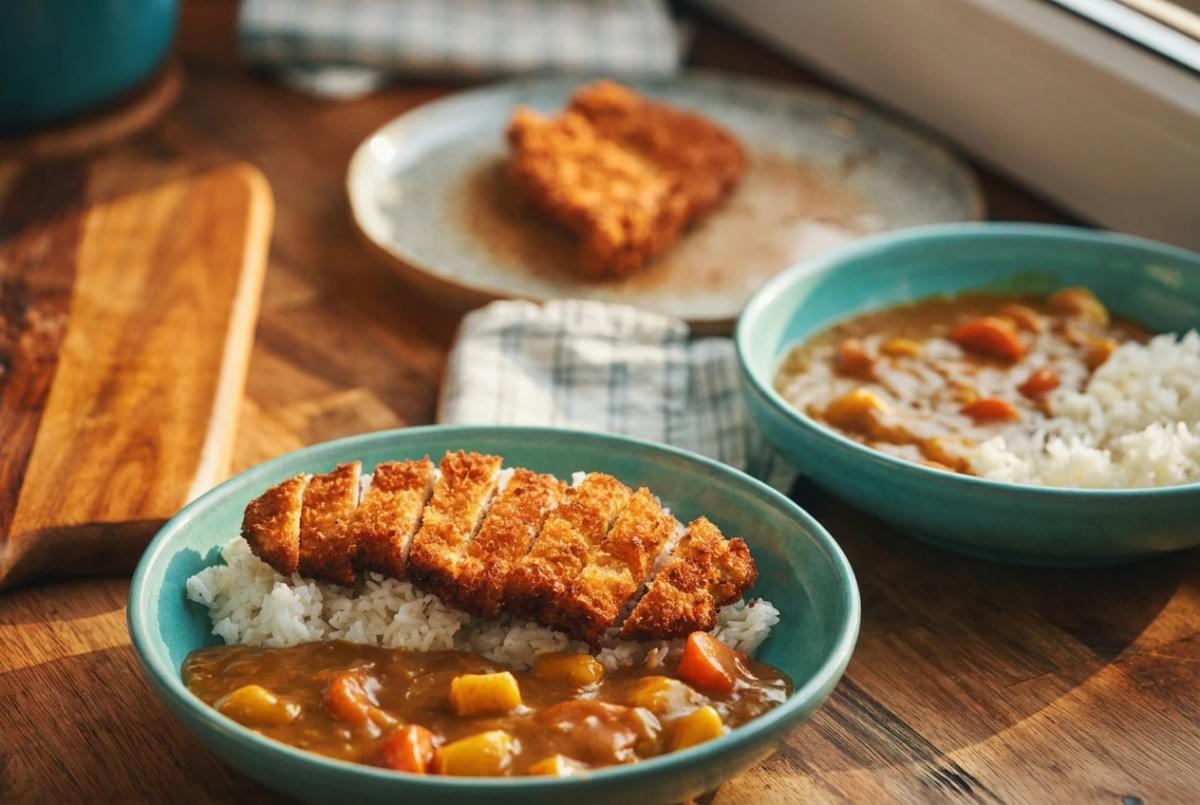
It starts with a sound.
The cutlet goes into the pan and the oil answers right away: a steady, bright crackle. Panko turns from pale sand to deep gold. On the back burner, a pot of curry murmurs to itself, thick and brown, smelling of warm spice, sweet onion, and something faintly like apple.
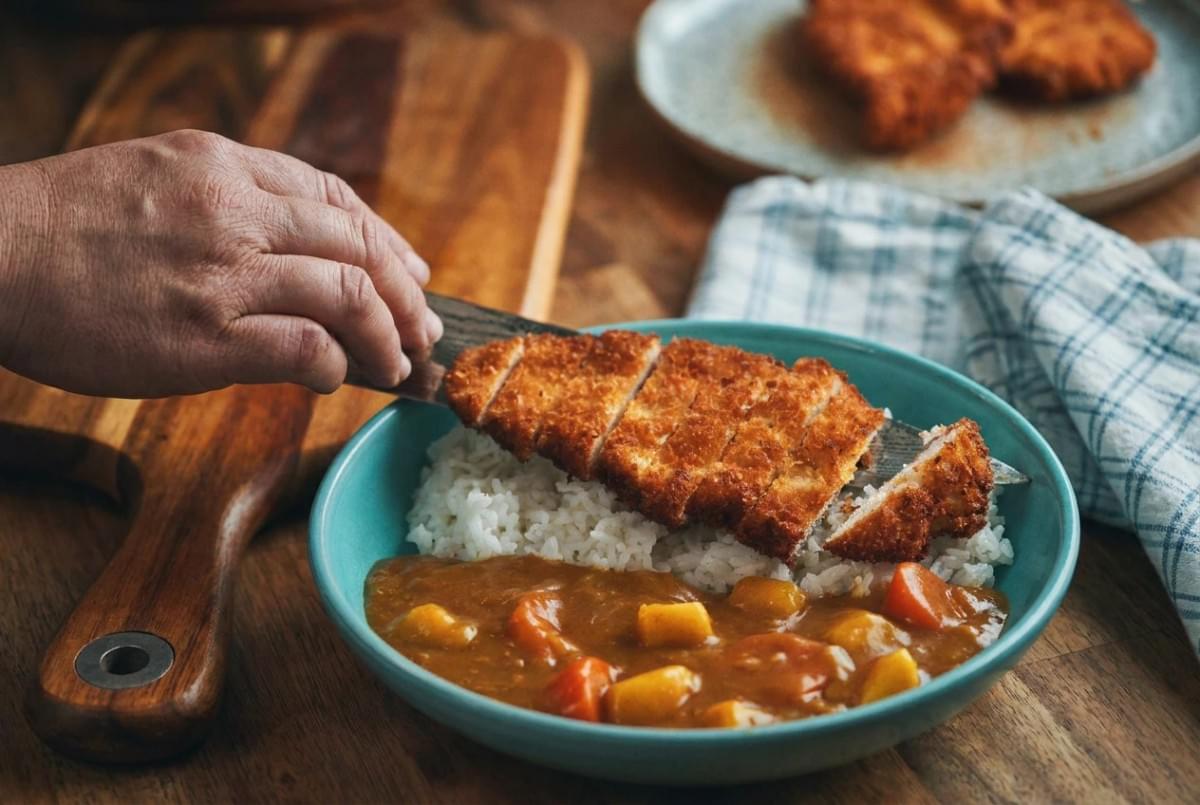
Then the plate comes together. A mound of glossy rice, a pool of curry beside it, and sliced katsu leaning against both, still crunching when you cut in.
Katsu curry looks like a weekend project. It isn't. With a little order (rice first, curry second, chicken last), it fits into a regular weeknight. And it gives back far more comfort than it asks for.
A Little Background
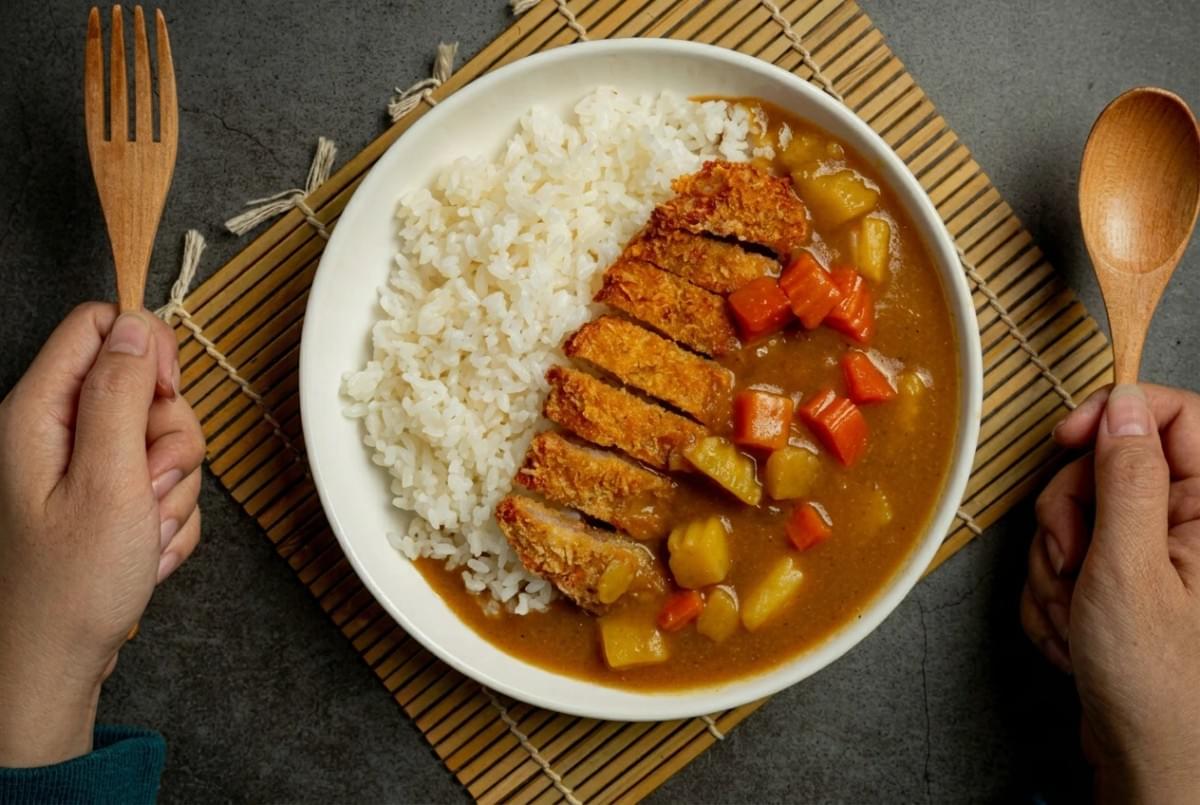
Katsu curry brings three things together: a crisp, panko-breaded cutlet (katsu), a mild and gently sweet Japanese-style curry, and steamed short-grain rice.
Curry reached Japan in the late 1800s through British influence and slowly became its own thing: thicker, rounder, and less fiery than many curries elsewhere. Today it is everyday home cooking in Japan, the kind of dinner that shows up on school menus and family tables alike. Breaded cutlets have their own long history there too, usually made with pork (tonkatsu). Chicken katsu is a lighter, very popular version.
Put them on one plate and you get contrast: crunch against silk, savory against sweet.
Recipe Overview
- Servings: 4
- Prep time: 25 minutes
- Cook time: 40 minutes
- Total time: about 1 hour 5 minutes
- Difficulty: Easy to moderate (the frying just asks for attention)
Ingredients
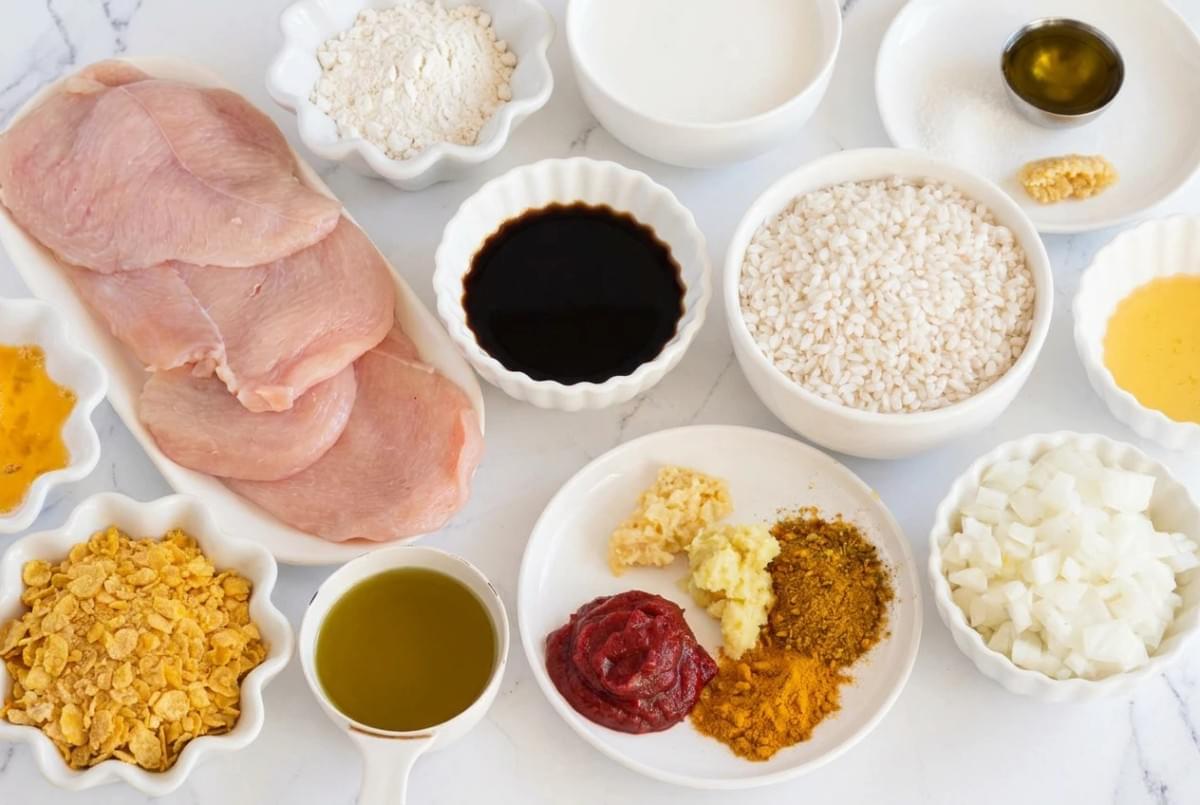
For the Chicken Katsu
- 2 large boneless, skinless chicken breasts (about 1 1/4 lb / 570 g total)
- 1 teaspoon kosher salt, plus a pinch for finishing
- 1/2 teaspoon black pepper
- 1/2 cup (65 g) all-purpose flour
- 2 large eggs
- 1 tablespoon water
- 1 1/2 cups (75 g) panko breadcrumbs
- Neutral oil with a high smoke point, such as canola or vegetable, for frying (about 1 1/2 to 2 cups, enough for 1/2 inch in your pan)
For the Curry Sauce
- 1 tablespoon neutral oil
- 1 medium yellow onion, thinly sliced
- 2 garlic cloves, minced
- 1 teaspoon fresh ginger, grated
- 2 medium carrots, cut into bite-sized chunks
- 1 medium Yukon Gold potato, cut into 3/4-inch cubes
- 3 cups (720 ml) low-sodium chicken stock
- 3 tablespoons (42 g) unsalted butter
- 3 tablespoons all-purpose flour
- 2 tablespoons Japanese curry powder (or a mild curry powder)
- 1 tablespoon ketchup
- 1 tablespoon soy sauce
- 1 teaspoon Worcestershire sauce
- 1 teaspoon honey
- 1/2 small apple, peeled and finely grated (optional, for gentle sweetness)
- Salt, to taste
For Serving
- 2 cups (400 g) uncooked Japanese short-grain rice
- 2 1/4 cups (540 ml) water, for the rice
- Shredded green cabbage (optional)
- Fukujinzuke or other Japanese pickles (optional)
- Sliced scallions (optional)
How to Make It
1. Start the rice
Rinse the rice in a bowl of cold water, swishing it with your hand. Pour off the cloudy water and repeat 3 or 4 times, until the water runs mostly clear. Drain well.
Add the rice and 2 1/4 cups water to a medium pot with a tight lid. If you have time, let it soak for 20 minutes. Bring to a boil over medium-high, then cover, turn the heat to low, and cook for 13 to 15 minutes. Turn off the heat and let it rest, covered, for 10 minutes. Don't lift the lid early. The steam is still working.
(Using a rice cooker? Follow its markings for short-grain rice.)
2. Build the curry base
Heat 1 tablespoon oil in a large pot over medium heat. Add the onion and a pinch of salt. Cook for 8 to 10 minutes, stirring now and then, until soft and lightly golden. This is where much of the curry's sweetness comes from, so give it time.
Add the garlic and ginger. Stir for about 1 minute, until fragrant.
Add the carrots, potato, and chicken stock. Bring to a boil, then lower to a gentle simmer. Cook for 15 minutes, until a fork slides easily into the potato.
3. Make the roux
While the vegetables simmer, melt the butter in a small skillet over medium-low heat. Whisk in the flour and cook, whisking often, for 3 to 4 minutes. It should turn light tan and smell toasty, like warm cookies.
Take the skillet off the heat and whisk in the curry powder. Stir for 30 seconds. The spices bloom in the warm fat and the kitchen will smell like curry.
4. Thicken the curry
Ladle about 1/2 cup of hot stock from the pot into the roux and whisk into a smooth paste. Pour this paste back into the pot, stirring as you go. Adding it this way helps prevent lumps.
Stir in the ketchup, soy sauce, Worcestershire, honey, and grated apple (if using). Simmer for 5 to 10 minutes, stirring often so nothing catches on the bottom. The curry is ready when it coats the back of a spoon and leaves a clean line when you run a finger through it.
Taste and add salt if needed. Turn the heat to the lowest setting, cover, and stir occasionally while you make the katsu.
5. Prepare the chicken
Lay each chicken breast flat. With your palm on top, carefully slice it in half horizontally to make 2 thinner cutlets. You'll have 4 total.
Place the cutlets between sheets of plastic wrap and gently pound them to an even 1/2-inch thickness. Even thickness means even cooking. Pat them dry with paper towels, then season both sides with the salt and pepper.
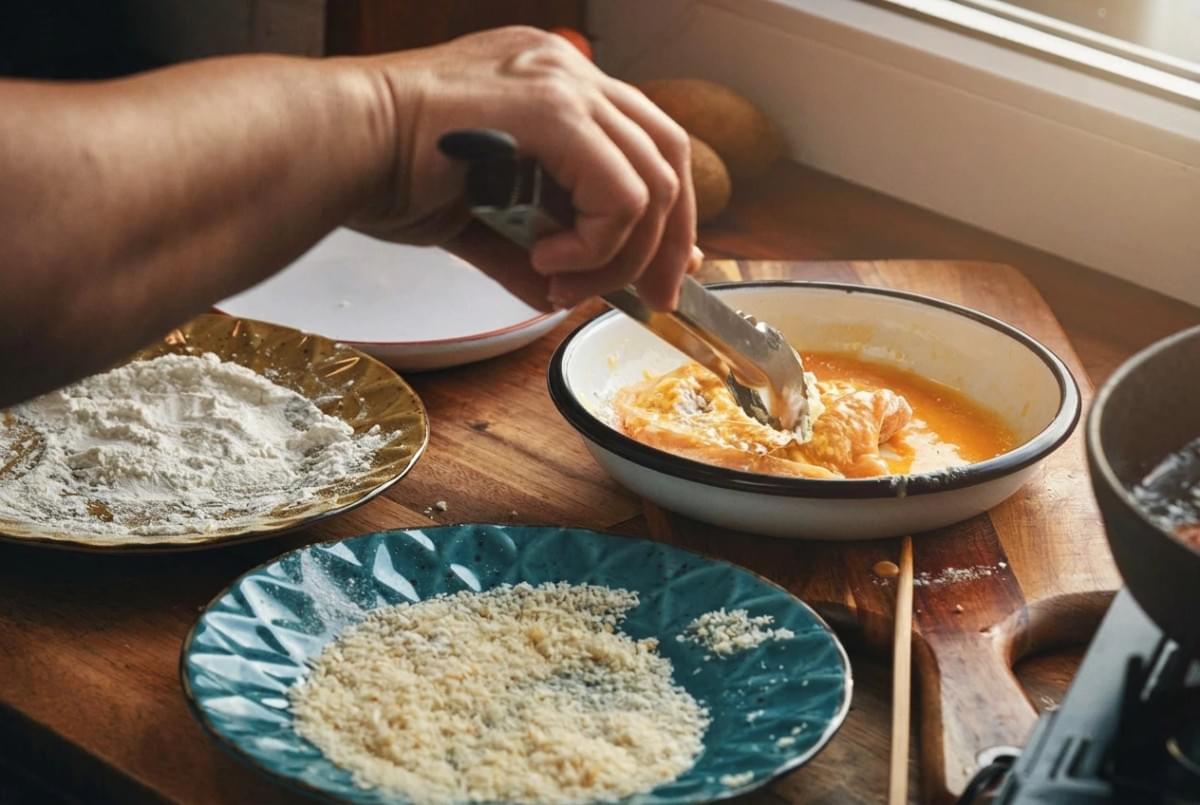
6. Set up the breading station
Line up three shallow dishes:
- Flour
- Eggs beaten with 1 tablespoon water
- Panko
Dredge each cutlet in flour and shake off the extra. Dip it in egg, letting the excess drip away. Then press it firmly into the panko on both sides. Set the cutlets on a plate or rack and let them rest for 5 minutes. This helps the coating stick in the pan.
Wash your hands and any surfaces that touched raw chicken.
7. Fry the katsu
Pour oil into a heavy skillet to a depth of about 1/2 inch. Heat over medium to 340 to 350°F (170 to 175°C). No thermometer? Drop in a few panko crumbs. They should sizzle right away and float, without darkening instantly.
Lay 2 cutlets into the oil, placing them away from you to avoid splashes. Don't crowd the pan, or the oil cools and the coating turns greasy.
Fry for 3 to 4 minutes per side, until deep golden brown. The chicken is done when an instant-read thermometer reads 165°F (74°C) in the thickest part.
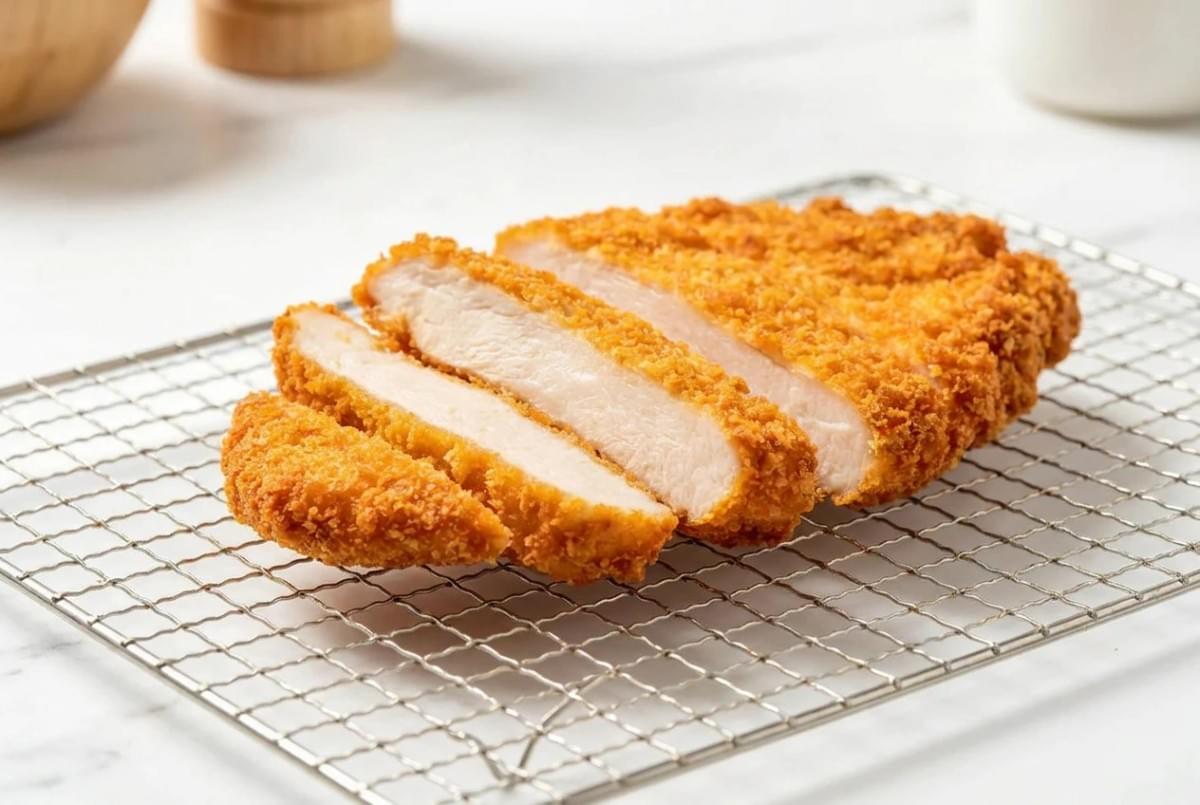
Move the cutlets to a wire rack set over a sheet pan (not paper towels, which trap steam). Sprinkle with a pinch of salt while hot. Let the oil come back to temperature, then fry the second batch.
Frying safety:
- Keep water away from the hot oil, and make sure the chicken surface isn't wet.
- Never leave the pan unattended.
- Keep a lid or sheet pan nearby. If oil ever catches fire, turn off the heat and cover the pan. Never use water.
- Let the oil cool completely before moving or discarding it.
8. Slice and plate
Rest the katsu for 2 to 3 minutes, then slice into 3/4-inch strips with a sharp knife.
Fluff the rice. Spoon it onto one side of each plate and ladle curry beside it, not over the top. Lay the sliced katsu across the rice so the cutlet stays crisp. Add a small handful of shredded cabbage, a few pickles, and some scallions if you like.
Tips for Getting It Right
For crisp katsu
- Dry the chicken well. Moisture is what makes breading slip off.
- Press the panko on firmly. A loose coat falls away in the oil.
- Watch the oil temperature. Too cool and the katsu soaks up oil. Too hot and the outside browns before the inside cooks.
- Rest on a rack. Air underneath keeps the bottom from going soft.
For a smooth, flavorful curry
- Brown the onions patiently. Rushed onions make a flatter curry.
- Temper the roux with a little hot stock before adding it to the pot.
- Balance at the end. Too sharp? Add a little more honey. Too sweet or flat? A splash of soy sauce helps.
- Thin it if needed. If it gets too thick while sitting, stir in a few tablespoons of stock or water.
Substitutions
- Chicken thighs: Juicier and more forgiving. Pound to 1/2 inch and fry the same way, still to 165°F.
- Pork loin cutlets: This makes classic tonkatsu curry. Cook pork to at least 145°F (63°C).
- Boxed Japanese curry roux: A popular shortcut. Skip steps 3 and 4. Once the vegetables are tender, turn off the heat, break in the roux blocks (follow the package amount for your liquid), and stir until dissolved. Then simmer gently until thick.
- Gluten-free: Use gluten-free flour, gluten-free panko, tamari instead of soy sauce, and a gluten-free Worcestershire. Check that your curry powder is gluten-free too.
- No short-grain rice: Medium-grain rice is the closest swap.
Adjusting the heat
Japanese curry leans mild. To make it spicier, add 1/4 to 1/2 teaspoon cayenne with the curry powder, or serve with chili oil at the table. For a milder, kid-friendly pot, use mild curry powder and include the grated apple.
Storage and Reheating
Store the curry and katsu separately. That is the key to keeping the crunch.
- Curry: Refrigerate in an airtight container for up to 4 days. It often tastes deeper the next day. It freezes for up to 3 months, though the potatoes can turn slightly grainy once thawed.
- Katsu: Refrigerate in a container lined with paper towel for up to 3 days.
- Rice: Refrigerate within 1 hour of cooking and use within 3 days.
Reheating the katsu: Place cutlets on a rack over a sheet pan and bake at 400°F (200°C) for 10 to 12 minutes, or air fry at 375°F (190°C) for 5 to 7 minutes, until hot all the way through (165°F). Avoid the microwave if you can, since it steams the coating soft.
Reheating the curry: Warm in a saucepan over medium-low with a splash of stock or water, stirring until smooth and steaming.
Reheating rice: Sprinkle with a little water, cover, and microwave until steaming hot.
A Plate Worth Slowing Down For
Some dinners ask you to hurry. This one asks you to pause, just a little: to let the onions turn gold, to wait for the oil to be ready, to listen for that crackle.
What you get is a plate that feels like care. Warm rice, soft curry, and a cutlet that still crunches at the last bite.
If you make it this week, tell us in the comments how it went. Did you stay with chicken, or try pork? Mild or spicy? We'd love to hear what landed on your table.
