

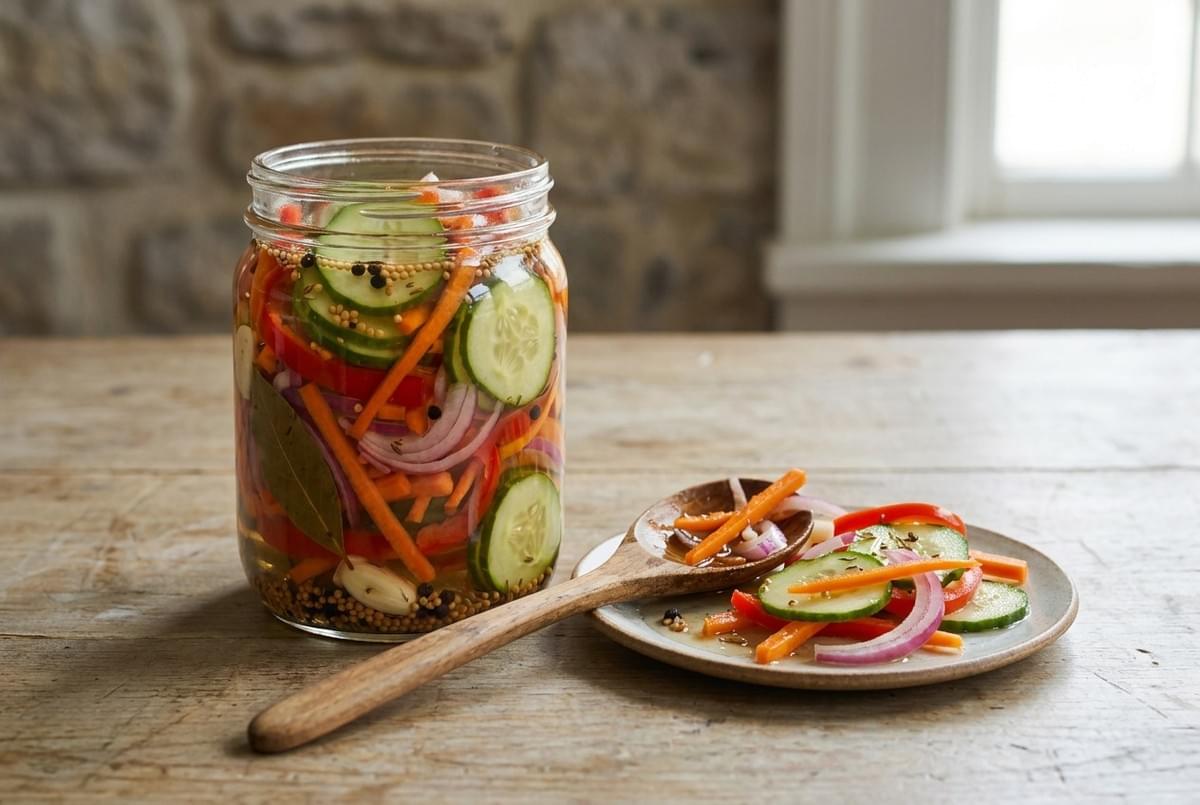
It is late in the week, and the crisper drawer is crowded. There is half a bag of carrots, a bunch of radishes going soft at the tips, and two cucumbers from the weekend market, bought because they looked good at the time.
None of it is spoiled yet. It will be soon.
This is often how pickling begins. There is rarely a plan, only vegetables that need somewhere to go.
Quick pickling gives them that place. With a saucepan, a clean jar, and about 20 minutes of work, you can turn a handful of fresh produce into something crisp and bright that keeps for weeks in the refrigerator. You won't need canning equipment or special skills.
By the end of this guide, you will be able to make a reliable batch of quick pickled vegetables on your first attempt, then adjust it to your own taste.
Three ideas hold the method together. Acid gives the pickle its flavor and slows spoilage. Salt seasons the vegetables and helps keep them firm. Refrigeration keeps the jar safe. Once you understand how each one works, the steps start to explain themselves.
Why Quick Pickling Works
Every ingredient in the jar has a job. Knowing those jobs makes it easier to adjust a recipe later and to fix one when something goes wrong.
Acid
Vinegar lowers the pH of the vegetables, which means it makes them more acidic. That acidity slows the growth of many spoilage microbes, and it gives the pickle its clean, sour taste. It also softens the raw, grassy edge of vegetables like onion and cabbage.
Salt and Osmosis
Salt works through osmosis: water moves across the vegetable's cell walls from the less salty side (inside the vegetable) toward the saltier brine. As water moves out, brine moves in. This is why a well-made pickle tastes seasoned all the way through, not just on the surface. Salt also helps vegetables hold their crunch.
Sugar
A small amount of sugar balances the acid. It doesn't need to make the pickles sweet. Much as a pinch of sugar can soften a tomato sauce, it rounds off the sharpest edges of the vinegar.
Heat
Warm brine dissolves salt and sugar completely and helps the liquid soak into dense vegetables faster. Firm vegetables such as carrots and beets handle hot brine well. Delicate ones, like cucumbers, keep more crunch when the brine has cooled slightly.
How It Differs From Fermentation and Canning
Fermented pickles sit in salt brine at room temperature for days or weeks. Naturally present lactic acid bacteria turn the vegetables' sugars into acid, which creates a deeper, more complex sourness.
Canned pickles are processed in a boiling-water bath using tested recipes. That process seals the jar and makes it shelf stable.
Quick pickles, also called refrigerator pickles, do neither. You add the acid directly as vinegar, and the cold of the refrigerator does the rest. The result is bright and crisp, but refrigerator pickles are not shelf stable. They belong in the fridge from the first day to the last.
Equipment and Ingredients
Jars and Lids
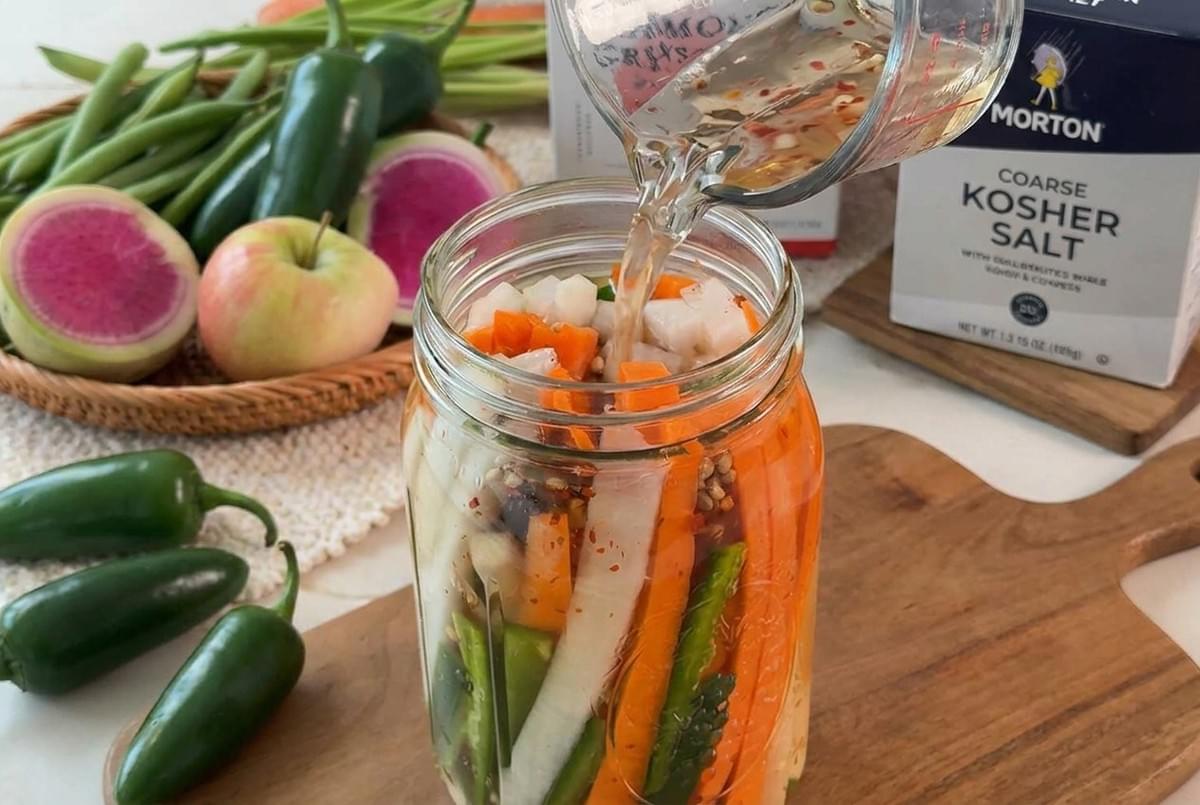
Glass jars with tight-fitting lids work best. Pint jars (16 ounces / 475 ml) are a comfortable size for a first batch. Choose plastic lids or coated metal ones, since vinegar can corrode bare metal over time.
You'll also need a nonreactive saucepan made of stainless steel or enamel. Aluminum and uncoated cast iron can react with acid and give the brine a metallic taste.
Vinegar
Most vinegar labels list acidity as a percentage. This guide assumes 4 to 5 percent.
- Distilled white vinegar (5 percent): sharp and neutral, so the vegetables and spices lead.
- Apple cider vinegar (usually 5 percent): fruity and round, good with onions and beets.
- Rice wine vinegar (often 4 to 4.5 percent): mild and slightly sweet. Choose unseasoned, since seasoned versions already contain sugar and salt.
Avoid homemade vinegar, because its acidity is unknown.
Salt
Use kosher salt or pickling salt. Both dissolve cleanly without additives. Iodized table salt is best avoided: iodine can darken vegetables, and anti-caking agents can cloud the brine. Grain size also varies between salts, so the same spoonful can hold different amounts. If you have a kitchen scale, weighing is more reliable.
Sugar, Water, and Aromatics
Plain granulated sugar is the simplest choice. If your tap water is very hard, filtered water keeps the brine clearer.
For aromatics, choose whole spices over ground ones. Garlic, dill, mustard seeds, black peppercorns, bay leaves, and dried chilies all hold their shape and keep the brine clear.
The Master Brine and Basic Method
The Base Ratio
1 part vinegar to 1 part water, plus 1 tablespoon kosher salt and 1 tablespoon sugar for every 2 cups of liquid.
This makes a brine that tastes clearly sour and seasoned without stinging.
Ingredients (Two Pint Jars)
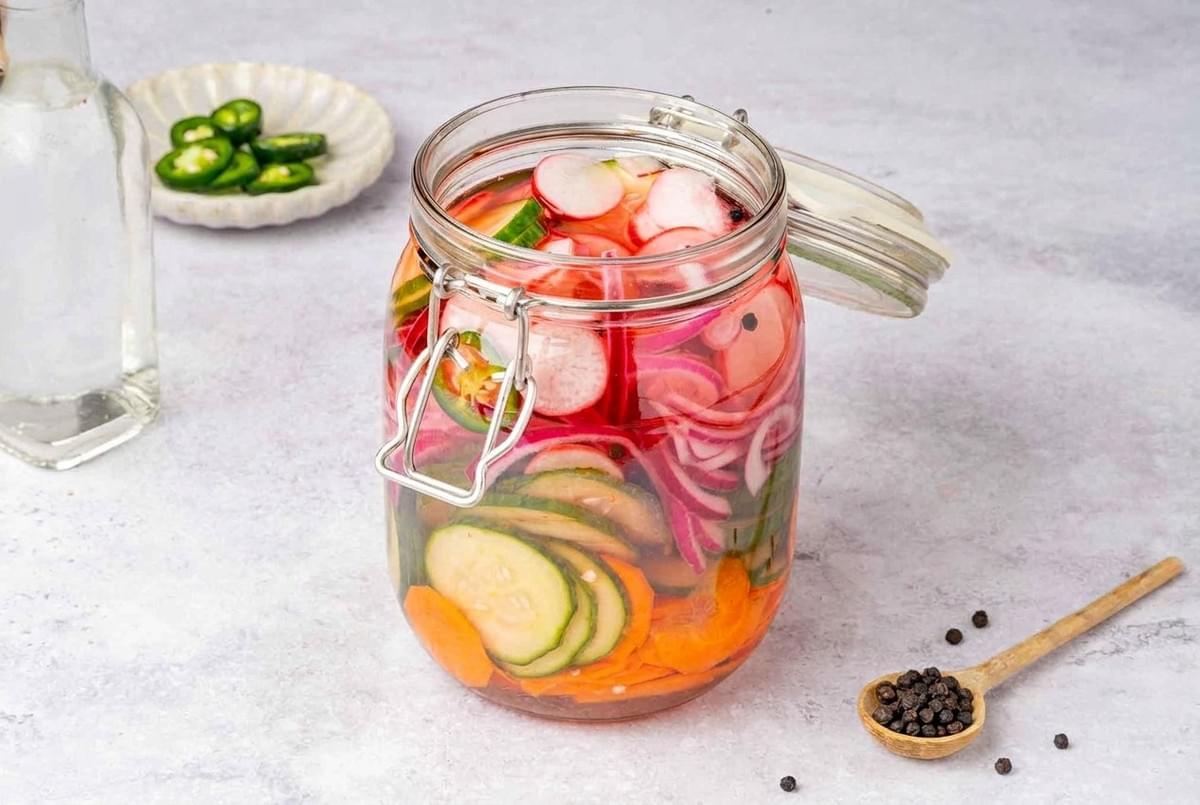
- 1 pound (450 g) firm, fresh vegetables
- 1 cup (240 ml) vinegar
- 1 cup (240 ml) water
- 1 tablespoon kosher salt (10 to 15 g, depending on grain size)
- 1 tablespoon (12 g) granulated sugar
- 2 garlic cloves, lightly smashed, plus whole spices or herbs of your choice
Method
- Wash the jars. Clean the jars and lids in hot, soapy water and rinse well. Just before filling, warm them with hot tap water so the hot brine doesn't crack cold glass.
- Wash and dry the vegetables. Rinse them under cool running water and pat them dry. Choose produce that feels firm and snaps cleanly, because soft vegetables only soften further in brine.
- Cut evenly. Slice to a consistent thickness, usually about 1/4 inch (6 mm). Even pieces pickle at the same rate.
- Add the aromatics. Divide the garlic and spices between the jars.
- Pack snugly. Fit the vegetables in tightly, leaving 1/2 inch (1.25 cm) of space at the top. Tight packing keeps them from floating.
- Heat the brine. Combine the vinegar, water, salt, and sugar in the saucepan. Stir over medium heat for 3 to 4 minutes, until it just simmers and the salt and sugar have fully dissolved.
- Pour. Cover the vegetables completely with brine. For cucumbers and other delicate vegetables, let the brine cool for 5 minutes first.
- Release the air. Tap the jar gently on the counter, or run a clean chopstick down the inside. Top up with brine if anything sits above the surface.
- Cool and refrigerate. Leave the jars uncovered until they're warm rather than hot, within about an hour. Then seal them and refrigerate.
For cucumbers, trim about 1/16 inch (1.5 mm) from the blossom end, opposite the stem. That end contains enzymes that can soften pickles.
Flavor Variations
Keep the base ratio. Change only the aromatics.
Dill and Garlic
Add 3 smashed garlic cloves, 2 sprigs of fresh dill, and 1/2 teaspoon black peppercorns per jar. Use distilled white vinegar for a clean, classic taste. This works especially well with cucumbers and green beans.
Rice Vinegar and Ginger
Use unseasoned rice wine vinegar and increase the sugar to 2 tablespoons. Add 4 thin slices of fresh ginger. Try it with carrot and daikon matchsticks, cut thin so they absorb the milder brine.
Spicy Chili
Add 1/2 teaspoon red pepper flakes or 1 sliced fresh chili per jar. The heat builds over several days as the chili infuses the brine. It pairs well with cauliflower, carrots, and onion.
Sweet and Sour With Mustard Seed
Increase the sugar to 1/4 cup (50 g). Add 1 teaspoon yellow mustard seeds and 1/4 teaspoon ground turmeric per jar. The turmeric tints the brine gold, and the mustard seeds soften slightly as they soak.
Food Safety and Storage
Refrigerator pickles depend on cold storage. They have not been heat processed, so they are not safe at room temperature for long periods.
- Keep the refrigerator at 40°F (4°C) or below. A fridge thermometer removes the guesswork.
- Start with clean jars and lids. Hygiene keeps unwanted microbes out from the beginning.
- Don't dilute the brine beyond 1 part water to 1 part vinegar. The acid level matters for both flavor and preservation.
- Use a clean fork or tongs every time. Fingers and used utensils introduce bacteria.
- Keep vegetables submerged. Anything exposed to air spoils first.
- Follow the shelf life in the table. Most quick pickles keep for up to 1 month, with texture softening gradually.
Discard the whole jar if you see mold, notice a slimy texture, smell anything unpleasant or yeasty, or find a bulging lid. When in doubt, throw it out.
Troubleshooting
Cloudy Brine
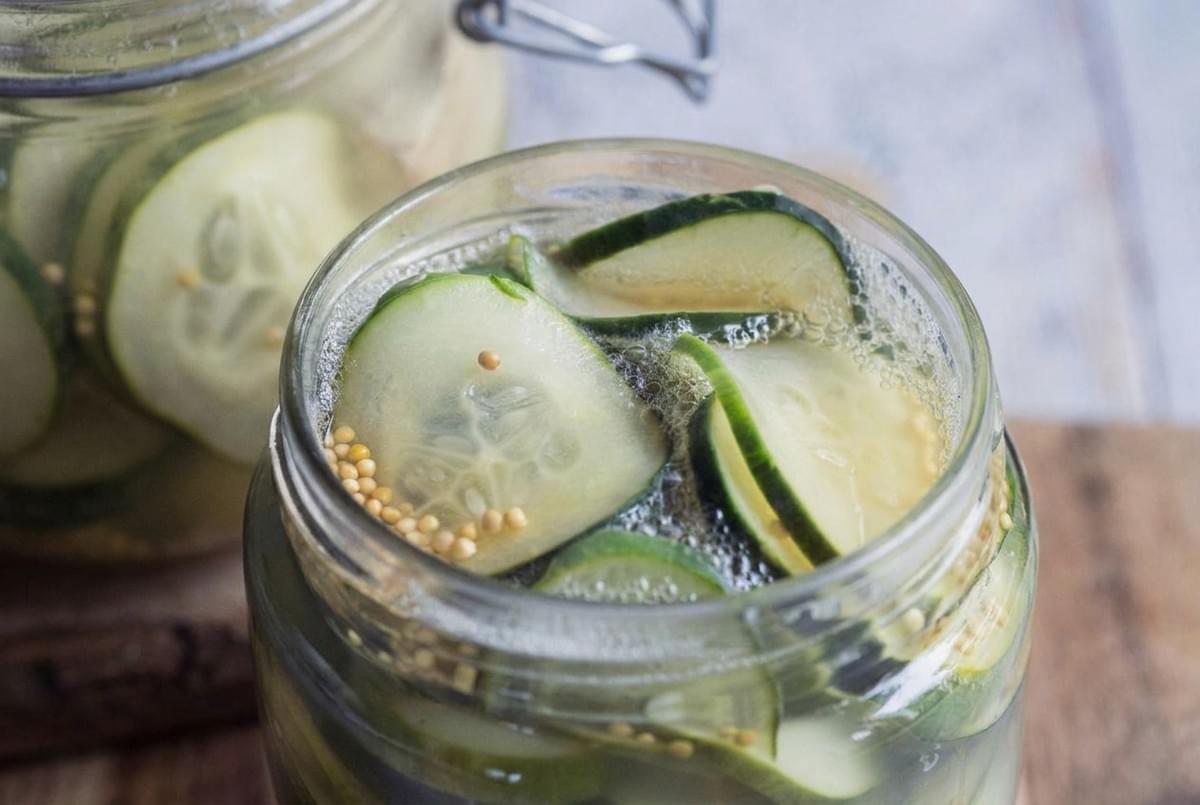
In fresh pickles, cloudiness usually comes from table salt, hard water, or ground spices, and it is harmless. Switch to kosher salt, filtered water, and whole spices. Cloudiness that appears later alongside sliminess or an off smell signals spoilage, so discard the jar.
Soft or Hollow Pickles
Soft pickles usually start with produce past its peak, cuts that were too thin, or brine that was too hot for a delicate vegetable. Hollow centers often come from overgrown cucumbers. Choose small, firm cucumbers and pickle them soon after buying.
Too Salty, Sour, or Sweet
Taste the brine before pouring. If a finished batch is too salty or sour, make a fresh brine with slightly less salt or vinegar for next time. If it's too sweet, reduce the sugar by half. Small adjustments are best.
Vegetables Floating
Pack the jar more tightly, or wedge a larger piece of vegetable across the top to hold the rest under. Top up with brine if needed.
Surface Mold
Unlike some fermented foods, refrigerator pickles should never be skimmed and saved. Discard the entire jar. Next time, check that the vegetables stay fully submerged and the fridge stays cold enough.
Quick Reference Checklist
- Wash jars and lids in hot, soapy water.
- Choose firm, fresh vegetables.
- Cut pieces to an even thickness.
- Mix 1 part vinegar with 1 part water.
- Add 1 tablespoon kosher salt and 1 tablespoon sugar per 2 cups of liquid.
- Heat the brine until the salt and sugar dissolve.
- Pack vegetables tightly and cover them fully with brine.
- Cool, seal, and refrigerate within about an hour.
- Keep the fridge at 40°F (4°C) or below.
- Use within the recommended shelf life.
Your First Jar
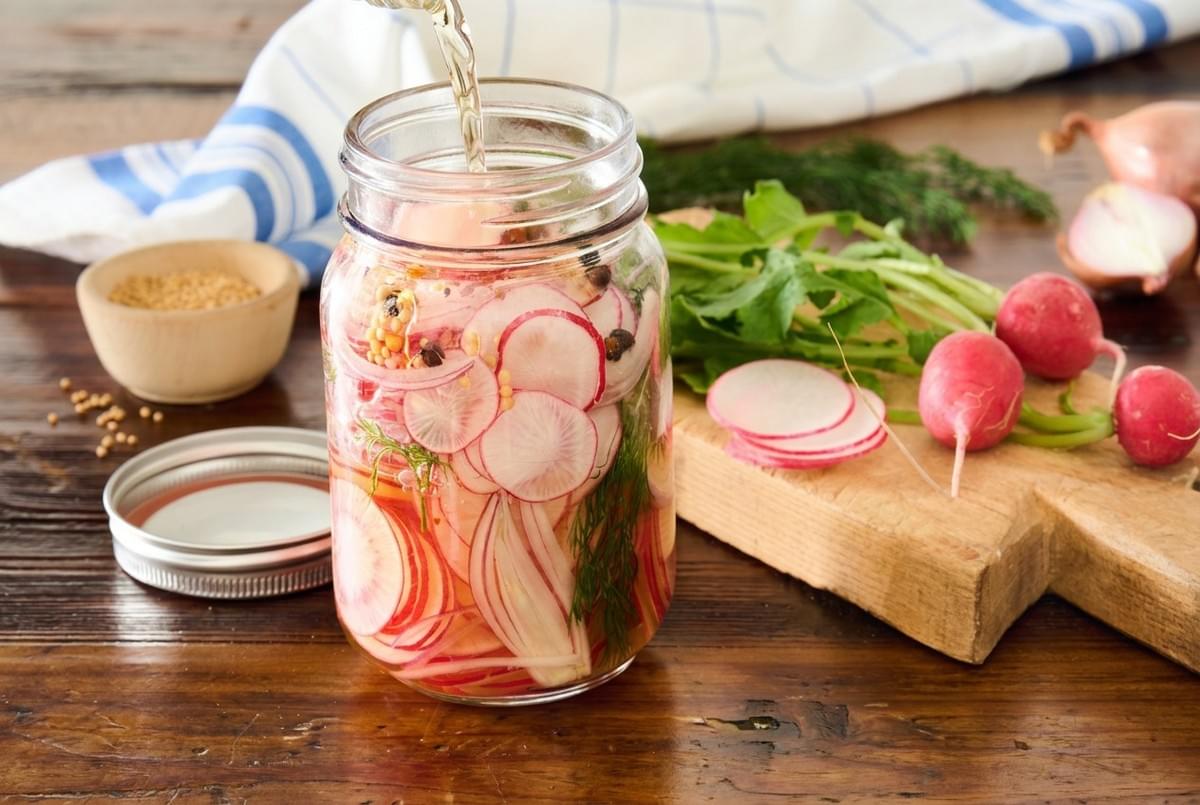
Quick pickling rests on three simple ideas. Acid brings flavor and slows spoilage. Salt seasons the vegetables through osmosis and keeps them firm. Refrigeration keeps everything safe.
Start small. One jar is enough. Choose a vegetable you already have, perhaps those radishes going soft in the drawer, and follow the base ratio exactly the first time.
Taste a piece after an hour. Then taste again the next day.
The difference between those two bites teaches more than any table can. Once you've noticed it, you'll understand the method, and you can begin making it your own.
