

If you have ever stood in your kitchen clutching a tough piece of meat and wondering how to turn it into a melt-in-your-mouth masterpiece, you are in the right place. Cooking methods that use moist heat are the secret to transforming budget-friendly ingredients into incredible, deeply flavored meals.
However, recipes often use terms interchangeably, leading to confusion. Is that pot roast a braise or a stew? Should you cut the meat or leave it whole? Does the liquid need to cover the vegetables?
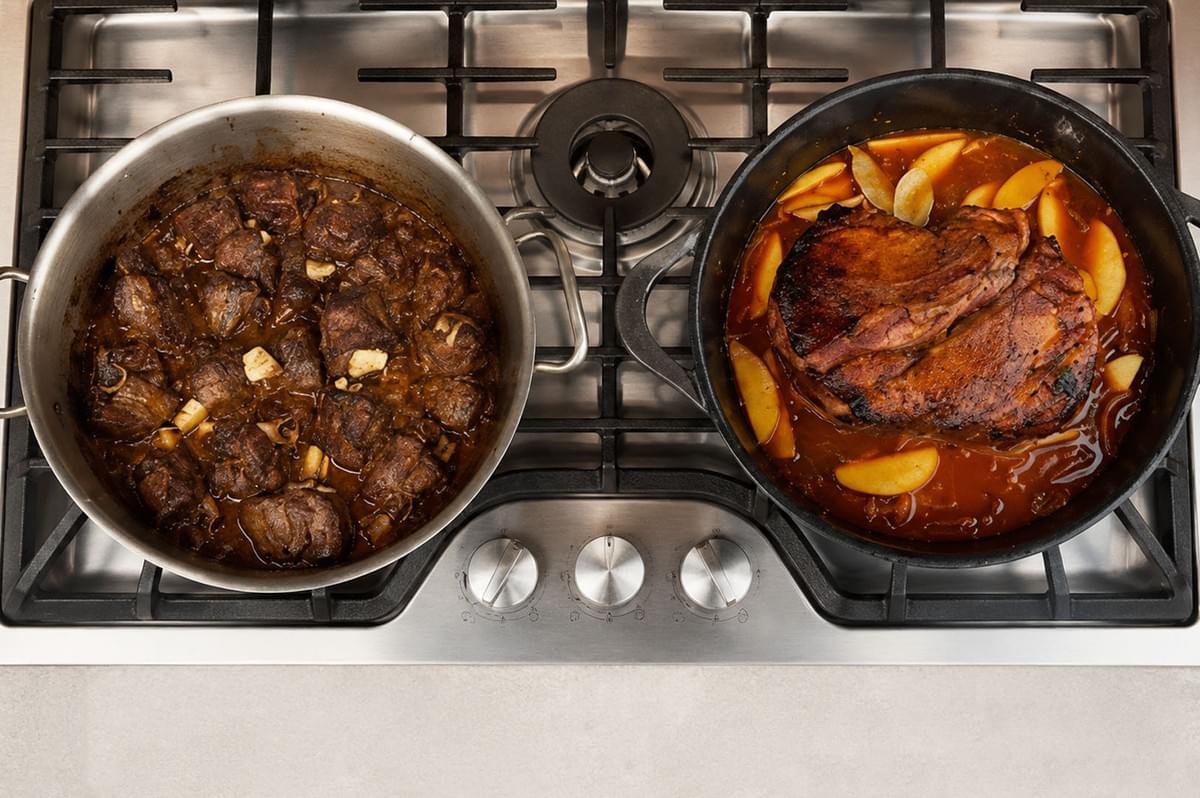
Today, we are going to master the difference between braising and stewing. Both are incredible slow-cooking methods that yield tender meat, but they require different approaches. The key decisions lie in the size of the pieces you are cooking, the amount of liquid you use, and the environment inside the pot. Let us break down these foundational kitchen skills so you can confidently choose the right method for your next meal.
Quick Definitions
To cook with confidence, it helps to understand the precise definitions of these two culinary techniques.
What is Braising?
Braising is a two-stage cooking method. First, you sear a large cut of meat or whole vegetables at a high temperature to develop a deep, caramelized crust. Second, you add a moderate amount of flavorful liquid, cover the pot tightly, and slow cook the ingredients. In a braise, the food is only partially submerged in liquid. The exposed portion cooks gently in the trapped, moist steam, while the submerged portion simmers.
What is Stewing?
Stewing is a single-pot method designed for smaller, bite-sized pieces of food. Unlike a braise, the ingredients in a stew are fully submerged in liquid. They simmer slowly, transferring their flavor into the surrounding broth, resulting in a rich, uniform dish where the liquid and the solid ingredients are consumed together as a single meal.
The Three Biggest Differences That Matter
While braising and stewing both use moist, gentle heat to break down tough connective tissues, the execution differs in three major ways.
1. Liquid Level
This is the most critical distinction. When you braise, the liquid should only reach one-third to one-half of the way up the side of your meat. The exposed top of the meat cooks in the steam, preserving the texture of the sear you worked so hard to build. In a stew, you add enough liquid to completely submerge all the ingredients, ensuring everything cooks evenly in a simmering bath.
2. Piece Size
Braising is reserved for large, impressive cuts. Think of a 3 lb (1.4 kg) chuck roast or a massive lamb shank. Stewing requires breaking down the ingredients into uniform, bite-sized pieces so they can be eaten comfortably with a spoon.
3. Sauce Consistency
Because braising uses less liquid, the juices from the meat mingle with the cooking liquid to create a highly concentrated, naturally glossy pan sauce. Stews yield a much larger volume of liquid. This liquid acts as a broth or gravy and is often thickened deliberately with starches or pureed vegetables to give it body.
When to Braise (and Why)
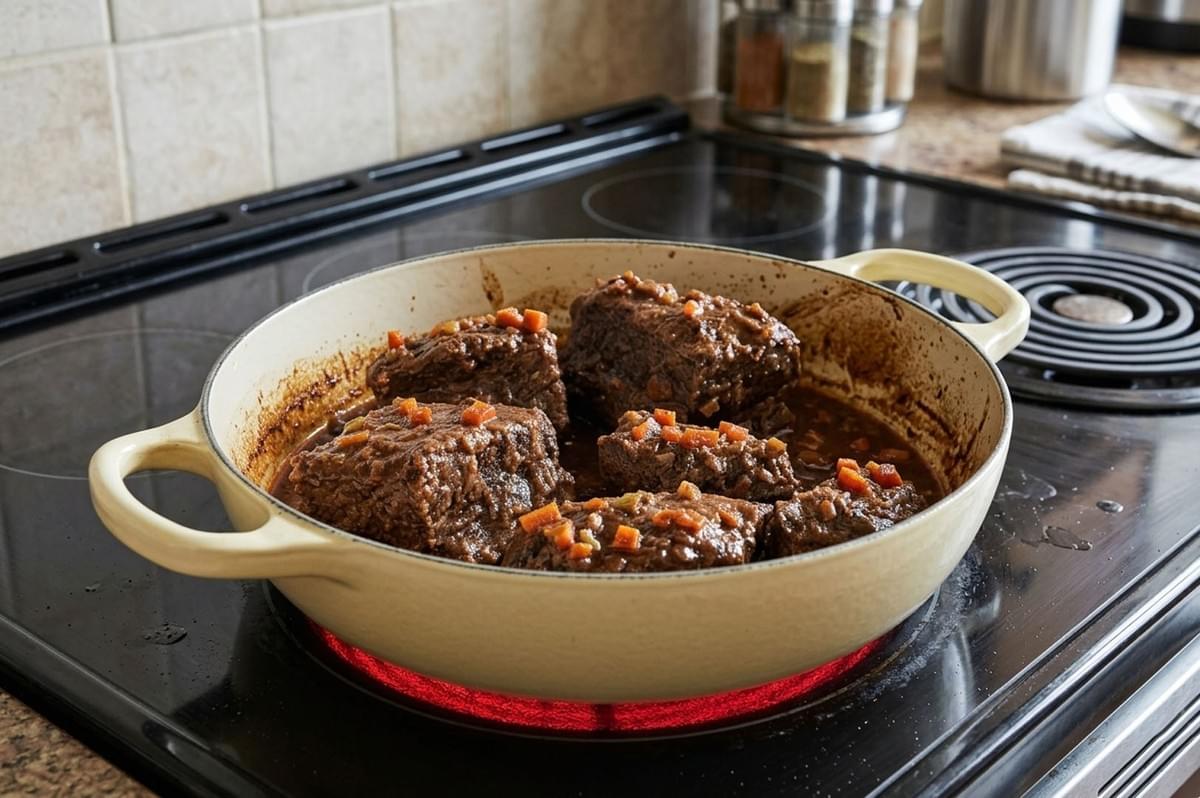
Braising is the ultimate method for transforming large, tough, inexpensive cuts of meat into elegant centerpieces.
Best Proteins and Cuts
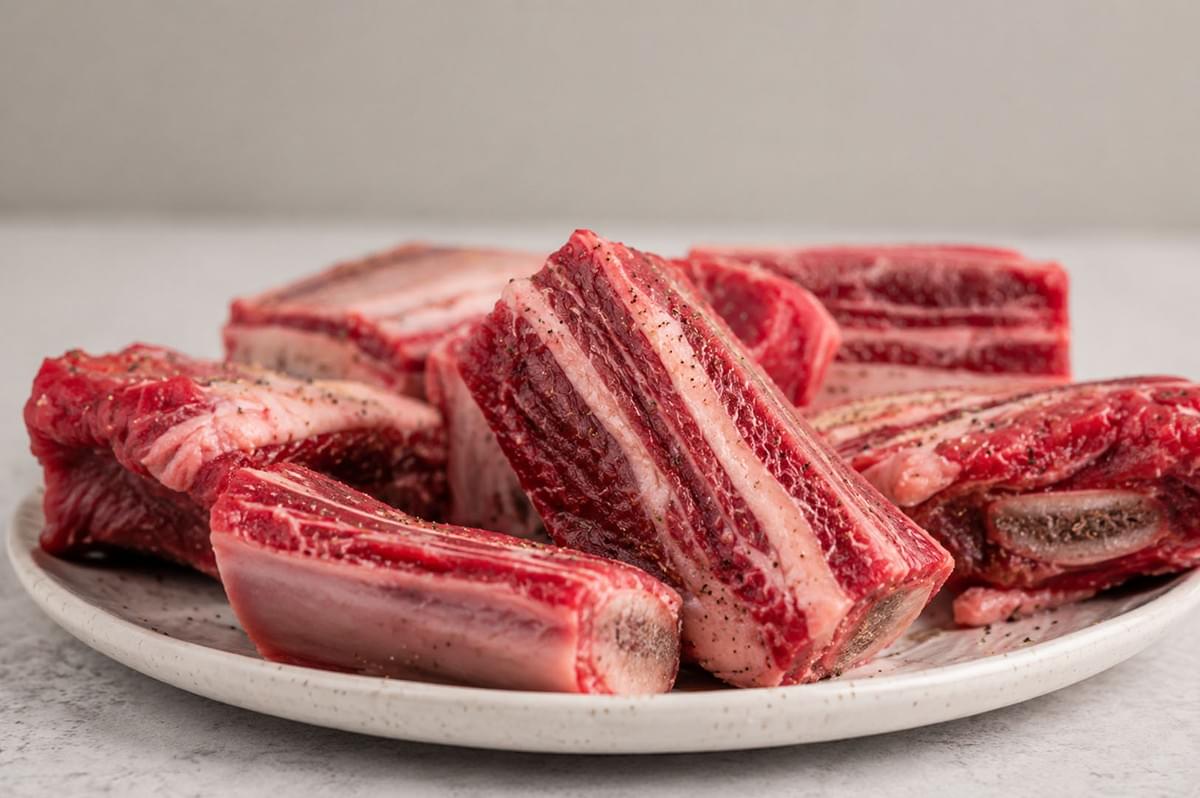
You want cuts with plenty of connective tissue and fat. As they cook slowly, the collagen melts into gelatin, creating a luxurious texture. Opt for beef chuck roast, beef short ribs, bone-in pork shoulder, lamb shanks, and bone-in chicken thighs. Lean cuts like pork tenderloin or chicken breasts will dry out and turn chalky in a braise.
Best Vegetables to Braise
Vegetables benefit beautifully from this method. Hearty vegetables that hold their shape are best. Try large wedges of green cabbage, halved leeks, whole fennel bulbs, or thick carrot batons.
Ideal Results and Liquids
Braising yields meat that is sliceable or easily shredded with a fork, coated in a sticky, glossy sauce. Typical braising liquids include beef or chicken stock, red or white wine, dark beer, or crushed tomatoes. Aromatics like onions, whole garlic cloves, thyme, and rosemary build the flavor base.
When to Stew (and Why)
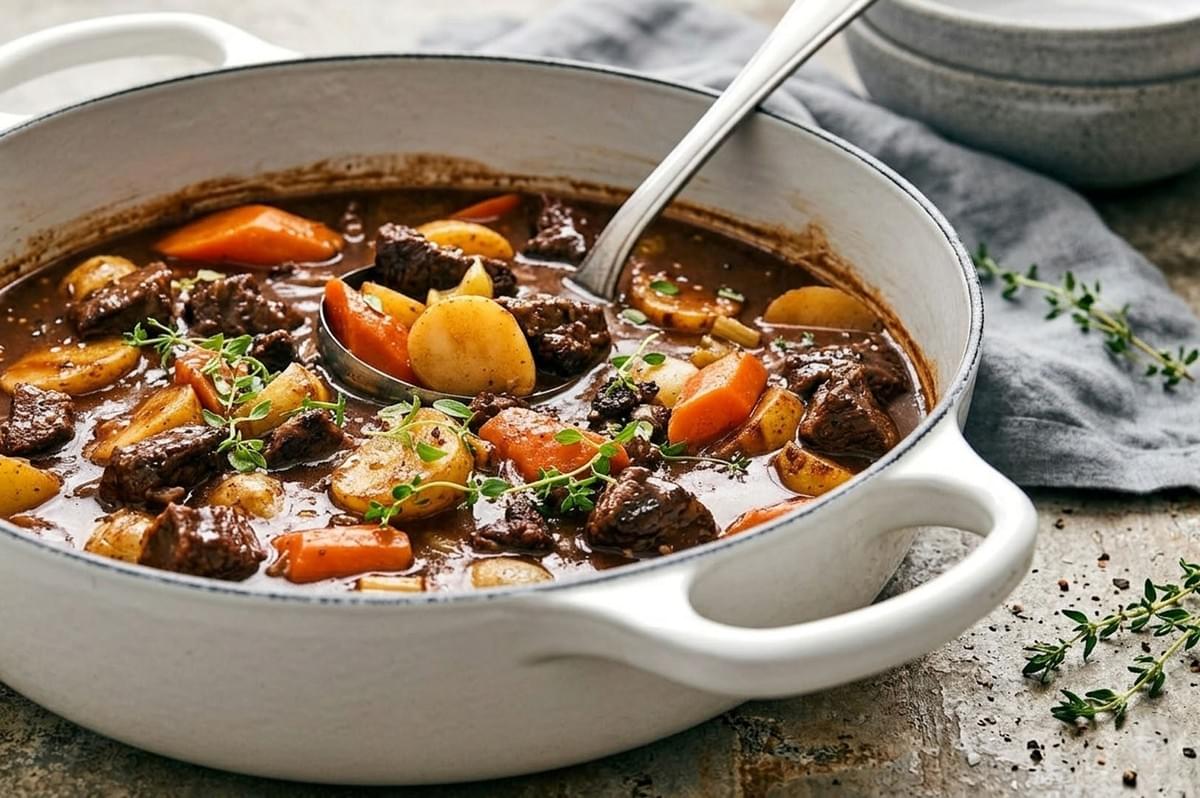
Stewing is your go-to method for casual, spoonable comfort food. It is perfect for meal prep, as stews almost always taste better the next day.
Best Proteins and Cuts
The rules for meat are similar to braising, but the preparation changes. Buy a tough cut and slice it yourself into uniform chunks. Beef chuck cubes, lamb shoulder cubes, and chopped boneless chicken thighs are excellent. Stewing is also the primary method for cooking dried legumes like beans and lentils.
Best Vegetables and Add-Ins
Stews love vegetables that absorb flavor and add texture. Waxy potatoes, diced carrots, chopped celery, parsnips, and hearty greens are classic additions.
Thickening Approaches
A great stew has a robust, slightly thick liquid. You can achieve this by rolling your meat in flour before searing, letting the stew reduce uncovered, adding a starch slurry (cornstarch and cold water) at the end, or stirring in mashed potatoes or blended vegetables to naturally thicken the broth.
Technique Deep Dive: How to Get Better Results
Mastering these methods requires a little finesse. Here is how to elevate your slow-cooking game.
Browning: Why It Matters
Searing your meat creates the Maillard reaction, a chemical process that builds deep, complex, savory flavors. Always dry your meat thoroughly with paper towels before searing. Wet meat will steam instead of brown. While browning is technically optional for some stews, skipping it means leaving an enormous amount of flavor behind in the pan.
Temperature Control
Whether you are braising or stewing, the liquid should never reach a rolling boil. Boiling causes the muscle fibers in the meat to seize up, squeezing out all their moisture and resulting in tough, dry meat. You want a gentle, lazy simmer where a bubble only breaks the surface every second or two. For braises, moving the pot to a 325°F (165°C) oven provides a much more even, gentle heat than the stovetop.
Collagen Conversion
Patience is mandatory. Tough cuts become tender because slow, low heat slowly melts the collagen in the meat into gelatin. This process takes time. If your meat is still tough after two hours, it is not ruined, it just needs more time.
Timing for Vegetables
If you add delicate vegetables like peas, spinach, or thin carrots at the beginning of a three-hour braise, they will disintegrate into mush. Add root vegetables during the last 45 minutes of cooking, and stir in delicate greens or frozen peas in the final 5 minutes.
Salting Strategy
Salt early to season the meat, but be cautious with the liquid. Because braising liquids reduce and concentrate as they cook, a perfectly salted broth at hour one will become unbearably salty by hour three. Use low-sodium stock, taste the liquid at the very end, and adjust the salt right before serving.
Common Mistakes and How to Fix Them
Even experienced cooks run into trouble. Here is how to troubleshoot common issues.
Tough Meat
If you used a tough cut like chuck or short ribs and the meat is chewy, it is undercooked. Put the lid back on and keep simmering. If you used a lean cut like chicken breast or pork loin and it is tough, it is overcooked, and sadly, more time will only make it worse.
Dry Braise
If your braising liquid completely evaporated, your heat was too high, or your lid did not fit tightly enough. Always check the liquid level halfway through cooking. If it looks dangerously low, add a splash of hot stock or water.
Watery Stew
If your stew lacks body, you likely added too much liquid or covered the pot completely for the entire cooking time. To fix it, remove the lid for the final 30 minutes to encourage evaporation, or stir in a quick cornstarch slurry to tighten the broth.
Greasy Surface
Fatty cuts of meat release their fat into the liquid. To fix a greasy surface, use a ladle to skim the fat off the top before serving. Better yet, make the dish a day ahead, chill it in the refrigerator overnight, and simply lift the solidified fat off the top with a spoon the next day.
Equipment Guidance
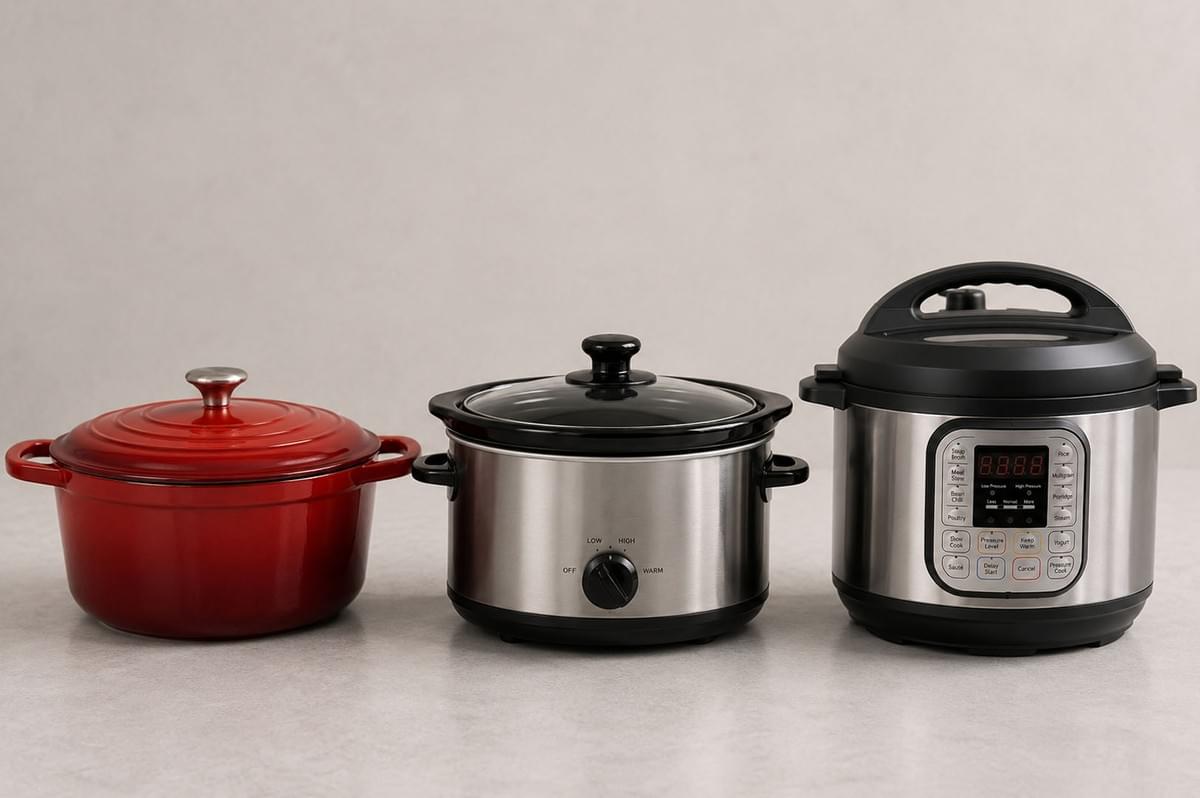
The right pot makes slow cooking infinitely easier.
- Dutch Oven: A heavy, enameled cast-iron Dutch oven is the gold standard for both methods. It retains heat beautifully and moves seamlessly from the stovetop to the oven.
- Slow Cooker: Excellent for hands-off stewing, but it traps all moisture. You will need to reduce the amount of liquid a recipe calls for by about one-third.
- Pressure Cooker: Brilliant for speeding up the collagen conversion process, turning a three-hour braise into a 45-minute task. However, you cannot monitor the liquid reduction, so sauces often need thickening afterward.
- The Lid Matters: A tight-fitting lid is crucial to trap steam. If your lid is loose, place a sheet of parchment paper or aluminum foil over the pot before pressing the lid down.
Recipes and Flavor Variations
Use these classic concepts as inspiration for your next meal.
- Coq au Vin (Braise): Whole chicken legs browned and braised in red wine, pearl onions, mushrooms, and bacon.
- Classic Beef Short Ribs (Braise): Bone-in ribs seared and slow-cooked in beef stock, dark beer, and crushed tomatoes until falling off the bone.
- Braised Pork Shoulder (Braise): A large cut of pork gently cooked in apple cider, mustard, and chicken stock, perfect for shredding.
- Traditional Beef Stew (Stew): Chuck cubes simmered in beef broth with carrots, potatoes, and celery, thickened with a little flour.
- Green Chile Pork Stew (Stew): Bite-sized pork shoulder simmered with roasted green chiles, tomatillos, and chicken broth.
- White Bean and Sausage Stew (Stew): Cannellini beans, sliced savory sausage, and kale simmered in a garlicky chicken broth until rich and creamy.
Conclusion
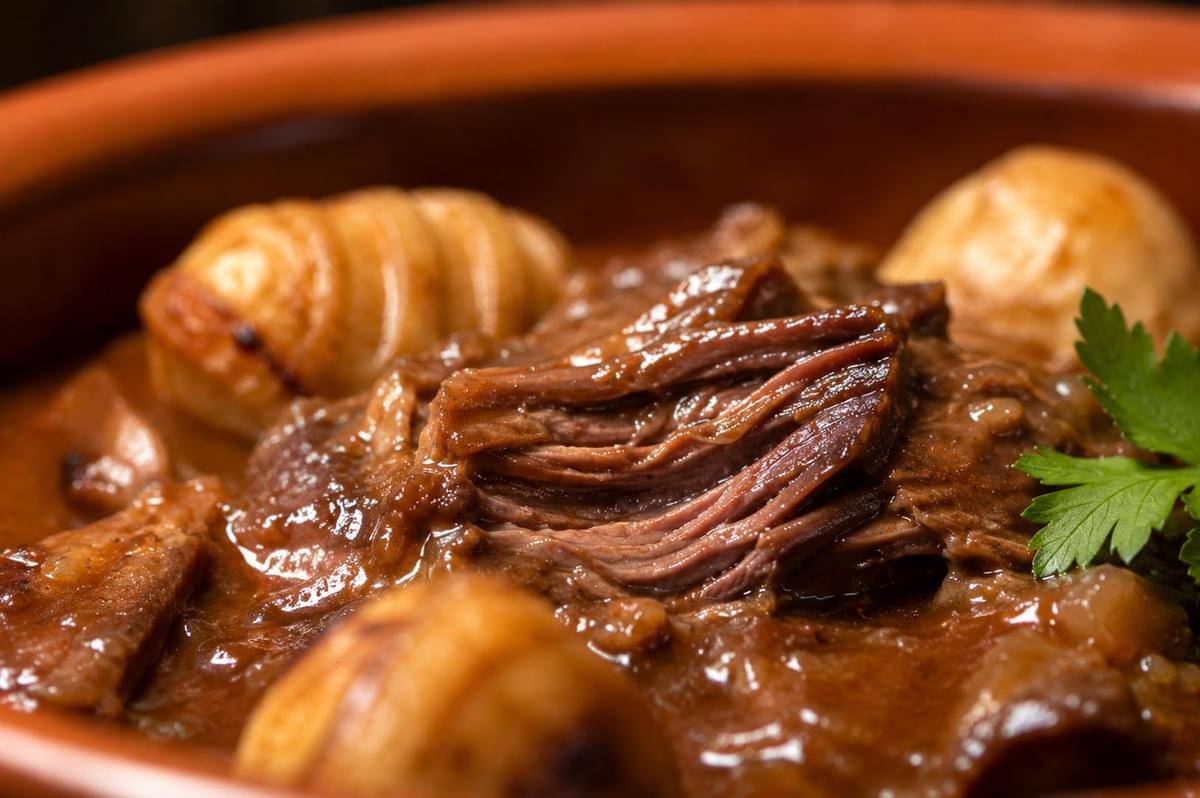
The difference between braising and stewing comes down to a very simple decision rule. If you want to cook a large, impressive cut of meat partially covered in liquid for a sliceable result, you are braising.
If you want to simmer small, bite-sized pieces completely submerged in broth for a comforting bowl of goodness, you are stewing.
Both methods rely on gentle heat and patience to deliver phenomenal flavor. Grab a heavy pot, pick a tough cut of meat, and start practicing these essential techniques in your kitchen this week.
