

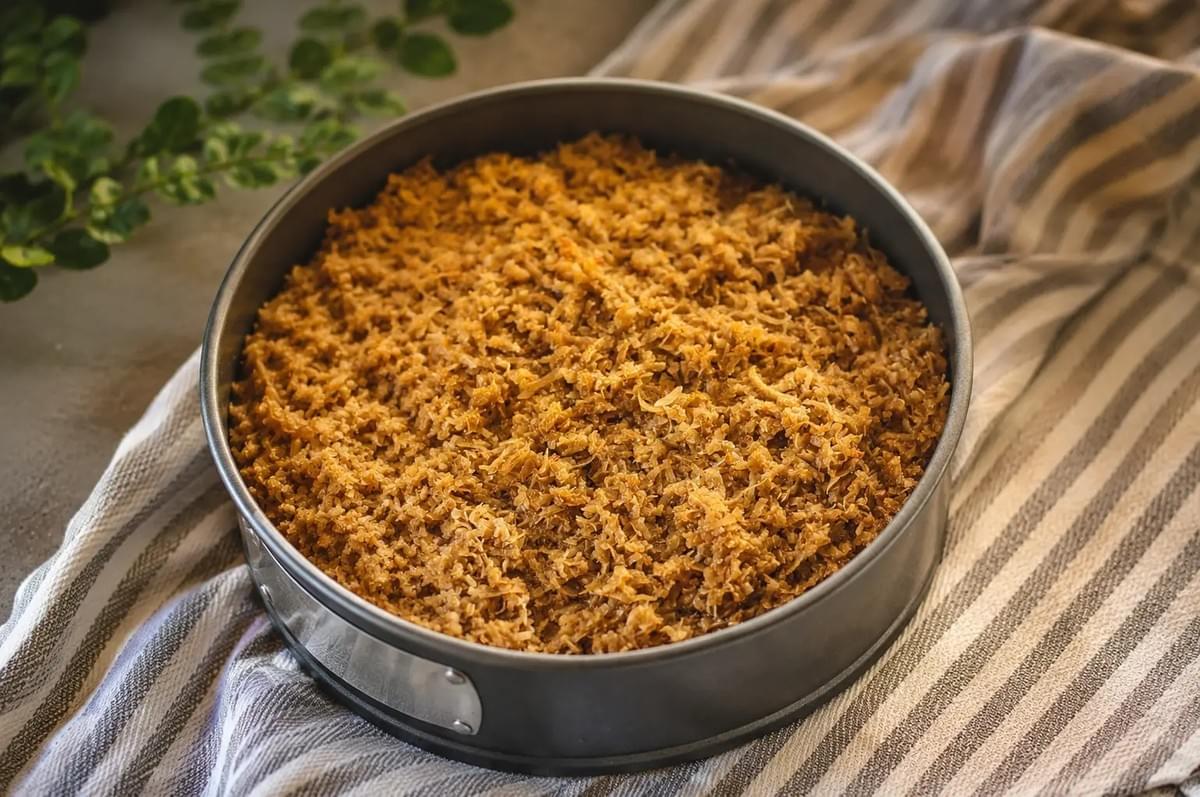
There is a smell that fills the kitchen right when the topping goes on.
Butter, brown sugar, and coconut, all melting together, going sticky and golden under the heat. It creeps through the house and pulls people toward the oven before the cake is even out. That is the moment I love most about this one.
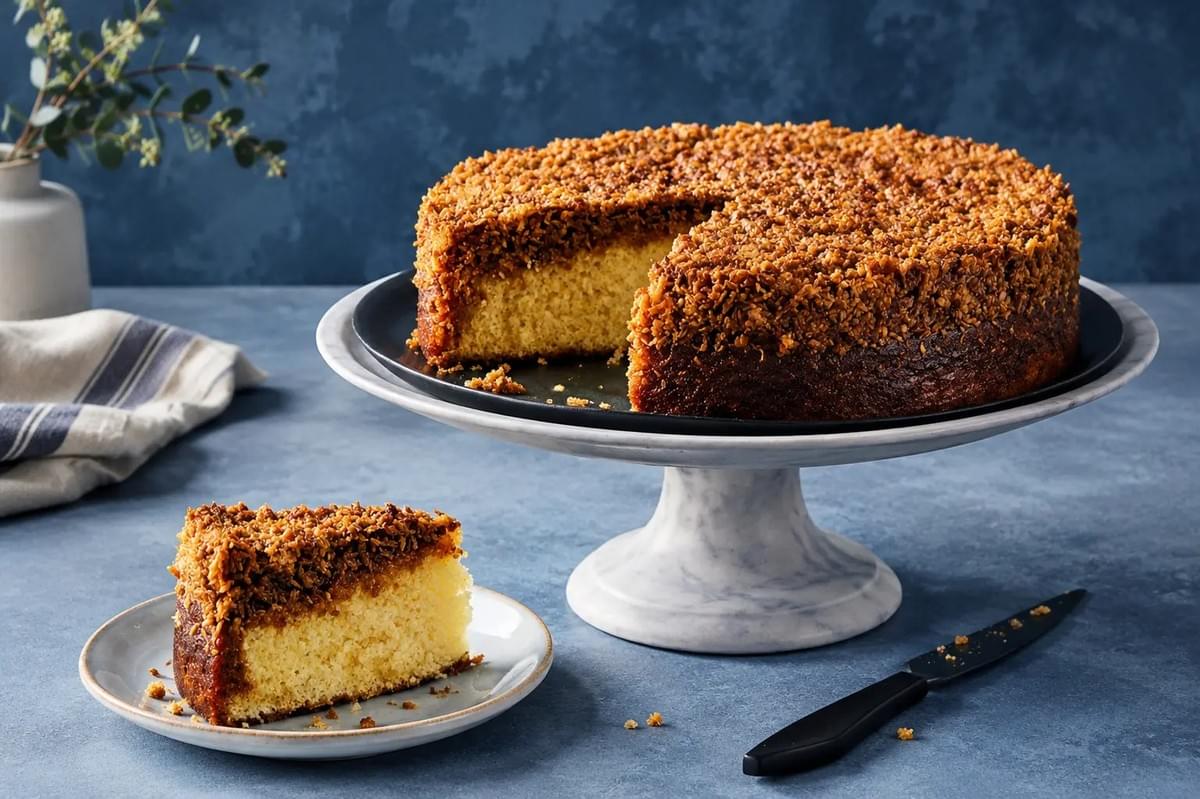
Danish Dream Cake is soft and plain in the best way underneath, with a caramelized coconut topping that does all the talking. It slices into neat squares, keeps beautifully, and honestly tastes even better the next day. This is a cake for slow weekends, for potlucks, for a quiet coffee break when you want something homey and a little special.
If you have never baked one, do not worry. It is far simpler than that topping makes it look. Let's bake together.
What Is Danish Dream Cake (Drømmekage)?
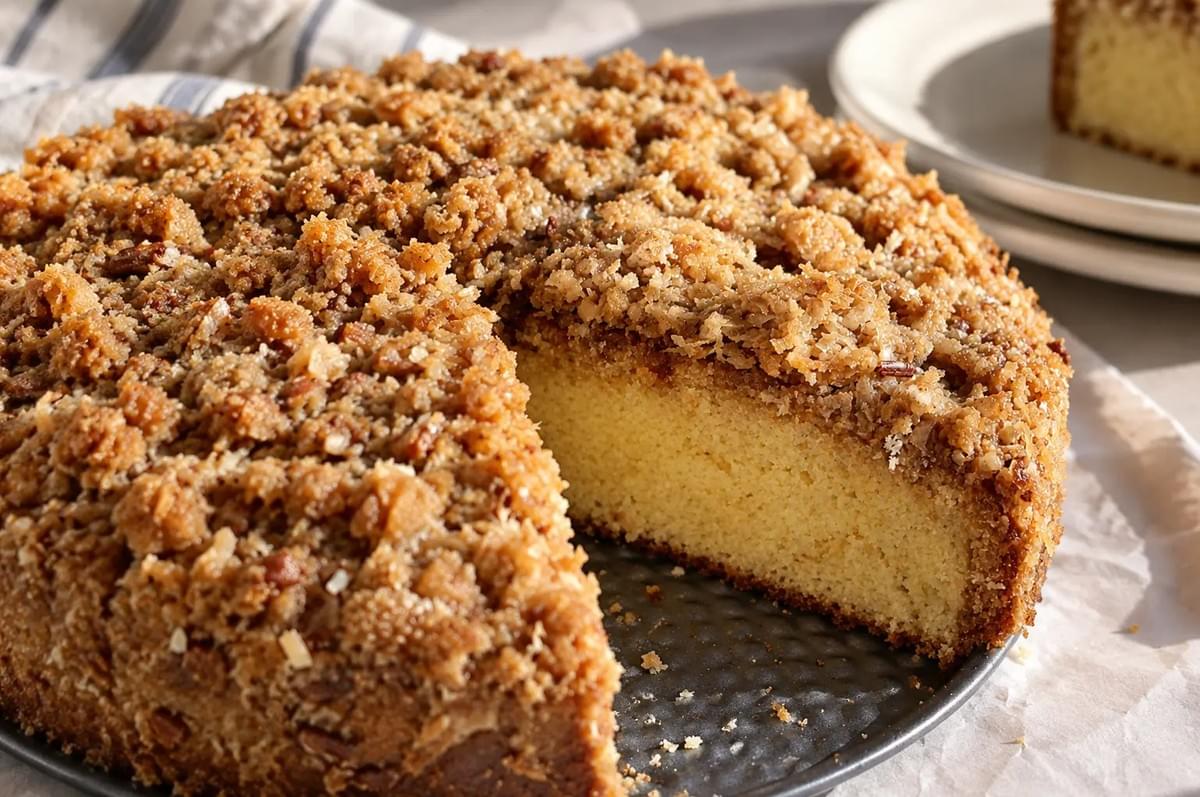
In Denmark, this cake is called Drømmekage, which means "dream cake". The name fits.
It is a classic, the kind of thing baked in home kitchens across the country and often tied to the town of Brovst, where the recipe is said to have taken off. The cake itself is a simple, light sponge-style base, nothing fancy. What makes it special is the topping: shredded coconut cooked with butter and brown sugar, then spooned over the cake and baked again until it turns sticky and caramelized.
That two-stage bake is the whole trick. The cake goes in first, sets partway, and then the warm coconut topping goes on and finishes in the oven. What you get is a soft crumb below and a chewy, golden crown on top. Humble ingredients, quietly wonderful result.
Why You'll Love This Recipe
- Simple pantry ingredients. Flour, eggs, sugar, butter, milk, coconut. Nothing to hunt for.
- A soft, fluffy base. Light and tender, the perfect quiet partner to the topping.
- The topping is the star. Buttery, chewy, caramelized coconut that no one can leave alone.
- Great for make-ahead. Bake it the day before and it holds up wonderfully.
- Better the next day. The flavors settle and the topping softens into the crumb.
- Beginner-friendly. No tricky techniques, no special equipment.
Ingredients You'll Need
Here is everything, split into the cake and the topping. A few notes to help along the way.
For the cake
- 3 large eggs, room temperature
- 3/4 cup (150 g) granulated sugar
- 1 1/3 cups (170 g) all-purpose flour
- 2 teaspoons baking powder
- 1/2 cup (120 ml) whole milk
- 4 tablespoons (55 g) butter
- 1 teaspoon vanilla extract
The eggs give the cake its light, airy lift, so beating them well with the sugar matters. Warm milk and melted butter fold in smoothly and keep the crumb tender. Vanilla rounds everything out. No whole milk? Any milk works, though whole gives the softest result.
For the coconut topping
- 3/4 cup (75 g) shredded coconut (unsweetened preferred)
- 1/2 cup (100 g) packed brown sugar
- 4 tablespoons (55 g) butter
- 3 tablespoons (45 ml) milk or cream
Brown sugar is what gives the topping its caramel depth and color. Light or dark both work, with dark bringing a richer, deeper note. Cream makes the topping a touch more luxurious, but milk does the job just fine. If your coconut is sweetened, cut the brown sugar by a spoonful or two.
Tools & Equipment
- A 9x9 inch baking pan
- Parchment paper
- Two mixing bowls
- A whisk or hand mixer
- A small saucepan (for the topping)
- A rubber spatula
- Measuring cups and spoons
Step-by-Step Instructions
Read through once, then let's go.
1. Prep your pan and oven
Heat your oven to 350°F (175°C). Line the 9x9 pan with parchment, leaving a little overhang on two sides so you can lift the cake out later.
2. Warm the milk and butter
In a small saucepan or the microwave, gently warm the 1/2 cup milk with the 4 tablespoons butter until the butter melts. Set it aside to cool slightly. You want it warm, not hot.
3. Beat the eggs and sugar
In a large bowl, beat the eggs and granulated sugar together until pale, thick, and fluffy, about 3 to 4 minutes. This is where the cake gets its lift, so give it time. It should look light and slightly foamy.
4. Fold in the dry ingredients
Whisk the flour and baking powder together, then gently fold them into the egg mixture. Go slow and easy here. Overmixing knocks out the air you just worked in.
5. Add the milk and vanilla
Pour in the warm milk-and-butter mixture and the vanilla. Stir gently until the batter is smooth and just combined. It will be thin and pourable, and that is exactly right.
6. First bake
Pour the batter into your lined pan and bake for about 20 to 25 minutes. The cake is ready for the next step when the top is set and springs back to a light touch, and a toothpick comes out mostly clean. It should look pale golden, not deeply browned.
7. Make the topping (while the cake bakes)
Here's the fun part. In a small saucepan over medium heat, combine the coconut, brown sugar, 4 tablespoons butter, and the milk or cream. Stir until the butter melts and everything comes together into a loose, bubbly mixture, about 2 to 3 minutes. Do not worry if it looks a little runny and glossy. That is what you want.
8. Add the topping and second bake
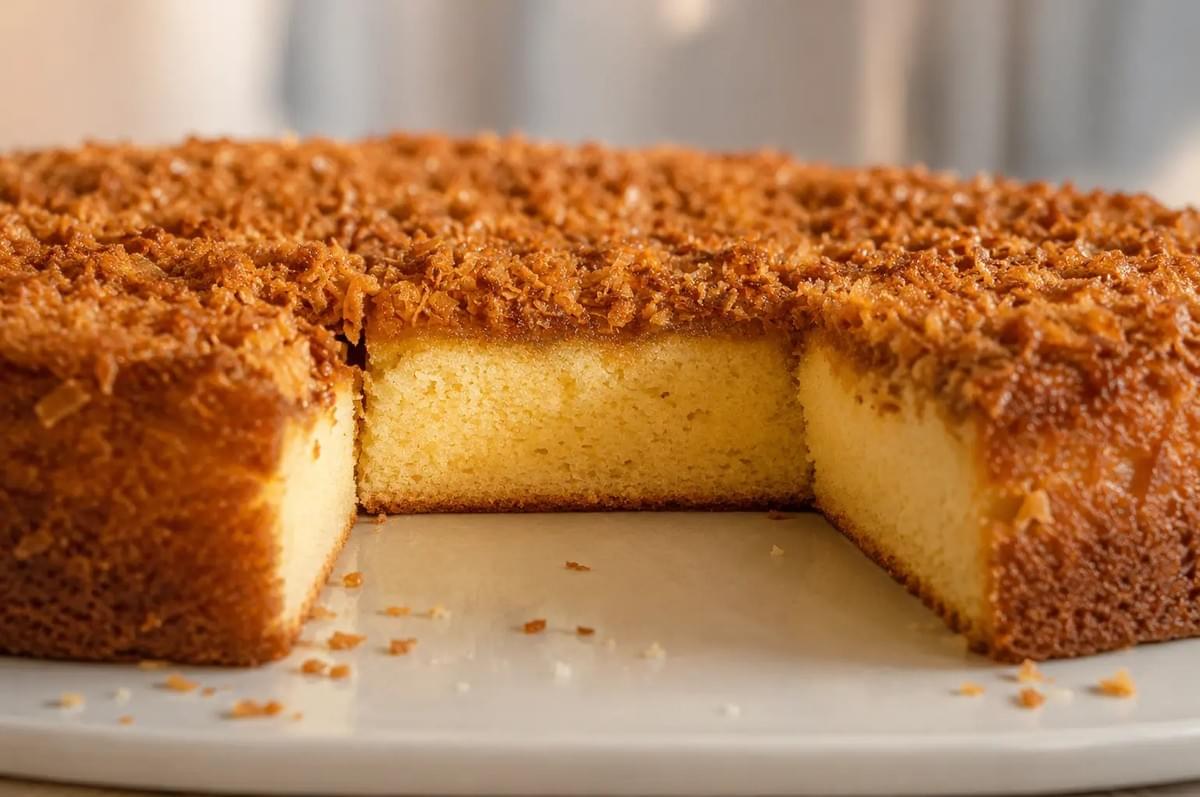
Take the cake out and gently spoon the warm coconut topping evenly over the surface. Spread it right to the edges. Return the pan to the oven and bake for another 8 to 10 minutes, until the topping is bubbling and turns a deep, golden caramel color.
9. Cool, then slice
Let the cake cool in the pan for at least 20 minutes so the topping firms up. Lift it out using the parchment, then cut into squares. Warm or room temperature, both are lovely.
Pro Tips for the Best Dream Cake
- Do not overmix the batter. Fold gently once the flour goes in. Those beaten eggs are carrying all the lift, so protect them.
- Keep it from drying out. Watch the first bake closely and pull the cake once it just springs back. Overbaking is the main reason it turns dry.
- Spread the topping evenly. Work it right to the corners so every square gets its share of caramelized coconut.
- Caramelize without burning. The topping browns fast in those last minutes. If the edges darken quicker than the center, tent the pan loosely with foil.
- Warm topping spreads best. Spoon it on while it is still loose and pourable, straight from the pan.
Troubleshooting
- Cake sank in the middle. Usually underbaking, or the oven door opened too early. Let it finish fully before checking, and use the toothpick test.
- Topping too runny. It needs another minute or two in the oven to bubble and set. It also firms up considerably as it cools.
- Topping too hard. It cooked a touch too long, or had too little liquid. Next time, pull it a little sooner and add a splash more cream.
- Coconut browning too quickly. Tent the pan with foil and lower the rack a notch if your oven runs hot.
- Cake came out dry. Overbaked, or too much flour. Spoon and level your flour, and check the cake early.
Serving Ideas
This cake is happy on its own, but it plays well with a few friends.
- A strong cup of coffee or a pot of tea, the classic pairing
- A soft dollop of whipped cream on the side
- A scatter of fresh berries for a little brightness
- Served warm for a gooey topping, or at room temperature for a chewier bite
It suits a slow morning as easily as it does an afternoon gathering.
Storage & Make-Ahead
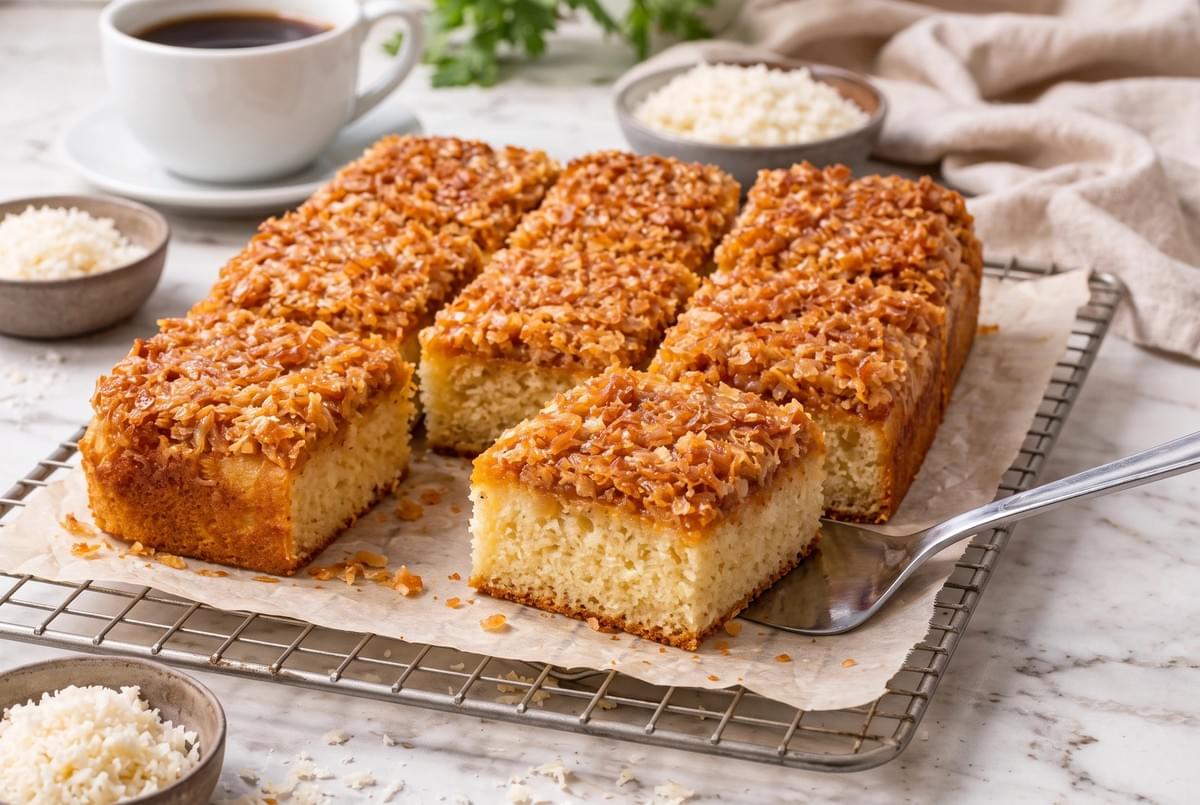
Danish Dream Cake keeps beautifully, which is part of its charm.
- Room temperature: Store in an airtight container for up to 3 days. The flavors deepen overnight, so day two is genuinely a treat.
- Fridge: It keeps for about 5 days chilled, though the crumb firms up a little when cold. Let slices come back to room temperature before serving.
- Freezer: Wrap squares well and freeze for up to 2 months. Thaw at room temperature.
- To reheat: A few seconds in the microwave brings back that soft crumb and softens the topping again.
FAQs
Can I use sweetened coconut?
Yes. Just cut the brown sugar in the topping by a spoonful or two so it does not turn overly sweet.
Can I make it gluten-free?
You can try a good one-to-one gluten-free flour blend in place of the all-purpose. The texture shifts slightly, but it still bakes up soft.
Can I bake it in a loaf pan or round pan?
A round 9-inch pan works nicely. A loaf pan runs deeper, so it will need a longer bake and a close eye on the center. The topping stays the same either way.
What's the best pan size?
A 9x9 inch pan is the sweet spot here. It gives an even layer and the right balance of soft cake to caramelized topping.
Why is my cake dense instead of fluffy?
The beaten eggs likely lost their air. Beat them with the sugar until pale and thick, and fold the flour in gently.
One Last Slice
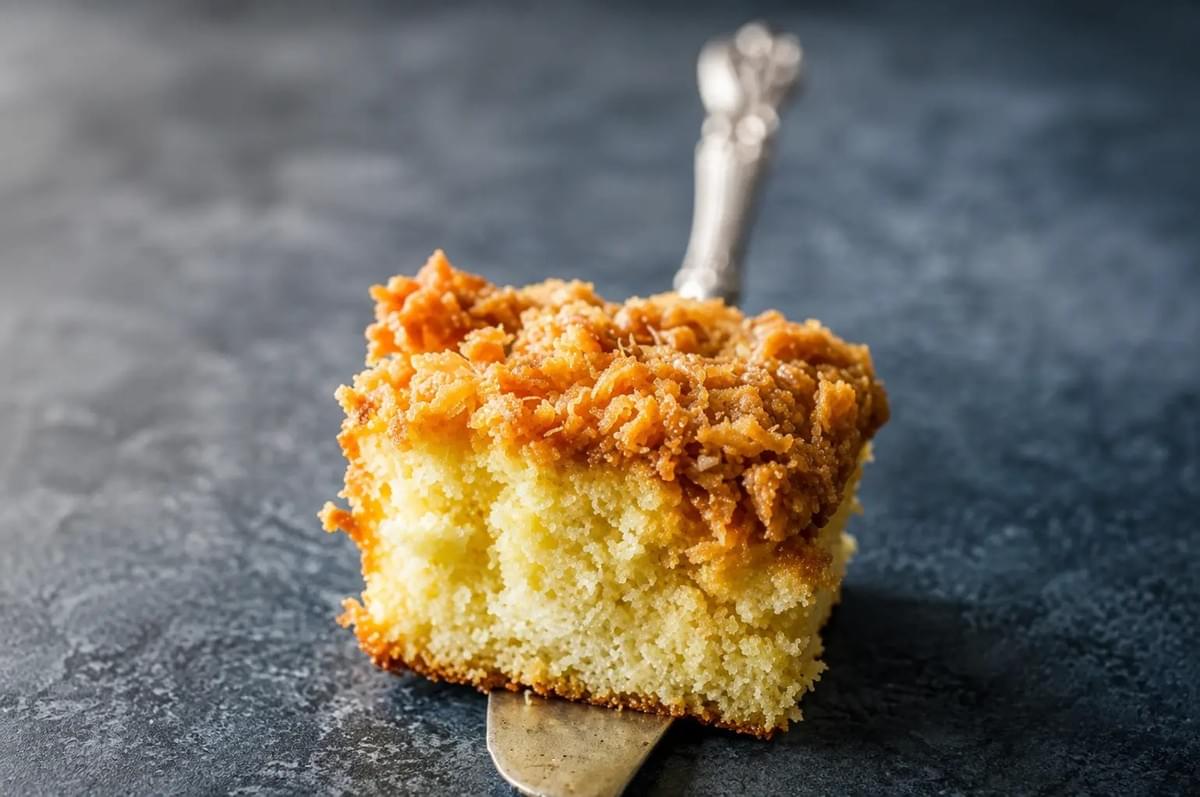
Some cakes ask a lot of you. This one just asks for a little patience and a warm oven.
It is the kind of bake that fills the kitchen with the smell of caramel and coconut, then quietly disappears square by square over the next few days. No fuss, no fanfare. Just something soft and sweet, made to be shared.
Bake one this weekend, then come tell us how it went over at Our Food Rhythms. We would love to know whether you served it warm with cream or saved a square for tomorrow's coffee.
