

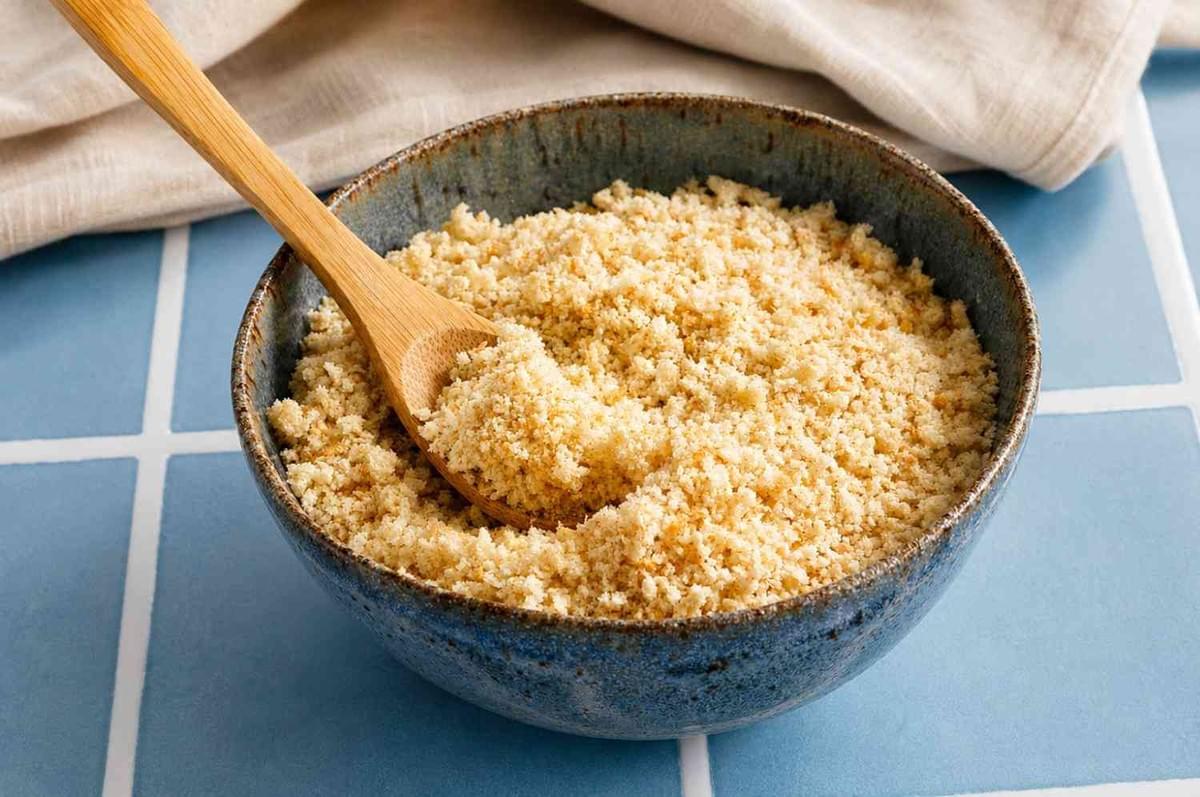
There is always a heel of bread left behind.
The last two slices in the bag, a bit stiff at the edges. The end of a baguette that no one wanted. For years I treated these as scraps, half-forgotten at the back of the counter. Then I started saving them, and I have not bought a bag of breadcrumbs since.
Homemade breadcrumbs are one of the simplest kitchen habits worth keeping. They cost nothing beyond bread you already own. They cut down on waste. And they give you full control over texture and seasoning, something no store-bought carton can offer.
Day-old bread is ideal for this. Slightly stale bread has already lost some of its moisture, which means it dries and crumbles far more easily than a fresh loaf. Fresh bread tends to gum up and clump. A day or two of age does most of the work for you.
Let me walk you through it, from choosing bread to storing the finished crumbs.
What Kind of Bread Works Best
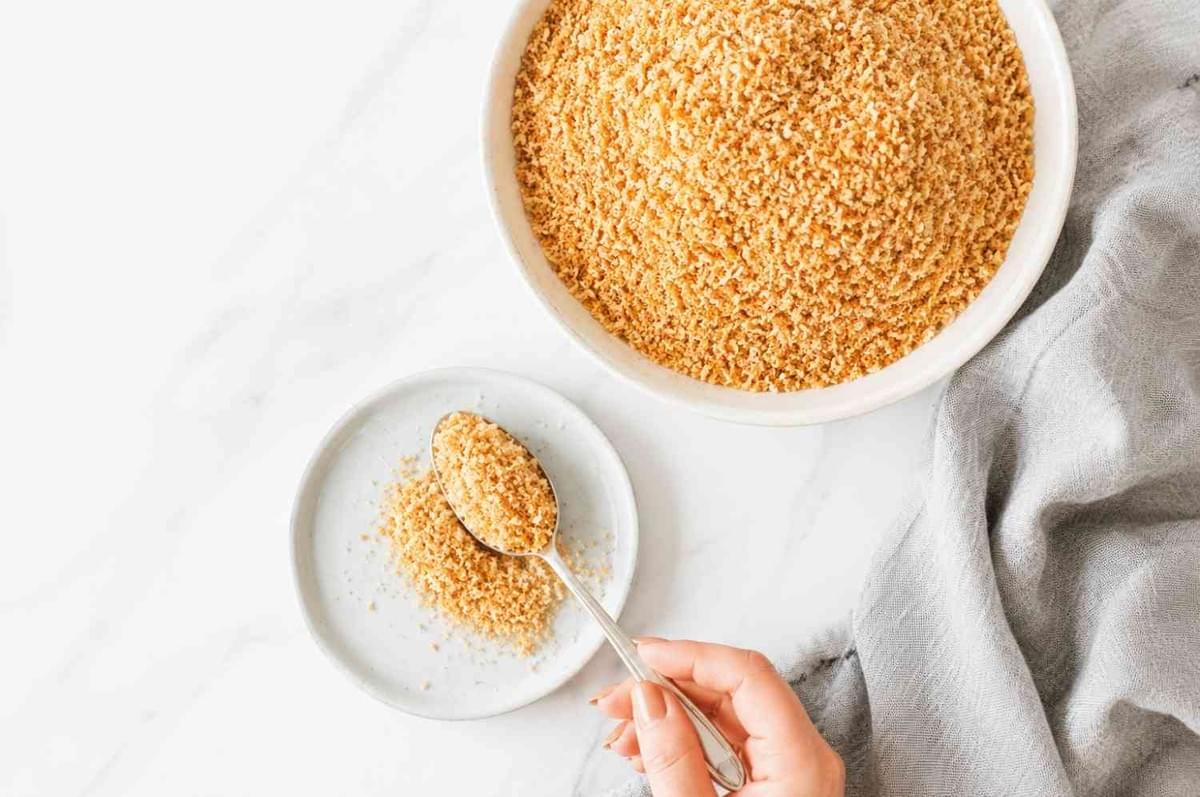
Almost any bread can become breadcrumbs, though each type brings its own character.
- White sandwich bread: Mild, soft, and neutral. Makes tender, even crumbs that suit most recipes.
- Whole wheat: Nuttier and a touch denser. Good for heartier dishes and rustic toppings.
- Sourdough: Tangy and firm, with excellent flavor. The sturdy crumb dries and grinds beautifully.
- Baguette or other lean crusty bread: Dries fast and grinds into crisp, clean crumbs. A reliable everyday choice.
- Brioche or enriched bread: Rich with butter and egg. Best for sweeter or more delicate applications, though the higher fat content shortens shelf life.
A few things to avoid. Very wet or fresh bread will clump rather than crumble, so let it dry first. Skip anything heavily oiled or garlic-buttered, since the added fat turns rancid quickly and muddies the flavor. And moldy bread should always be discarded, never salvaged. If you see mold, throw the whole slice away.
Fresh vs. Dried Breadcrumbs
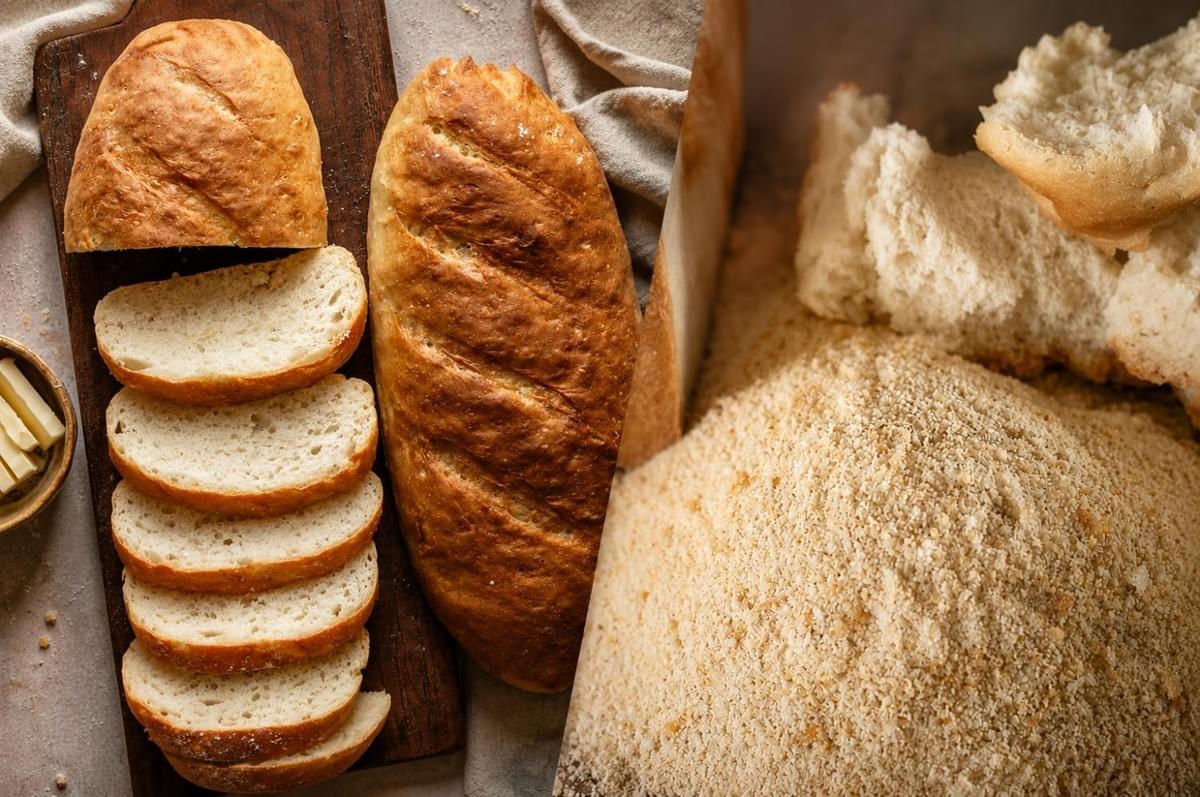
There are two broad kinds of breadcrumbs, and knowing the difference helps you choose the right one.
Fresh breadcrumbs are made from soft, day-old bread that has not been fully dried. They are moist, light, and fluffy, with a soft texture. Use them as binders and for a tender result, in meatballs, meatloaf, and vegetable patties. They melt into a dish rather than sitting on top of it.
Dried breadcrumbs are made from bread that has been dried out completely, then ground. They are firm, sandy, and shelf-stable. Reach for these when you want crunch and coating, as in breaded chicken or fish, or scattered over a casserole for a crisp finish.
The rule of thumb is simple. Fresh crumbs bind and soften. Dried crumbs coat and crisp.
How to Dry Day-Old Bread
If you want dried breadcrumbs, you need to remove the remaining moisture first. There are two dependable methods.
Air-Drying Method
This takes no energy and very little effort, just time.
- Cut or tear the bread into small cubes or slices, roughly one inch across. Smaller pieces dry faster and more evenly.
- Spread them in a single layer on a tray or baking sheet.
- Leave them uncovered at room temperature for 12 to 24 hours, tossing once or twice.
- The bread is ready when it feels hard and snaps rather than bends.
Air-drying works best in a dry kitchen. In humid conditions, the oven method is more reliable.
Oven Method
Faster, and useful when you want crumbs the same day.
- Heat the oven to a low temperature, around 300°F (150°C).
- Spread the cubed bread in a single layer on a baking sheet.
- Bake for 10 to 15 minutes, stirring once or twice for even drying.
- Pull the bread once it is dry and firm but still pale.
Keep the heat low and watch closely. The goal is to dry, not to brown, unless you specifically want toasted crumbs with a deeper, nuttier flavor. If so, leave them a few minutes longer until lightly golden, then cool before grinding.
How to Make Breadcrumbs
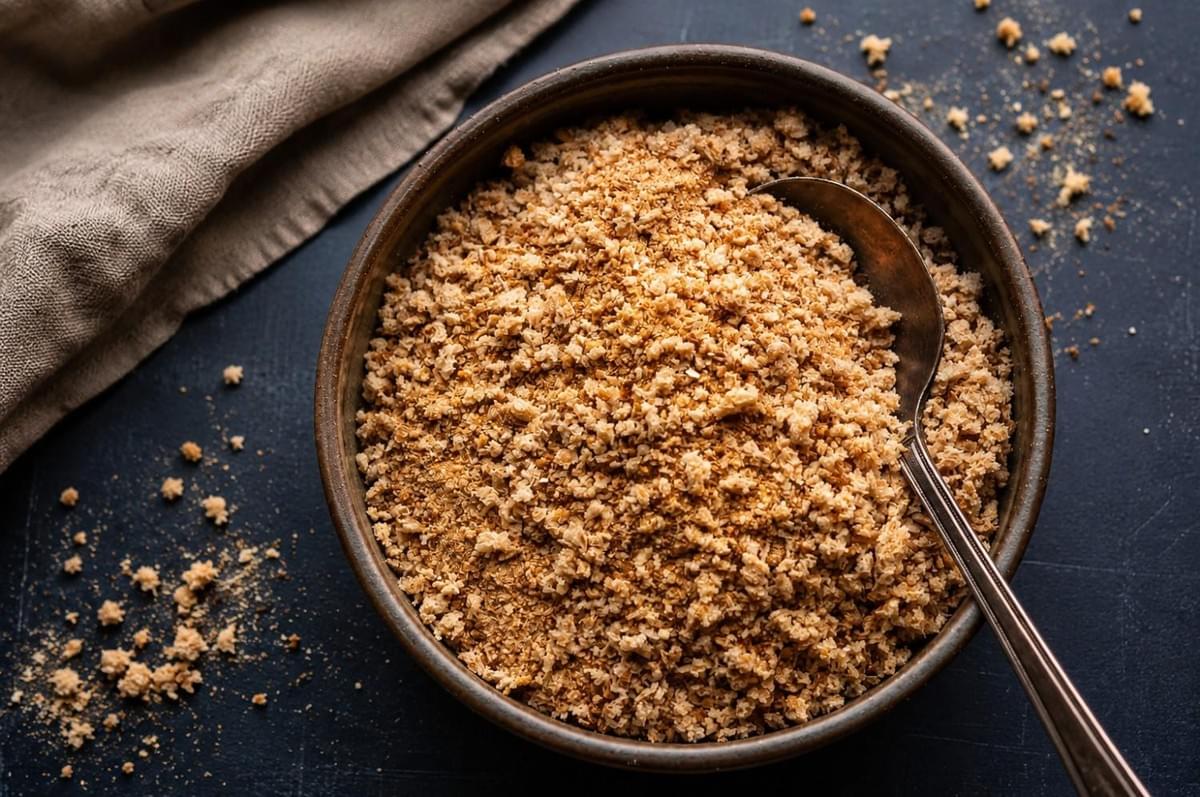
Once your bread is dried (or, for fresh crumbs, simply day-old and soft), grinding is quick. Here is how to make breadcrumbs with the tools you likely already have.
Food Processor Method
The easiest and most versatile approach.
- Break the bread into chunks and add them to the bowl.
- Pulse in short bursts rather than running it continuously.
- Stop when you reach the size you want.
The key is restraint. Over-processing turns crumbs into fine powder in seconds, so pulse and check often.
Grater Method
Good for very dry, hard bread and when you have no machine.
- Rub the dried bread against the coarse holes of a box grater.
- Work over a bowl or clean surface to catch the crumbs.
This gives a rustic, medium-coarse texture, and it is oddly satisfying, if a little slow.
Blender Method
A blender works in a pinch, but with cautions.
- Add only small batches, or the blades will not catch the bread evenly.
- Pulse rather than blend continuously.
- Expect uneven results, with some fine and some coarse crumbs mixed together.
Controlling Crumb Size
- Fine crumbs: Process longer, in more pulses. Best for smooth coatings and delicate binders.
- Medium crumbs: A few short pulses. The all-purpose choice.
- Coarse crumbs: Grate, or pulse just once or twice. Ideal for crunchy toppings.
Panko-Style Breadcrumbs at Home
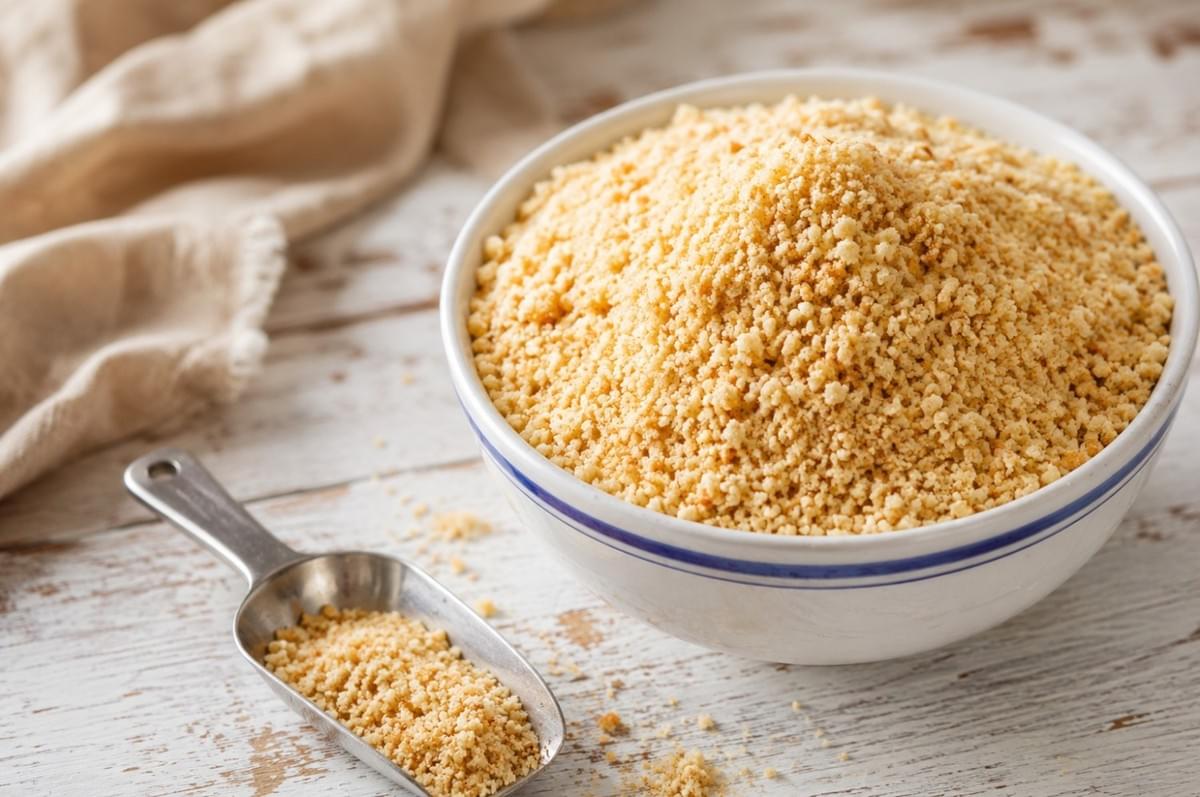
True panko is a Japanese breadcrumb made from crustless bread baked in a particular way, which produces large, airy, jagged flakes. They fry up especially light and crisp. You cannot replicate it exactly at home, but you can make panko-style breadcrumbs that come close in spirit.
Here is a simple approach for lighter, flakier crumbs:
- Start with soft white bread and remove the crusts. The crust adds density and color, so leaving it off keeps the crumbs pale and airy.
- Pulse the fresh, crustless bread gently in a food processor, just until it breaks into coarse, uneven flakes. Do not grind it fine.
- Spread the flakes on a baking sheet and dry them in a low oven, around 300°F (150°C), for about 6 to 10 minutes. Stir once. Pull them while still pale.
The result is lighter and flakier than standard dried crumbs. Not identical to true panko, but a fine stand-in for coating and frying.
Seasoned vs. Plain Breadcrumbs
Plain breadcrumbs are the most flexible, since they let the recipe lead. But a batch of seasoned breadcrumbs is convenient to have on hand.
Here is a balanced, gentle blend for about two cups of dried crumbs:
- 1 teaspoon salt
- 1/2 teaspoon black pepper
- 1 teaspoon garlic powder
- 1 teaspoon onion powder
- 1 to 2 teaspoons dried Italian herbs
- 1/2 teaspoon paprika
Optional additions:
- A few tablespoons of grated Parmesan for savory depth (though this shortens shelf life and is best kept refrigerated)
- A little lemon zest for brightness, best added just before using
Keep the seasoning modest. Many recipes are already seasoned, and you can always add more at the stove. It is harder to pull salt back out once it is in.
Storage and Shelf Life
How you store breadcrumbs depends on their moisture level. Always use an airtight container.
- Dried, plain breadcrumbs: Keep at room temperature for 1 to 2 weeks, or in the freezer for up to 3 months. Thoroughly dried crumbs last longest.
- Fresh (moist) breadcrumbs: Refrigerate and use within a few days, or freeze for up to 2 months. Their moisture makes them spoil faster.
- Crumbs with Parmesan or other perishables: Refrigerate and use within a week.
These ranges are guides, not guarantees. Humidity and the freshness of the original bread both affect how long crumbs last.
Watch for signs of spoilage. A stale or sour odor, damp clumping, or any visible mold all mean it is time to discard the batch. When in doubt, throw it out.
A Habit Worth Keeping
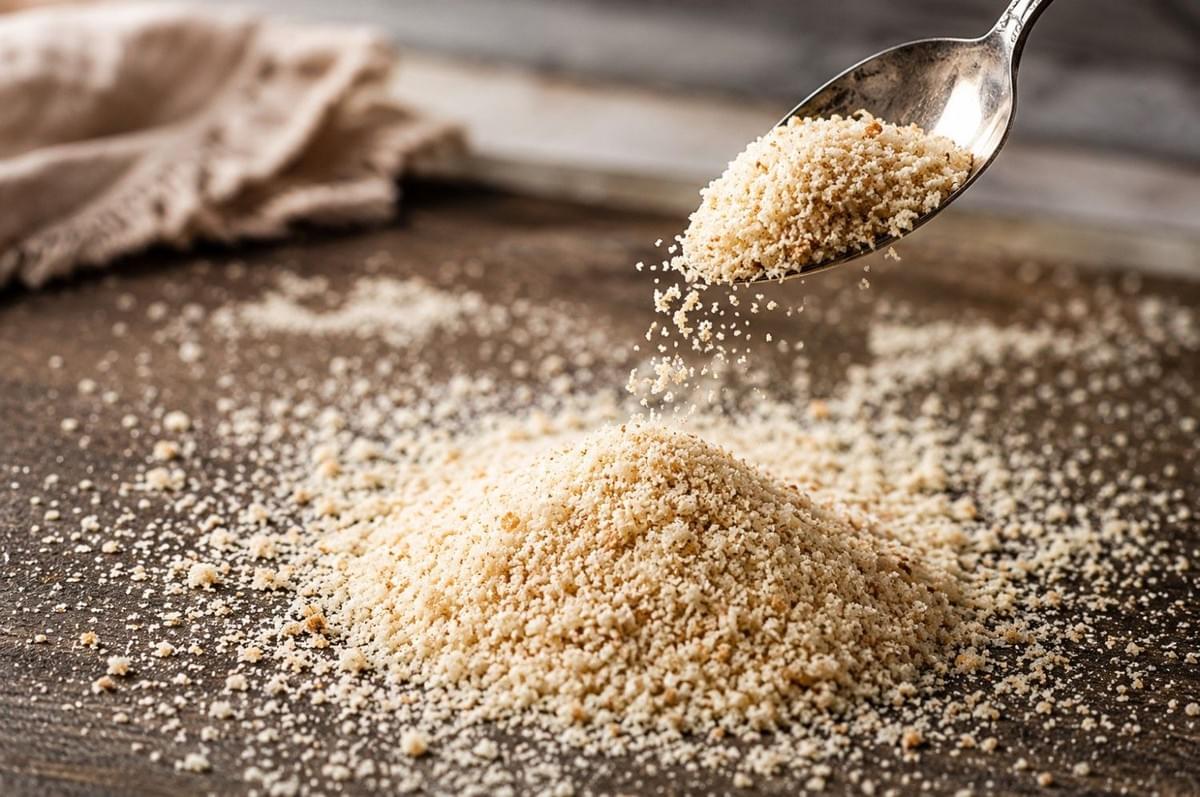
Making breadcrumbs from day-old bread is not a clever trick or a trend. It is an old, sensible habit, the kind that treats bread with the respect it deserves and wastes as little as possible.
There is quiet satisfaction in it too. You control the texture, from fine to coarse. You decide the seasoning, or leave it plain for whatever comes next. And a loaf that might have gone in the bin becomes something useful, waiting in a jar for the next meal.
Save your heels and ends. Dry them, grind them, and keep them close. You will find, as I did, that you reach for them far more often than you expected.
