

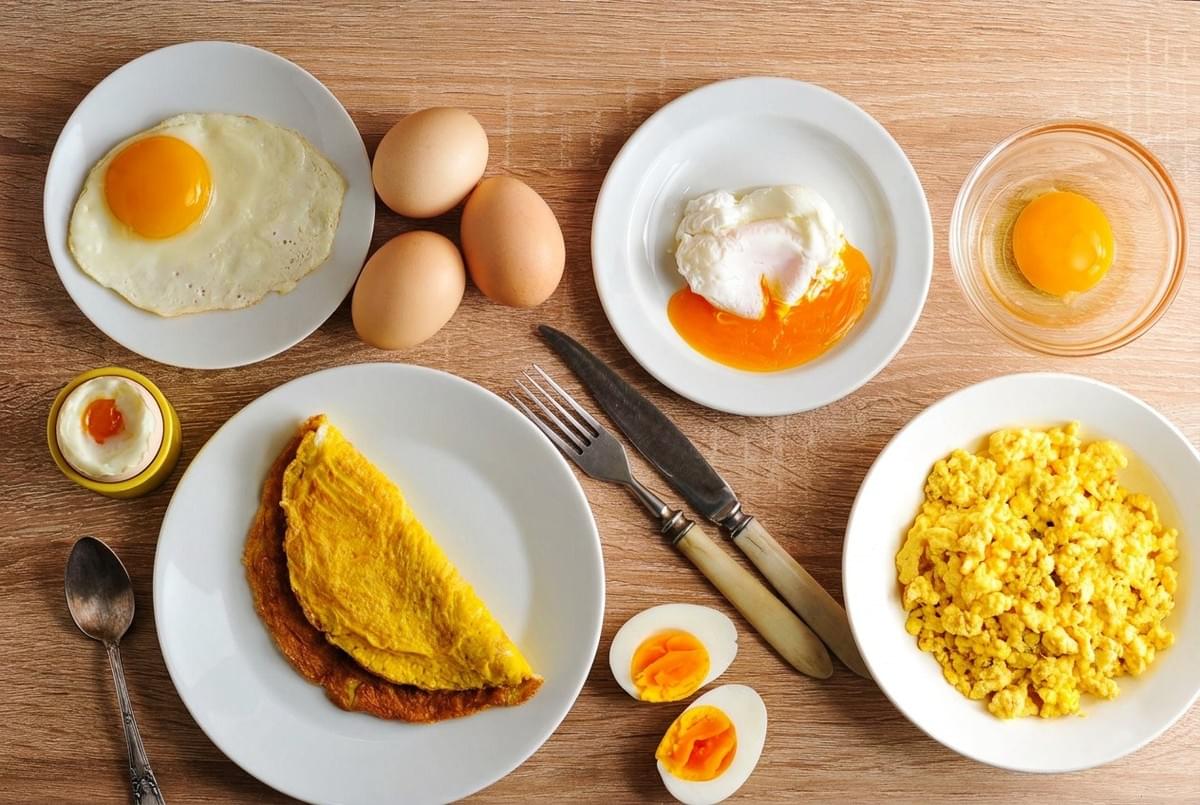
A pan warms on the stove. A pat of butter loosens, foams, and goes quiet. An egg cracks against the counter, and for a moment everything is possible: a trembling poached egg, a folded omelet, a yolk that runs slowly into toast.
Few ingredients change as much with so little. The same egg can turn silky, crisp, custardy, or firm depending on heat, time, and how you handle it. Learning how to cook eggs well is less about recipes and more about paying attention. You learn to watch the whites turn opaque, to feel when curds are almost ready, and to notice the gentle wobble of a yolk that has just set.
This guide covers six methods. Each one teaches something useful about heat and timing, skills that carry into much of your everyday cooking.
Before You Start: A Few Notes on Timing and Safety
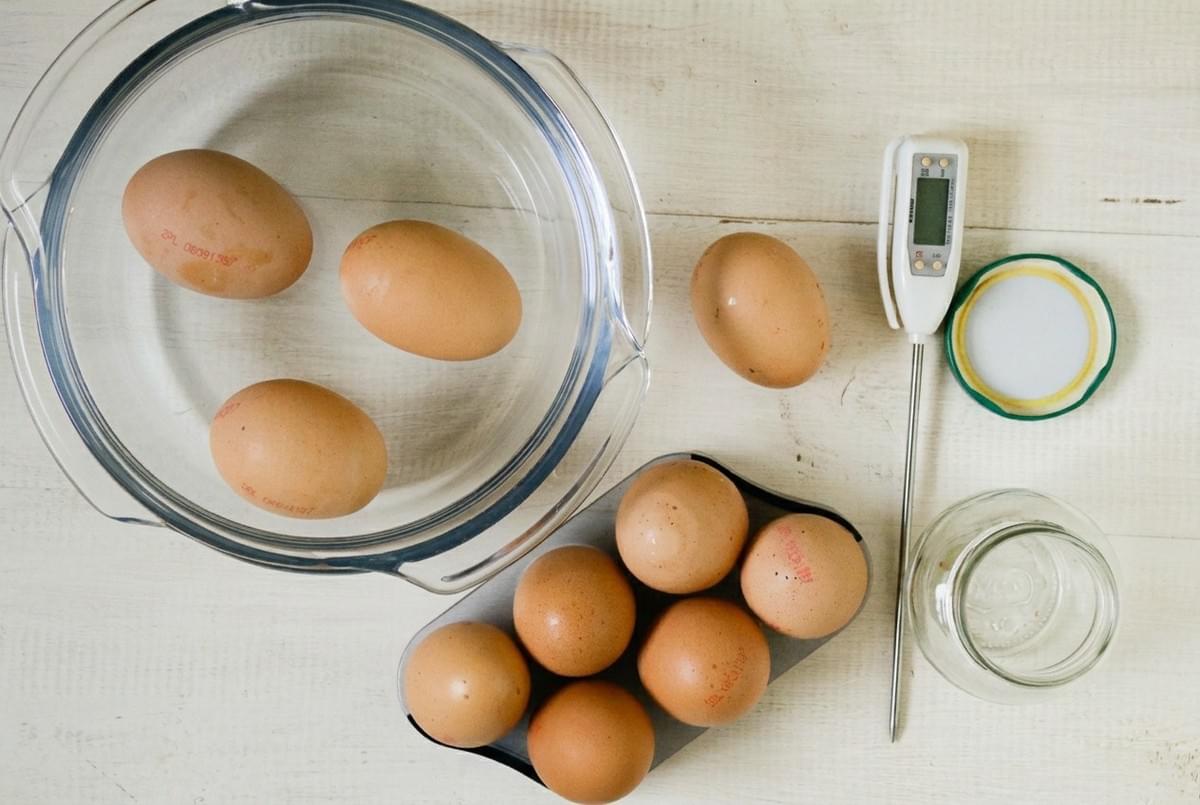
Every time in this guide is a starting point, not a promise. Egg size, starting temperature, the weight of your pan, and the strength of your burner all shift the clock. The times below assume large eggs straight from the refrigerator. Use them as a guide, and trust the visual and textural cues more.
A few safety basics apply to every method:
- Store eggs in the refrigerator at 40°F (4°C) or below, in their carton, on a shelf rather than in the door.
- Discard cracked or dirty eggs.
- Wash your hands and any surfaces that touch raw egg.
- Cook eggs until the whites and yolks are firm for the lowest risk. Dishes containing eggs should reach 160°F (71°C).
- Choose pasteurized eggs for any preparation with a runny or soft yolk, such as soft-boiled, poached, sunny-side up, or soft-scrambled eggs. This matters most for young children, older adults, pregnant people, and anyone with a weakened immune system.
- Refrigerate leftovers within 2 hours (within 1 hour if the room is above 90°F / 32°C), and eat them within 3 to 4 days.
With that settled, we can begin with the simplest pot of all.
Boiled Eggs: Soft, Medium, and Hard
Equipment: Saucepan, slotted spoon, bowl of ice water, timer
Ingredients: Eggs, water
Boiling looks effortless, but it rewards precision. A minute or two separates a liquid gold center from a firm, pale yolk.
Technique:
- Fill a saucepan with enough water to cover the eggs by about an inch. Bring it to a boil over high heat.
- Lower the eggs in gently with a slotted spoon, one at a time.
- Reduce the heat so the water holds a steady, gentle boil rather than a rolling one.
- Start your timer.
- When the time is up, move the eggs straight into ice water for at least 5 minutes.
Approximate times for large, refrigerated eggs:
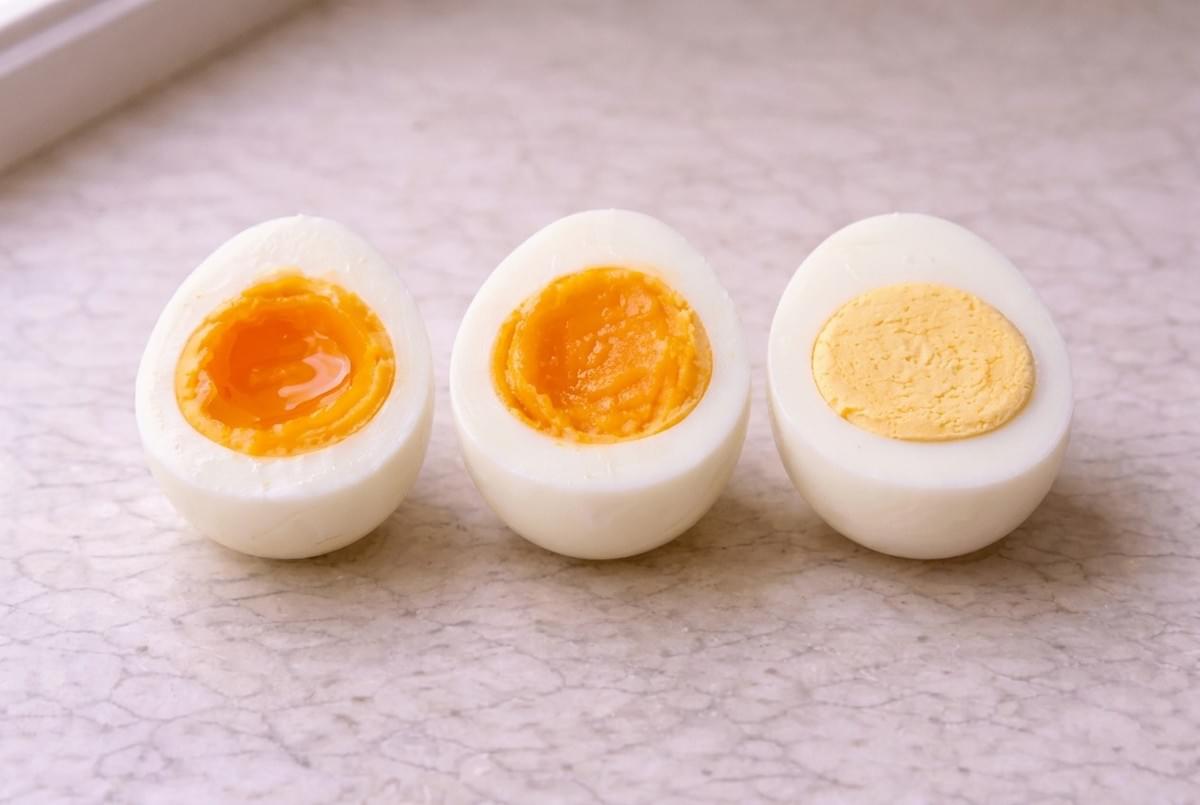
- Soft (6 minutes): Set whites, with a warm, fully runny yolk.
- Medium (7 to 8 minutes): Jammy yolk, thick and glossy, set at the edges.
- Hard (10 to 12 minutes): Fully firm yolk, pale yellow throughout.
The ice bath stops the cooking and helps the shell release. A green-gray ring around a hard yolk signals overcooking. It's harmless, but it tastes slightly sulfurous and feels chalky.
Avoiding cracked shells: Lower the eggs slowly so they don't strike the bottom of the pot. Keep the boil gentle, since violent bubbles knock eggs against each other. Very cold eggs can crack from the sudden heat. If this happens often, let them sit at room temperature for 10 minutes first, then shorten the cooking time slightly.
Peeling tip: Crack the shell all over on the counter, then peel under a thin stream of water, starting at the wider end, where an air pocket usually sits. Eggs that are a week or two old often peel more easily than very fresh ones.
To serve: Halve soft eggs over buttered toast, slice jammy eggs into ramen or grain bowls, and keep hard-boiled eggs for salads, sandwiches, and snacks. Peeled or unpeeled, cooked eggs keep refrigerated for up to a week.
From the pot of boiling water, we move to one that barely moves at all.
Poached Eggs
Equipment: Wide saucepan or deep skillet, fine-mesh sieve, small bowl, slotted spoon, paper towels
Ingredients: Eggs (as fresh as possible), water, 1 teaspoon white vinegar (optional)
A poached egg cooks without its shell, held together only by its own whites. Fresh eggs matter here. As eggs age, their whites thin out and spread into ragged wisps.
Technique:
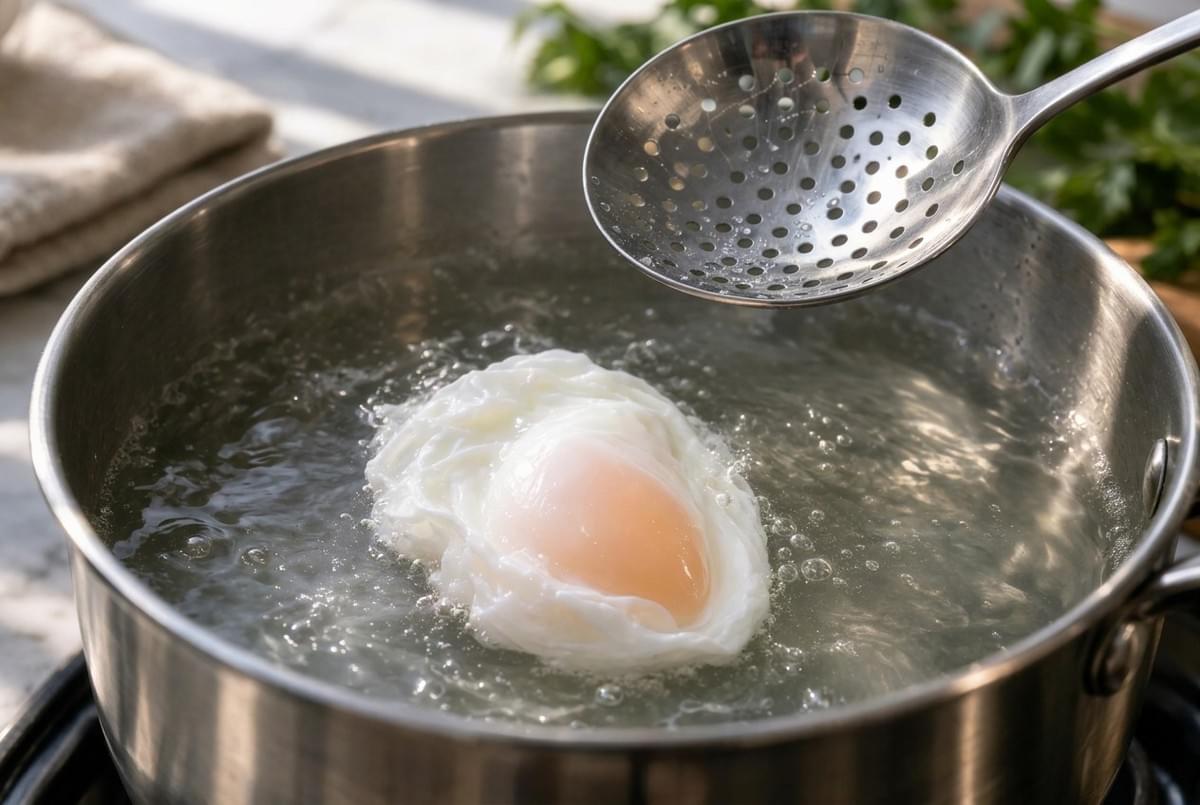
- Fill the pan with about 3 inches of water. Heat it over medium until small bubbles rise from the bottom and the surface just shivers, around 180 to 190°F (82 to 88°C). It shouldn't boil.
- Add the vinegar if using. It helps the whites firm up faster.
- Crack an egg into a fine-mesh sieve set over a bowl. Let the thin, watery white drain away for a few seconds. Then tip the egg into a small bowl.
- Lower the bowl close to the water and slide the egg in gently.
- Cook for 3 to 4 minutes for a runny yolk.
- Lift the egg out with a slotted spoon and blot it on a paper towel.
Signs of doneness: The white should look fully opaque, with no clear, jelly-like patches near the yolk. Nudge it with the spoon. The yolk should feel soft and yielding under a firm white.
Avoiding spreading: Straining is the most reliable fix. Water that is too hot also tears eggs apart, so keep it at a gentle shimmer. Poach no more than three or four eggs at a time, so the temperature stays steady.
Make-ahead option: Slip poached eggs into ice water and refrigerate them for up to a day. Rewarm them in hot (not simmering) water for about 30 to 60 seconds.
To serve: Over toast, asparagus, salads, or grain bowls, or in eggs Benedict. Use pasteurized eggs if anyone at the table should avoid runny yolks.
Scrambled Eggs
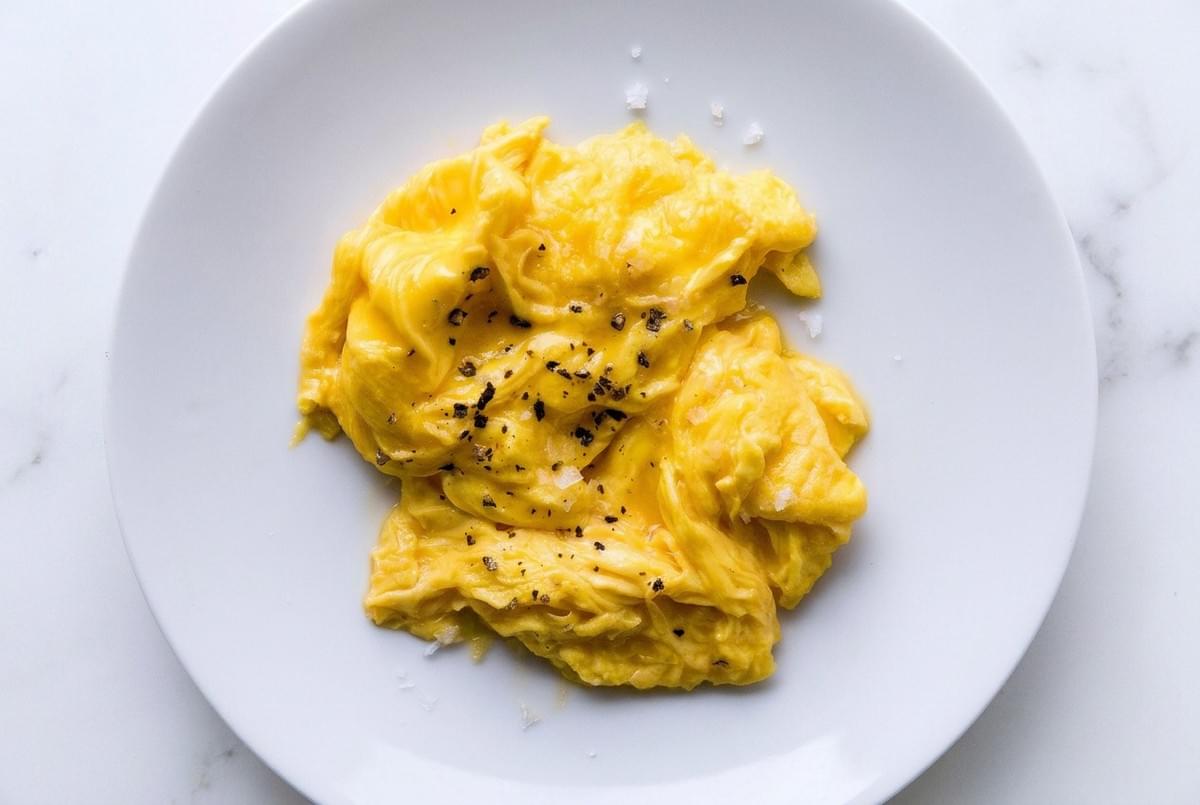
Equipment: Nonstick or well-seasoned skillet, whisk or fork, silicone or rubber spatula
Ingredients: 2 to 3 eggs per person, pinch of salt, 1 to 2 teaspoons butter
Scrambled eggs reveal how much control you have over heat. Cooked fast, they turn dry and rubbery. Cooked gently, they become soft, tender curds with a glossy finish.
Technique:
- Whisk the eggs and salt until fully blended, with no streaks of white. Salting a few minutes ahead helps them stay tender.
- Melt the butter in the skillet over medium-low heat until it foams but doesn't brown.
- Pour in the eggs. Wait a few seconds, until the edges just begin to set.
- Push the eggs slowly from the edge toward the center with the spatula, forming large, soft folds. Keep moving gently.
- Continue for 2 to 4 minutes, depending on your heat and pan.
Signs of doneness: The curds should be set, moist, and shiny, with no liquid egg pooling in the pan. Take the pan off the heat just as they reach this point. They'll keep cooking from their own warmth on the way to the plate.
Avoiding dry eggs: Lower the heat and slow down. Overcooking happens in seconds once the curds firm up. For larger, fluffier curds, stir less. For small, creamy curds, stir more often. Very soft, loose scrambled eggs are a texture best made with pasteurized eggs.
To serve: With toast, folded into tortillas, tucked into a bagel, or alongside sautéed greens. Fresh chives or a little black pepper finish them simply.
Where scrambled eggs ask for constant attention, fried eggs ask for patience.
Fried Eggs: Sunny-Side Up to Over Hard
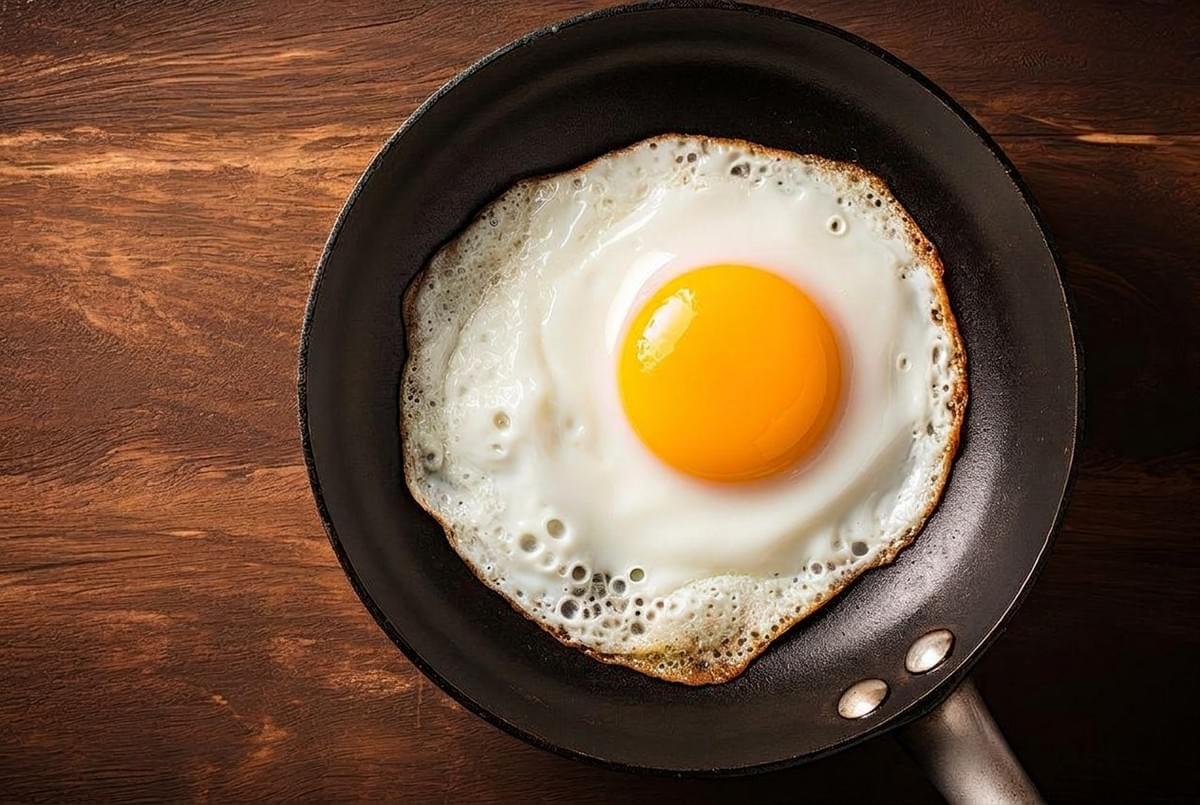
Equipment: Nonstick or well-seasoned skillet, thin spatula, small bowl, lid (optional)
Ingredients: Eggs, 1 to 2 teaspoons butter or oil per egg, salt and pepper
A good fried egg has a fully set white and a yolk cooked exactly as you like it. Some cooks prefer tender whites. Others want crisp, lacy brown edges. Both start the same way.
Technique:
- Heat the skillet over medium heat with butter or oil until the butter foams or the oil shimmers.
- Crack the egg into a small bowl first. This makes it easy to remove shell pieces and keeps the yolk intact.
- Slide the egg into the pan.
- Cook to your chosen doneness, below.
Degrees of doneness (approximate):
- Sunny-side up (2 to 3 minutes): Don't flip. The white sets fully while the yolk stays bright and runny. Cover the pan for the last 30 to 60 seconds, or spoon hot butter over the white, to set the thin layer near the yolk.
- Over easy (30 seconds after flipping): Cook until the white is mostly set, flip gently, and cook briefly. The yolk stays liquid.
- Over medium (about 1 minute after flipping): The yolk turns thick and jammy.
- Over hard (2 minutes or more after flipping): Break the yolk if you like, and cook until it's fully firm.
Avoiding overcooked eggs: If the edges brown before the white sets, lower the heat. For crisp edges, use a little more oil over medium-high heat, but watch closely. To flip without breaking the yolk, slide a thin spatula fully under the egg and turn it close to the pan's surface.
To serve: On rice, over a burger, on toast, or across leftover vegetables reheated in the same pan.
Omelets
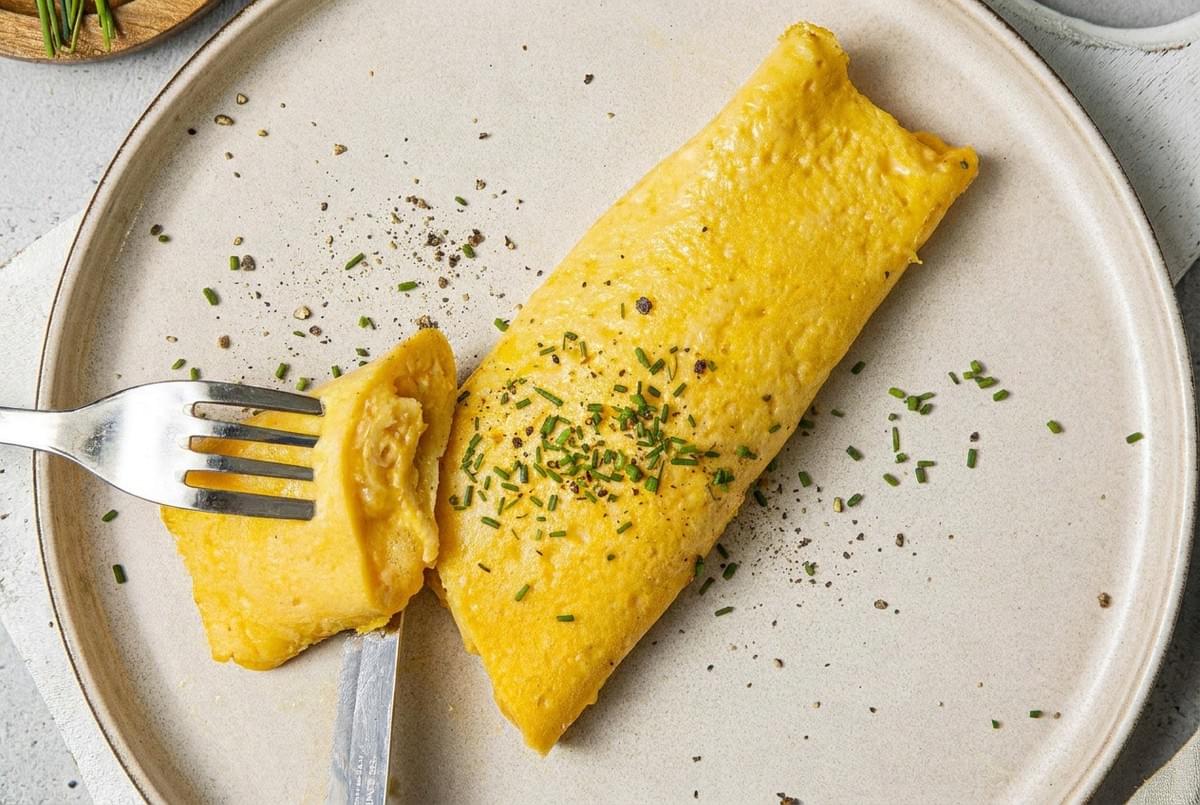
Equipment: 8-inch nonstick skillet, whisk or fork, silicone spatula
Ingredients: 2 to 3 eggs, pinch of salt, 1 tablespoon butter, fillings (optional)
An omelet is a lesson in timing. The eggs cook quickly, and the fold has to happen while the surface is still slightly soft.
Technique (classic folded omelet):
- Prepare any fillings first. Cook raw vegetables or meat ahead, and grate cheese, so everything is ready. Fillings should be warm or at room temperature.
- Whisk the eggs and salt until smooth and uniform.
- Melt the butter in the skillet over medium heat until it foams.
- Pour in the eggs. Stir quickly with the spatula while gently shaking the pan for 15 to 20 seconds, forming small curds.
- Stop stirring. Spread the eggs into an even layer and let them set for 30 to 60 seconds.
- Add fillings to one half.
- Lift the empty side and fold it over. Slide the omelet onto a plate.
Total cooking time is usually 1 1/2 to 3 minutes. A French-style omelet, rolled tightly with a pale exterior and creamy center, sits at the shorter end. An American-style omelet, folded once and lightly golden, sits at the longer end.
Signs of doneness: The bottom should be set and the top barely moist. For a fully set center, cook a little longer before folding.
Avoiding broken omelets: Use the right pan size. Too large a pan spreads the eggs thin and makes them tear. Too much filling also splits the fold, so keep it to about 1/3 cup. A well-buttered nonstick surface helps the omelet slide free.
To serve: With a small green salad, toast, or roasted potatoes. Simple fillings, such as cheese and herbs or sautéed mushrooms, let the eggs stay at the center.
Our last method trades the stovetop for the steady heat of the oven.
Baked Eggs
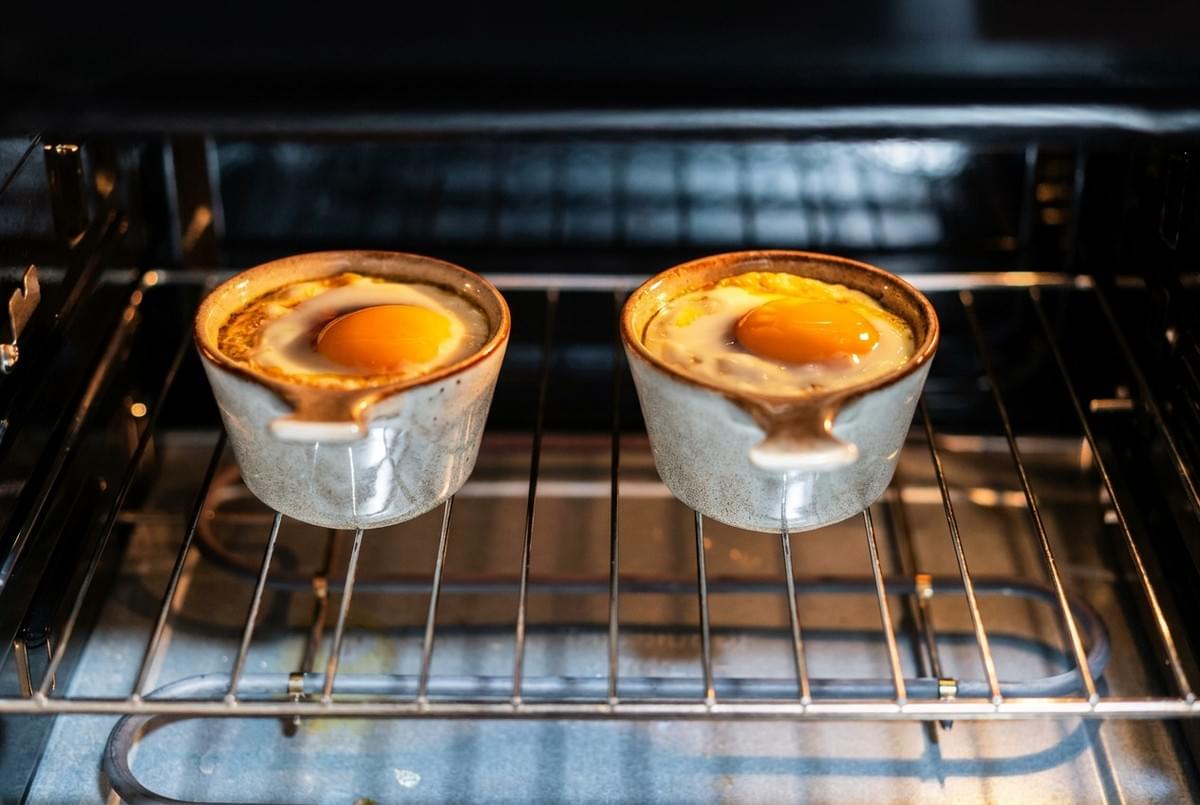
Equipment: Ramekins or a small baking dish, baking sheet
Ingredients: Eggs, butter for greasing, 1 tablespoon cream per egg (optional), salt and pepper
Baked eggs, sometimes called shirred eggs, cook in gentle, even heat. They're a good choice when you're serving several people at once.
Technique:
- Heat the oven to 375°F (190°C).
- Butter each ramekin. Add cream if using, which keeps the eggs tender and adds richness.
- Crack one or two eggs into each ramekin. Season with salt and pepper.
- Set the ramekins on a baking sheet for easy handling.
- Bake for 10 to 15 minutes.
Signs of doneness: The whites should be fully opaque and set, with no clear patches. The yolks should jiggle slightly for a soft center, or feel firm for a fully cooked one. Remove them a minute early, since ramekins hold heat and keep cooking the eggs after they leave the oven.
Avoiding uneven cooking: Thick ceramic ramekins heat slowly, so the whites near the yolk may lag behind. For gentler, more even heat, set the ramekins in a baking dish and add hot water halfway up their sides. Bake on the middle rack, and rotate the pan halfway through if your oven runs hot in spots.
Variations: Bake eggs in a skillet nestled into tomato sauce, sautéed greens, or leftover vegetables. Make small wells, crack in the eggs, and bake until the whites set.
To serve: With toast for dipping, a scattering of herbs, or grated cheese added for the final few minutes.
Choosing the Right Method
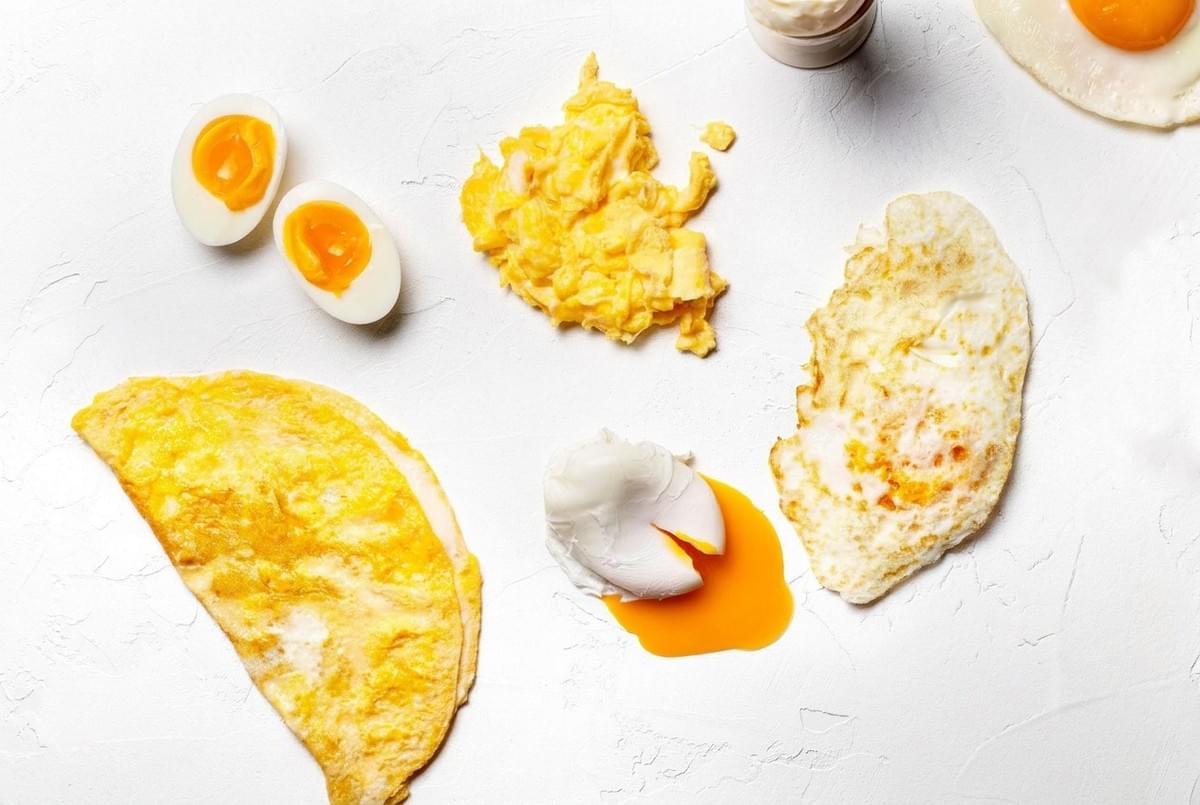
Each method answers a different need.
For something you can make ahead and carry, boil a batch. For a runny yolk that turns a simple plate into a meal, poach or fry. For a soft, comforting breakfast, scramble gently. When you want to fold in leftovers or feed one person well, make an omelet. When you're cooking for a table, let the oven bake eggs for you.
Start with the texture you love most, then try one method you haven't made before. Watch closely. The egg will show you when it's ready.
