

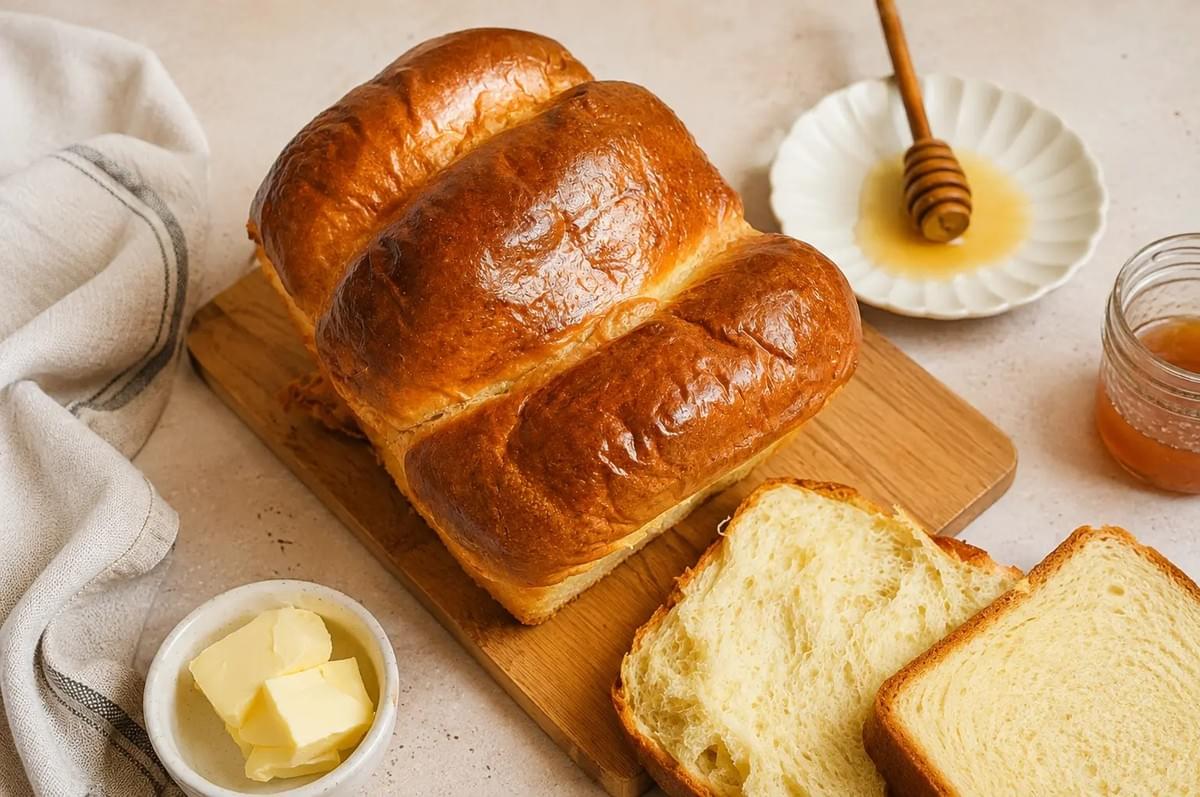
The first time you tear a piece off a fresh loaf, you will understand.
It pulls apart in soft strands, almost like cotton, warm and faintly sweet. The crust is thin and golden. The inside is pale and tender, the kind of crumb that springs back when you press it. This is Hokkaido milk bread, and once you make it, plain sandwich bread starts to feel a little sad by comparison.
Here is the good news. It looks fancy, but it is not fussy. With one small extra step (a quick pot of milk paste on the stove), you get a loaf that stays soft for days. Let me walk you through it. You've got this.
What Is Hokkaido Milk Bread?
Hokkaido milk bread is a Japanese-style loaf known for being unusually soft, light, and rich. It gets its name from the dairy-famous region of Hokkaido, and milk really is the heart of it.
What sets it apart from an everyday loaf is the enriched dough. That means milk, butter, a little sugar, and often an egg all work their way into the dough, giving it a fine, feathery crumb and a gentle sweetness.
The other secret is a pre-cooked paste, usually called tangzhong (a milk roux cooked on the stove before mixing). This little step traps extra moisture in the dough. The result is soft fluffy bread that stays tender long after baking, instead of drying out by the next morning.
What You'll Love About This Recipe
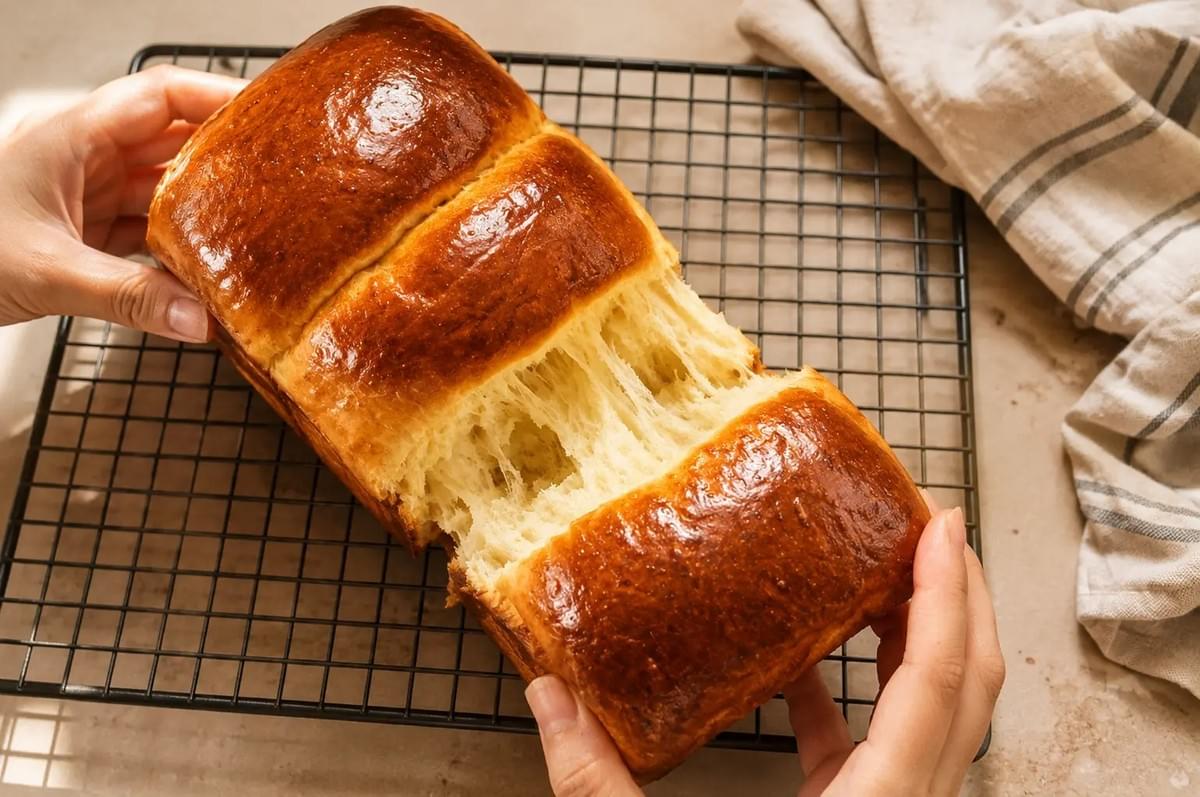
- Impossibly soft texture. That signature pillowy, tear-apart crumb.
- Stays fresh longer. The tangzhong keeps it tender for days.
- Beginner-friendly. Clear cues at every step, so you know exactly what to look for.
- Versatile. Wonderful for toast, sandwiches, or French toast.
- Deeply satisfying. There is real joy in pulling a golden loaf from your own oven.
The Tangzhong Method, Explained Simply
Do not let the word scare you. Tangzhong is just a small amount of flour and liquid cooked together into a thick paste. That is it.
What it is
You whisk a bit of flour with milk (and sometimes water) in a saucepan, then heat it gently until it turns into a soft, pudding-like paste. You let it cool, then add it to your dough.
Why it works
Cooking the flour lets it soak up more liquid than it normally could. That extra trapped moisture goes into your dough, which is exactly why the bread bakes up so soft and holds that softness for days.
What it should look like
You are aiming for a smooth, thick paste, a bit like loose mashed potato or a soft pudding. When you drag a whisk through it, the lines should hold for a moment before settling.
Ingredients Breakdown
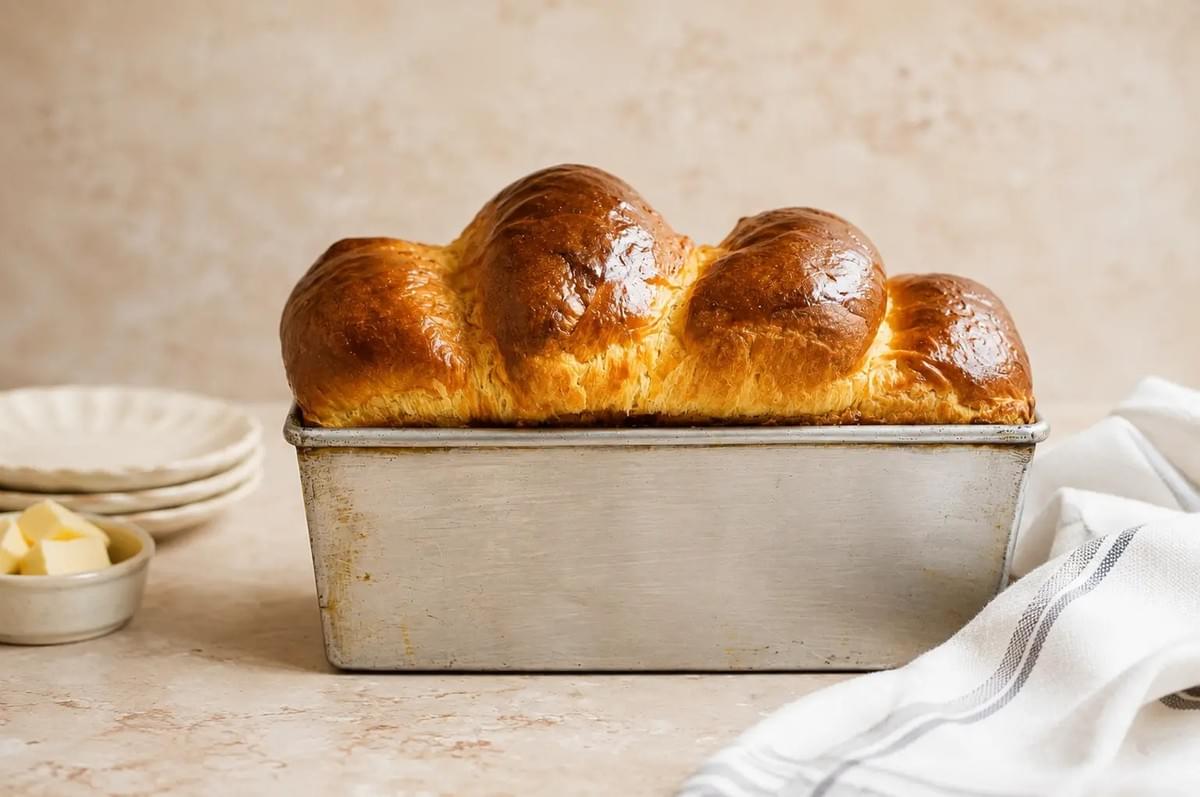
Here is what each ingredient does, plus a few smart swaps.
- Bread flour. The higher protein builds the stretchy structure that gives milk bread its bounce. All-purpose flour works in a pinch, but the loaf will be a little less chewy and tall.
- Whole milk. Adds richness and softness. Whole milk is best here. Lower-fat milk works but gives a slightly less tender crumb.
- Instant yeast. Easy and reliable, and you can mix it right in. If you only have active dry yeast, dissolve it first in a little of the warm milk with a pinch of sugar, and let it foam for 5 to 10 minutes.
- Sugar. Just enough for a gentle sweetness and to feed the yeast.
- Salt. Balances the sweetness and strengthens the dough. Do not skip it.
- Egg. Adds richness and color, and helps the crumb feel soft and plush.
- Butter, softened. Folded in after the dough comes together, for a tender, rich texture. Use unsalted so you control the salt.
- Milk powder (optional). A spoonful deepens that milky flavor. Lovely, but not essential.
How to Make Hokkaido Milk Bread
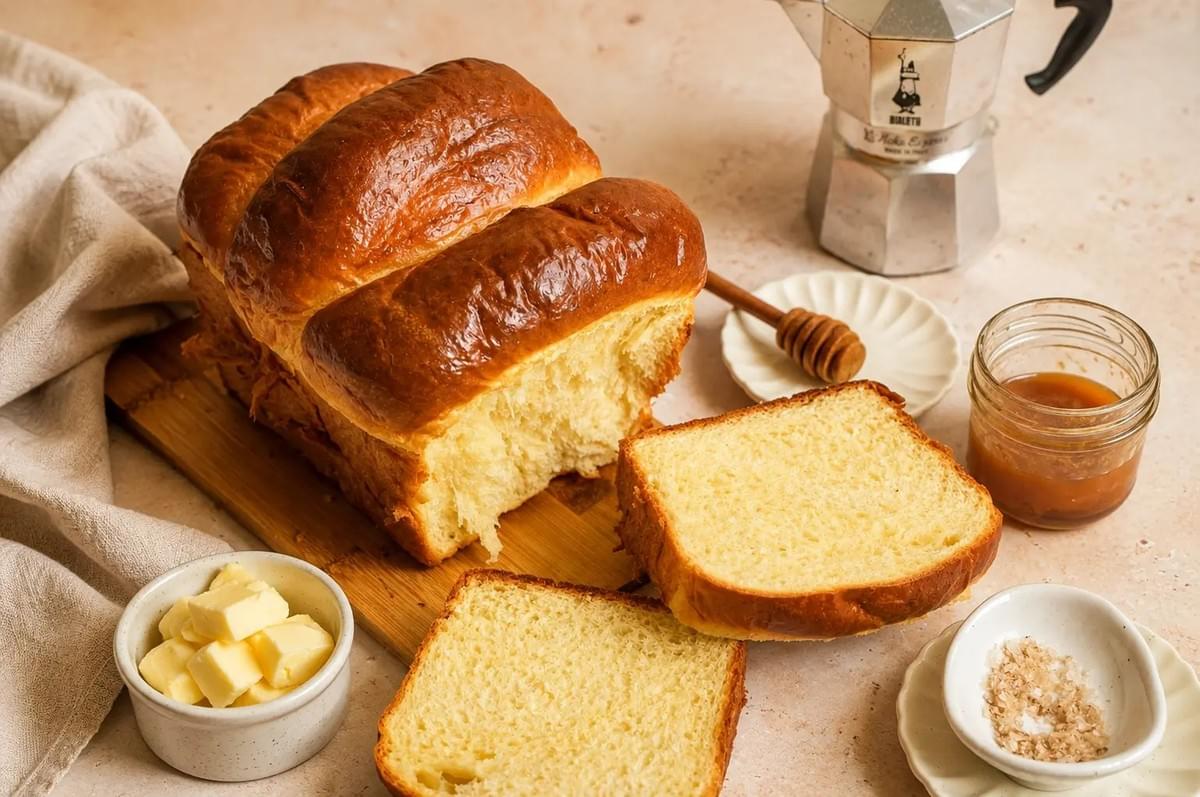
Read through once, then let's bake.
1. Make the tangzhong
In a small saucepan, whisk 3 tablespoons (25 g) bread flour with 1/2 cup (120 ml) milk until smooth. Set over low heat and whisk constantly until it thickens into a soft paste, about 3 to 5 minutes. Scrape it into a bowl and let it cool to room temperature.
2. Mix the dough
In a large bowl (or a stand mixer), combine the bread flour, sugar, instant yeast, and milk powder if using. Add the warm milk, egg, and the cooled tangzhong. Mix until it comes together into a shaggy, sticky dough. Add the salt now.
3. Knead
Knead until the dough turns smooth, elastic, and slightly tacky, about 10 to 15 minutes by hand or 8 to 10 minutes in a mixer. It will feel sticky at first. Resist the urge to add lots of flour, since a little stickiness is what keeps the bread soft.
Once it is smooth, add the softened butter a little at a time, kneading it fully in before adding more. The dough will loosen, then come back together into something glossy and supple.
4. Check with the windowpane test
Pinch off a small piece and stretch it gently between your fingers. If it stretches thin enough to see light through it without tearing, the gluten is ready. If it tears quickly, knead a few minutes more and test again.
5. First rise
Shape the dough into a ball, place it in a lightly greased bowl, and cover it. Let it rise in a warm spot until doubled in size, about 1 to 1.5 hours. To check, press a floured finger gently into the dough. If the dent holds, it is ready.
6. Shape the rolls
Punch the dough down gently and divide it into 3 or 4 equal pieces. Roll each into a ball, then flatten and roll it out into an oval. Fold the sides in, then roll it up snugly like a little scroll. Place the rolls seam-side down in a greased loaf pan, side by side.
This rolling step is what creates that beautiful pull-apart look and fine crumb, so take your time with it.
7. Second rise
Cover the pan loosely and let the rolls rise again until puffy and just cresting the rim of the pan, about 45 minutes to 1 hour. They should look soft and pillowy. When you press one gently, it should spring back slowly.
8. Bake
Bake in a preheated oven at 350°F (175°C) for 25 to 30 minutes, until the top is deep golden brown. If it browns too fast, tent it loosely with foil. For extra certainty, the internal temperature should read around 190°F (88°C).
9. Butter and cool
Brush the warm top with a little melted butter for a soft, shiny finish (optional, but lovely). Let the loaf cool in the pan for 10 minutes, then turn it out onto a rack. Try to wait until it is mostly cool before slicing. I know. It is hard.
Troubleshooting and Pro Tips
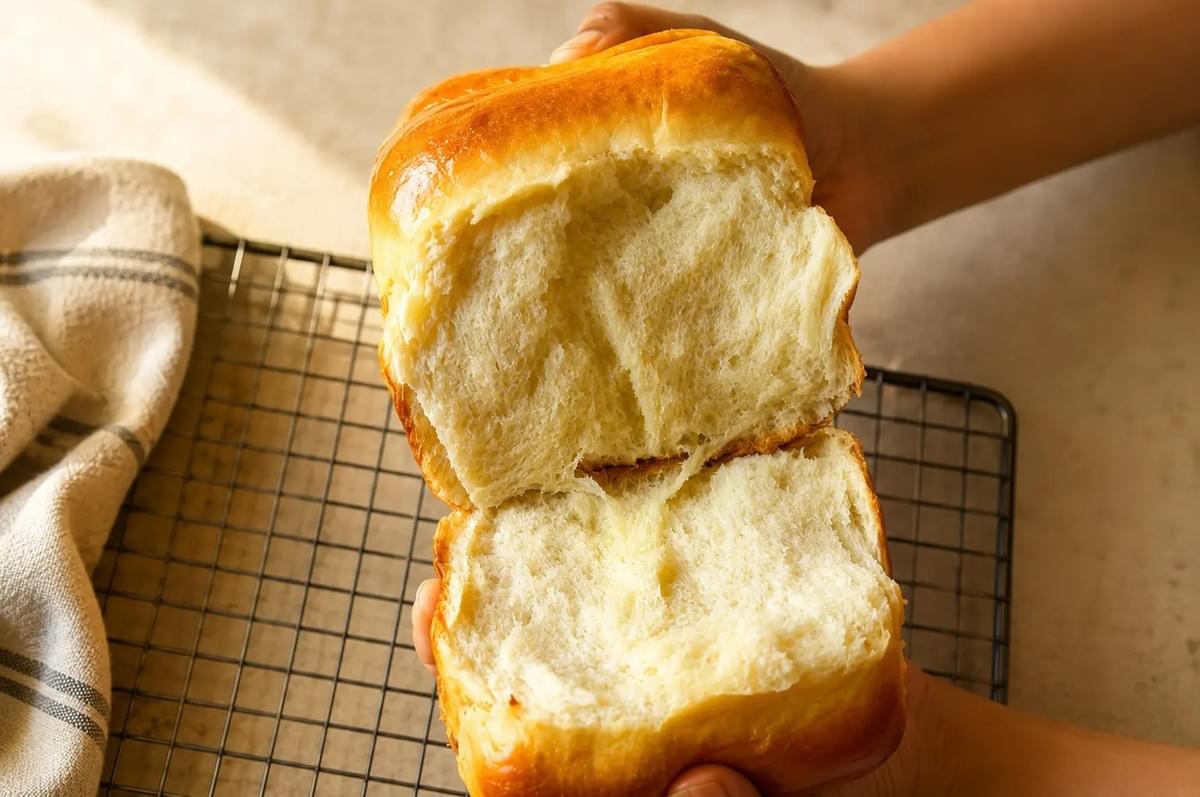
- Dense loaf? Usually underkneaded dough or an underproofed rise. Give it the full windowpane test, and let it rise until truly doubled.
- Dough too sticky? This is often normal for milk bread. Use a dough scraper and lightly oiled hands instead of piling on flour.
- Dough too dry? Your flour may be measuring heavy. Add milk a teaspoon at a time until it feels soft and supple.
- Underproofed vs overproofed. Underproofed dough springs back fast and bakes up dense. Overproofed dough looks slack, may collapse, and can taste a bit yeasty. Aim for that slow, gentle spring-back.
- Want a taller loaf and finer crumb? Knead fully, shape snugly, and do not rush either rise.
- Keep the crust soft. Brush with butter after baking, and store the cooled loaf in a sealed bag.
Storage and Freezing
Kept in an airtight bag or container at room temperature, this bread stays soft for 2 to 3 days, which is longer than most homemade loaves thanks to the tangzhong.
To freeze, slice the loaf first, then wrap the slices well or store them in a freezer bag. You can pull out exactly what you need and toast straight from frozen. A whole loaf freezes well too, wrapped tightly, for up to 2 months. Thaw it at room temperature in its wrapping.
Serving Ideas
This is a loaf that plays well with almost anything.
- Toasted, with butter and a good fruit jam
- As the softest sandwich bread you have ever used
- Turned into rich, custardy French toast
- Simply torn and eaten warm, standing at the counter (no judgment here)
One Last Slice
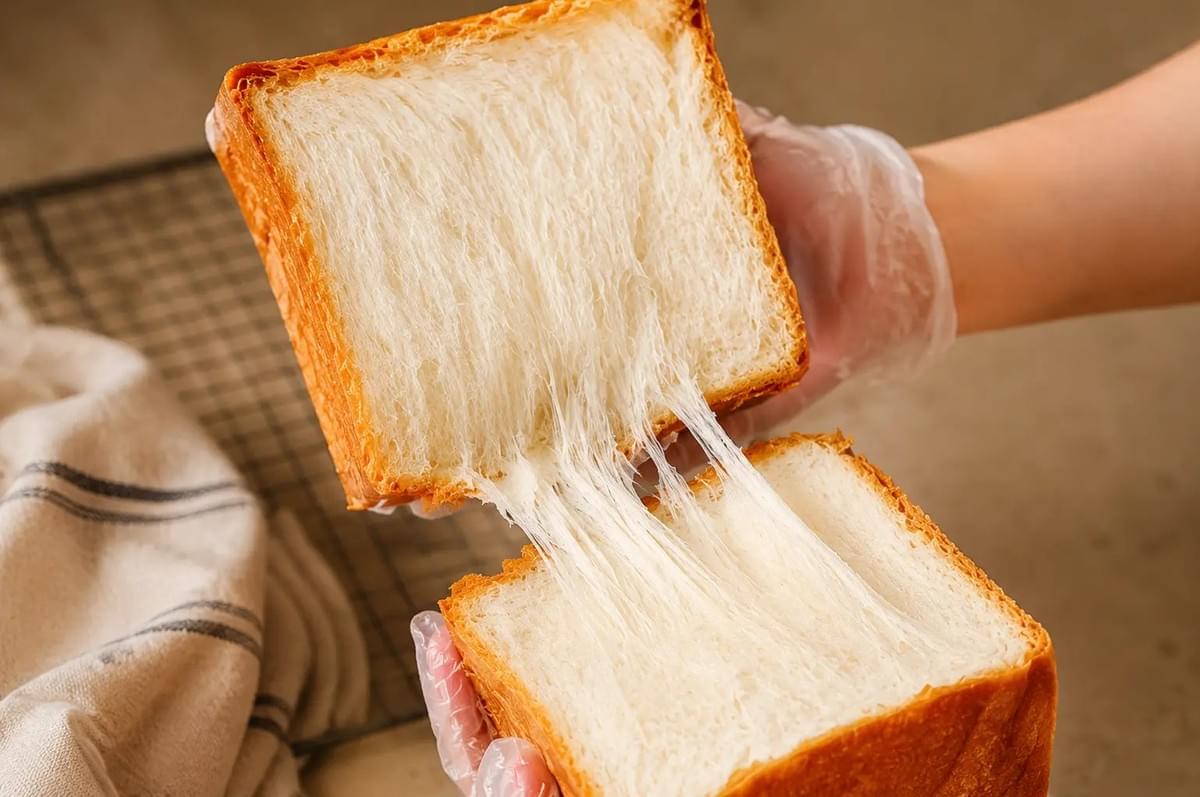
There is something quietly wonderful about baking your own bread. The warm smell that fills the kitchen. The soft weight of the loaf in your hands. That first torn piece, still a little warm.
Make this once, and I think it will become a regular in your kitchen.
For more cozy bakes and everyday recipes, visit Our Food Rhythms.
