

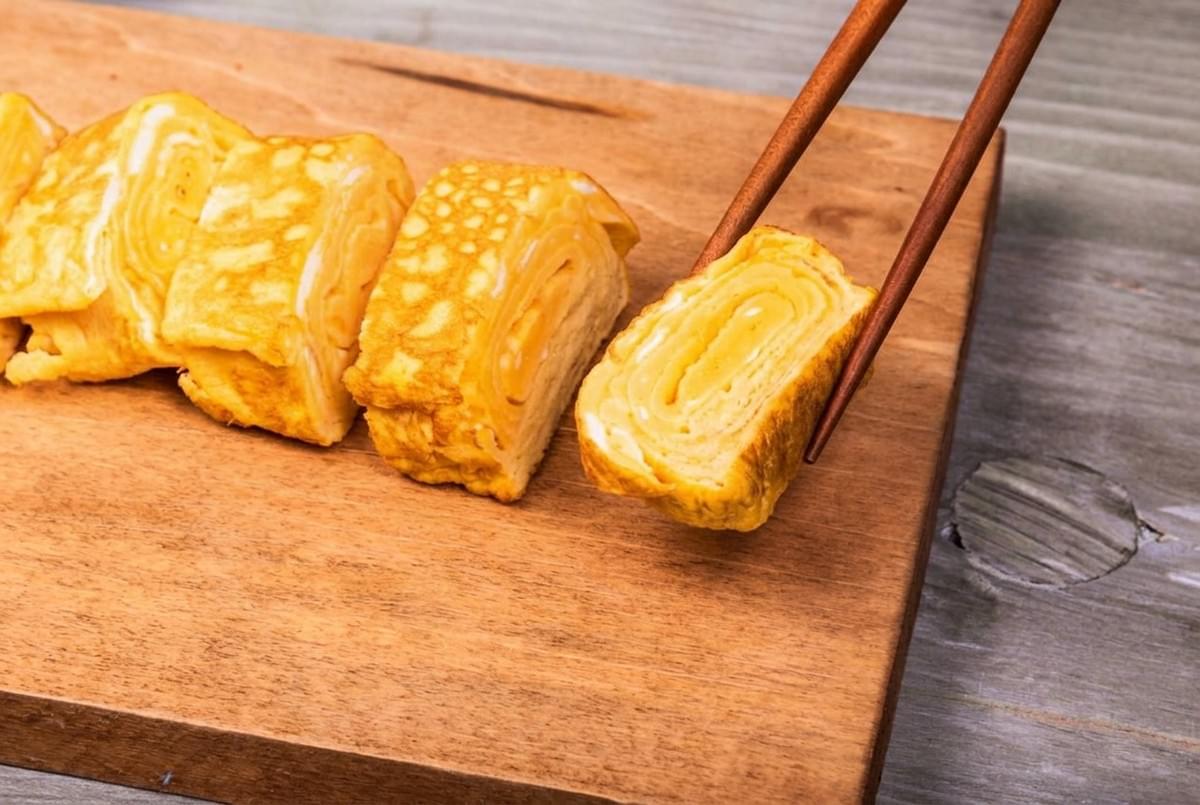
The first time I saw one made, it was through the fog of a small kitchen window.
Steam on the glass. A square pan tilting back and forth. Thin egg poured in, rolled, poured again, rolled again, until what came out looked less like breakfast and more like a folded ribbon.
It went into a lunchbox that morning, cut into neat pieces, sitting quietly beside rice. Nobody made a show of it. It was just there, the way it has been in Japanese homes for a long time.
That is tamagoyaki. A rolled omelet, gently sweet and a little savory, built from thin layers of egg folded over and over. It shows up at breakfast tables, tucked into bento boxes, floating on ramen, or eaten cold straight from the fridge on a slow afternoon.
And here is the good news. You do not need a special pan to make it. You just need eggs, a little patience, and a willingness to let the first one look imperfect.
A Little Background
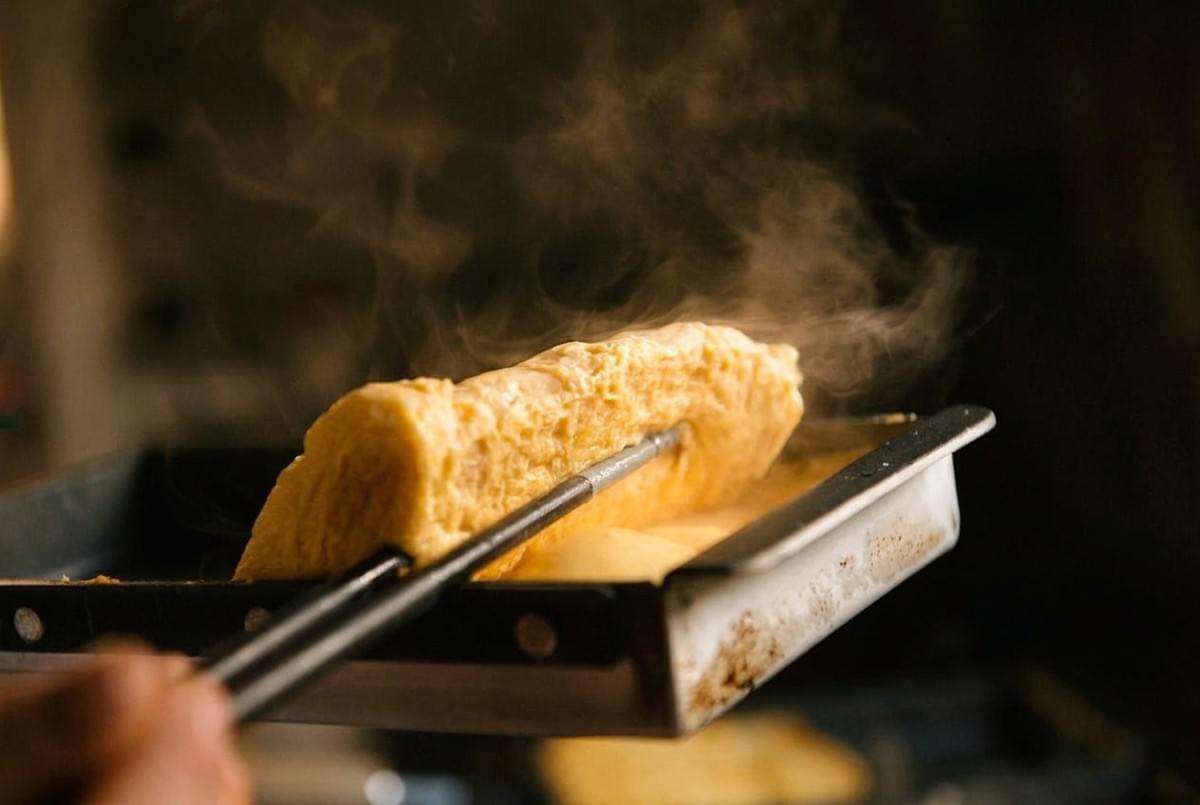
The name is honest about what it is. "Tamago" means egg, and "yaki" means grilled or cooked. So tamagoyaki is, plainly, cooked egg. Rolled, layered, and quietly transformed into something more than the sum of a few eggs.
There are two roads you can take with it.
- Sweet: Sugar and mirin lead, giving soft, custardy layers with a gentle sweetness. This is the version many people grow up with in bento boxes.
- Savory: Dashi takes the front seat here (sometimes called dashimaki tamago), bringing a soft, brothy depth and a more delicate texture.
This recipe lands in the middle, leaning a touch sweet with a savory backbone. Enough sugar to notice, enough soy to ground it.
That balance is why it works for any meal. Warm with rice at breakfast. Cold in a lunchbox. Sliced over noodles for dinner. It bends to the moment.
What You Need
You can absolutely make this in the traditional pan, but you can also make it with what is already in your kitchen.
For the pan:
- A tamagoyaki pan (the rectangular one) makes the classic shape and even layers. Lovely if you have it.
- A small nonstick skillet works just fine. Your omelet will be more oval than square, but it rolls the same way and tastes exactly the same. This is how most of us start.
For everything else:
- A mixing bowl and a whisk (or chopsticks, if you want to feel the part)
- Chopsticks or a thin spatula for rolling
- A folded paper towel and a little oil, for greasing between layers
- A bamboo sushi mat (optional) for shaping while it rests
Ingredients and Substitutions
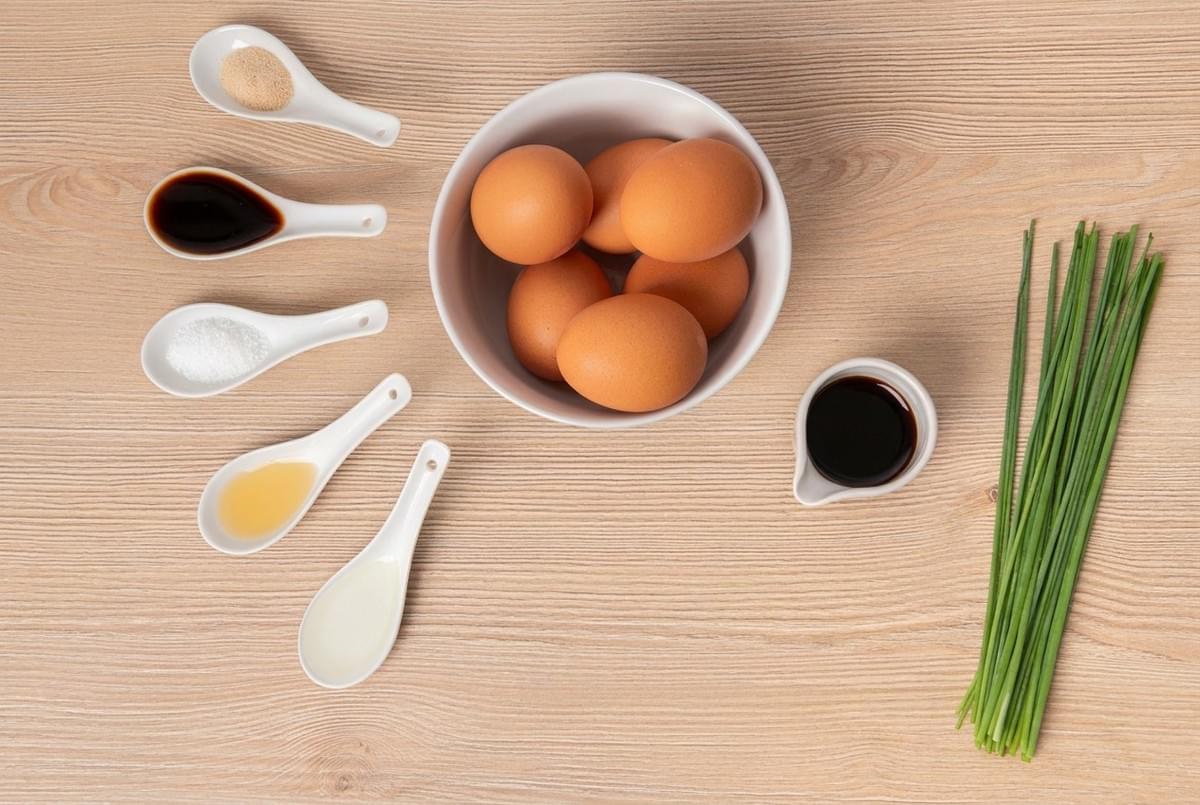
Simple, and mostly pantry staples.
- 3 large eggs. Room temperature blend more smoothly.
- 1 tablespoon sugar. The gentle sweetness that defines it. Adjust to taste.
- 1 teaspoon soy sauce. For color and a savory grounding.
- 1 tablespoon mirin. Adds sweetness and shine. No mirin? Mix a teaspoon of sugar into a tablespoon of water, or use a splash of rice vinegar with a pinch of sugar.
- A pinch of salt. Small, but it wakes everything up.
- Neutral oil, for the pan.
Optional add-ins:
- A tablespoon of dashi for a softer, more savory omelet (add a little less mirin if you do)
- Chopped scallions, folded into the egg
- A sheet of nori laid between layers
- Shredded crab stick or a little cheese, for something richer
A note on dashi: If you do not keep dashi around, a pinch of instant dashi powder dissolved in warm water does the job. Or leave it out entirely and lean on the soy and mirin.
How to Make Tamagoyaki
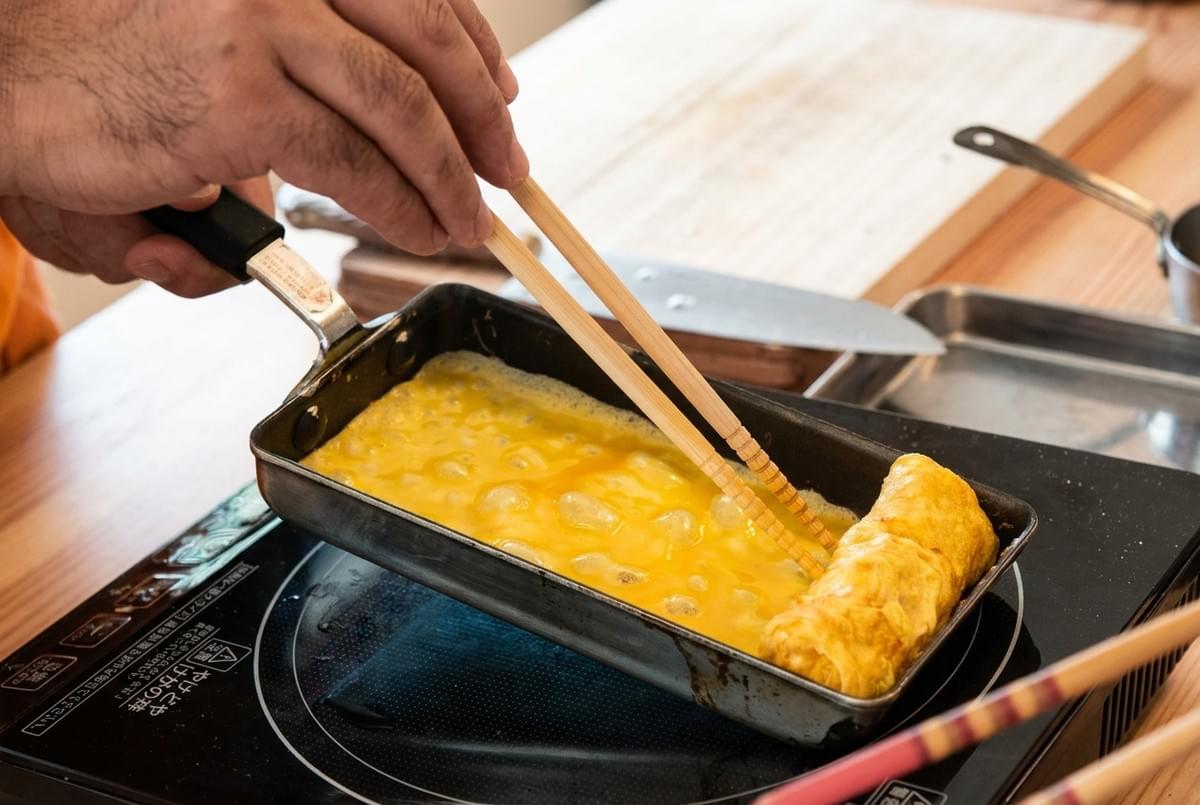
Read through once, then go. Your first roll may wobble. That is completely normal, and it will still taste wonderful.
- Whisk the eggs. Crack the eggs into a bowl. Add the sugar, soy sauce, mirin, and salt. Whisk gently until just combined. Try not to whip in too much air, or you get bubbles instead of smooth layers.
- Heat the pan. Set it over medium-low heat. Tamagoyaki likes patience, not high heat. Too hot and it browns before it sets.
- Oil lightly. Dip your folded paper towel in oil and wipe a thin coat across the pan. You will do this before every layer, so keep it close.
- Pour the first layer. Add a thin layer of egg, just enough to cover the bottom. Tilt the pan so it spreads evenly. When the surface looks mostly set but still a little wet on top, it is ready to roll.
- Roll it. Starting from one side, gently roll the egg toward the opposite side, using chopsticks or a spatula. It does not need to be tight. Slide the roll back to the side you started from.
- Oil and pour again. Wipe the empty part of the pan with oil, then pour a second thin layer of egg. Lift the first roll slightly so the new egg flows underneath and connects. This is what fuses the layers together.
- Repeat. When the new layer is set but still slightly wet, roll again, wrapping it around the first roll. Keep going: oil, pour, lift, roll. Each layer builds the omelet thicker.
- Shape and rest. Once all the egg is used, press the roll gently against the pan to firm up the shape. If you have a bamboo mat, wrap the hot omelet in it for a minute or two to set a neat form. No mat? A gentle press with your spatula works too.
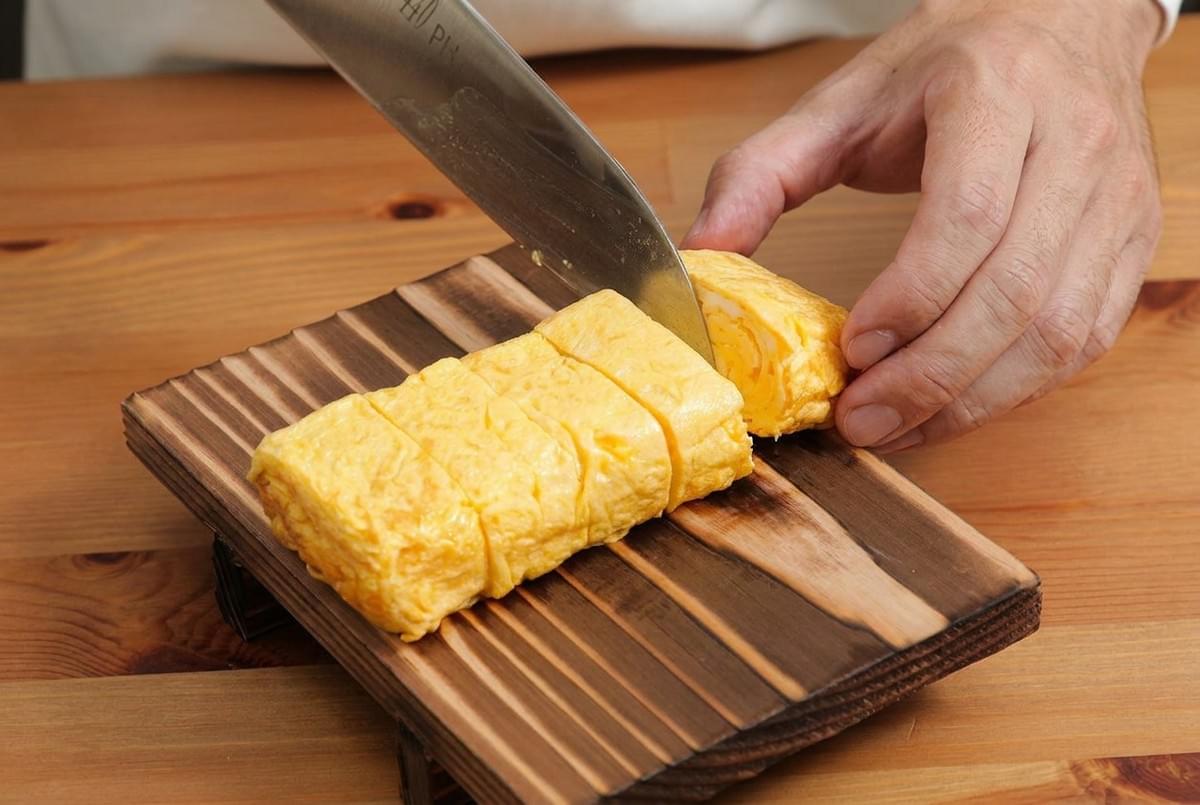
- Slice and serve. Let it cool slightly, then cut into thick slices, about an inch each. You should see soft spiraled layers inside. That is the reward.
Troubleshooting
Small fixes for the usual bumps.
- It tears when rolling. The layer was too thin, or too wet. Let each layer set a touch more before you roll, and be gentle.
- Too brown outside. Your heat is too high. Lower it to medium-low and give it more time. Tamagoyaki should stay pale gold, not tan.
- Raw in the center. The layers are too thick. Pour thinner layers so each one cooks through before you add the next.
- Layers not sticking. Lift the previous roll so the new egg flows underneath and bonds. That connection is everything.
- Too sweet or too salty. Adjust next time. Start with less sugar or soy, taste a slice, and tune from there.
- Sticking to the pan. Not enough oil, or the surface has lost its slick. Wipe a thin coat before every single layer.
Ways to Serve It
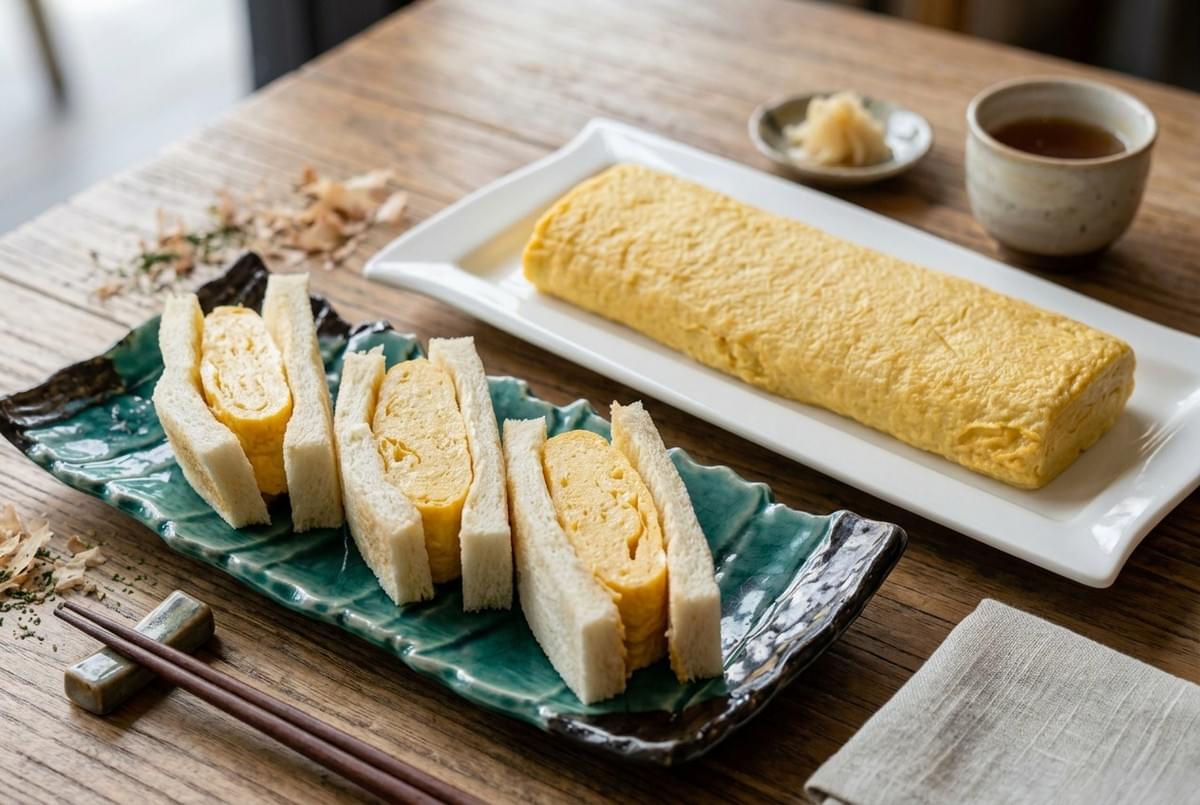
Tamagoyaki goes almost anywhere.
- Warm over a bowl of steamed rice, with a simple miso soup on the side.
- Cut into pieces and packed cold into a bento box, where it holds beautifully.
- Sliced over a bowl of ramen or soba.
- Tucked into soft bread as a sandwich filling (tamago sando territory).
- Alongside a fresh salad, for a light plate.
For dips and finishes, a small squeeze of Kewpie mayo, a mound of grated daikon, or a light drizzle of soy all suit it well.
Storage and Reheating
This keeps well, which is part of why it belongs in lunchboxes.
- Fridge: Store in an airtight container for up to 3 days.
- Reheating: Warm gently in a low pan or a quick, short burst in the microwave. Go easy, since egg toughens with too much heat.
- Cold is fine: Honestly, tamagoyaki is lovely straight from the fridge. That is exactly how it travels in a bento, no reheating needed.
Recipe Card
Japanese Tamagoyaki
- Prep time: 5 minutes
- Cook time: 10 minutes
- Total time: 15 minutes
- Servings: 2
Ingredients
- 3 large eggs
- 1 tablespoon sugar
- 1 teaspoon soy sauce
- 1 tablespoon mirin
- A pinch of salt
- Neutral oil, for the pan
Instructions
- Whisk the eggs with the sugar, soy sauce, mirin, and salt until just combined.
- Heat a small nonstick skillet or tamagoyaki pan over medium-low. Wipe with a thin coat of oil.
- Pour a thin layer of egg to cover the pan. When mostly set but still slightly wet on top, roll it to one side.
- Oil the empty pan, pour another thin layer, and lift the roll so egg flows underneath.
- Roll again, wrapping around the first roll. Repeat until the egg is used up.
- Press gently to shape, rest a minute (in a bamboo mat if you have one), then slice into thick pieces.
Notes
- Keep the heat low and gentle for pale, tender layers.
- No mirin? Use a teaspoon of sugar dissolved in a tablespoon of water.
- Add a tablespoon of dashi for a softer, more savory version.
- Your first attempt may look uneven. It still tastes great.
FAQ
Can I make tamagoyaki without mirin?
Yes. Stir a teaspoon of sugar into a tablespoon of water, or use a small splash of rice vinegar with a pinch of sugar. You still get sweetness and a little shine.
Do I need a tamagoyaki pan?
No. A small nonstick skillet works well. Your omelet will be rounder rather than square, but the rolling method and the flavor stay the same.
Why is my tamagoyaki watery?
The layers may not be fully set before rolling, or too much dashi went in. Let each layer cook a touch longer, and go lighter on added liquid.
Can I make it ahead?
Absolutely. It keeps in the fridge for up to 3 days and tastes great cold, which makes it a natural fit for meal prep and lunchboxes.
What is the best pan size?
A small pan, roughly 8 inches or a compact rectangular tamagoyaki pan. Smaller pans make it easier to get thicker, tidy layers.
Why does mine keep browning?
The heat is too high. Drop to medium-low and be patient. Tamagoyaki should stay soft and pale gold, never crisp and brown.
Can I add fillings?
Yes. Scallions, nori, cheese, or crab stick all work. Fold them into the egg or lay them between layers as you roll.
Make it once, and the shape stops mattering.
What stays with you is the quiet ritual of it. Pour, wait, roll. Pour, wait, roll. A small stack of soft golden layers at the end, and a lunchbox that feels a little more like home.
