

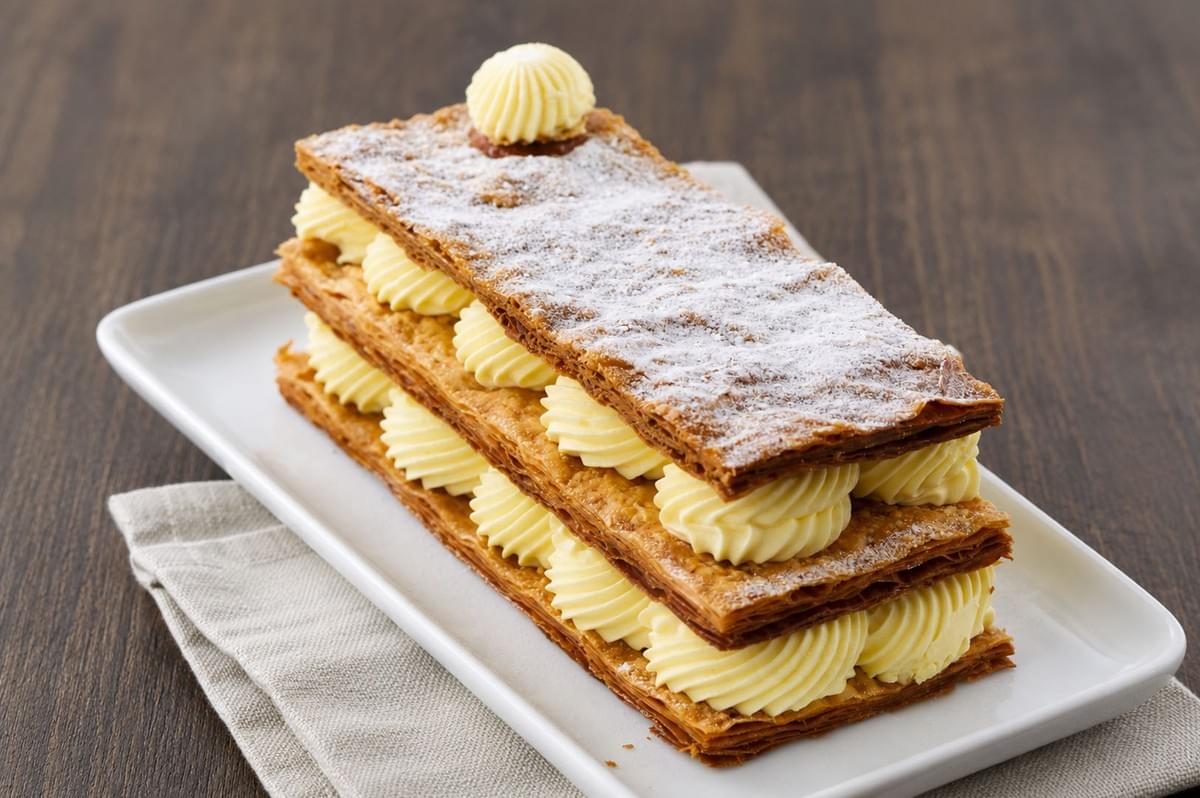
Welcome back to the kitchen! If you have ever pressed your face against a French bakery window to admire those impossibly perfect, towering stacks of cream and pastry, you are not alone. As a former pastry chef, I can confidently tell you that mille-feuille is one of the most satisfying desserts you will ever conquer.
The name translates to "a thousand leaves" in French. It refers to the beautiful, shattered layers of crisp puff pastry that sandwich generous ribbons of vanilla pastry cream. You will find variations of this dessert in pastry shops all over the world, sometimes called a Napoleon. While it looks intimidating, it is built on simple foundations.
We are going to demystify the process today. You will learn how to bake your pastry flat and crisp, how to cook a silky cream, and how to assemble the pieces without the whole thing sliding apart. It takes a little patience, but the resulting crunch and creamy sweetness are absolutely worth the effort. Let us grab a whisk and get started.
At a Glance
- Prep time: 30 minutes
- Cook time: 40 minutes
- Chill/rest time: 2 hours
- Total time: 3 hours 10 minutes
- Yield: 6 individual pastries
- Difficulty level: Intermediate
What You’ll Need
Before we touch any ingredients, set up your workstation. Having the right tools makes all the difference when building neat, professional layers.
- Two heavy-duty baking sheets of the same size
- Parchment paper
- A fork (for docking the pastry)
- A medium saucepan
- A wire whisk and a rubber spatula
- A fine-mesh sieve
- A sharp serrated knife
- A piping bag with a round tip (or a zip-top bag with the corner snipped)
Ingredients
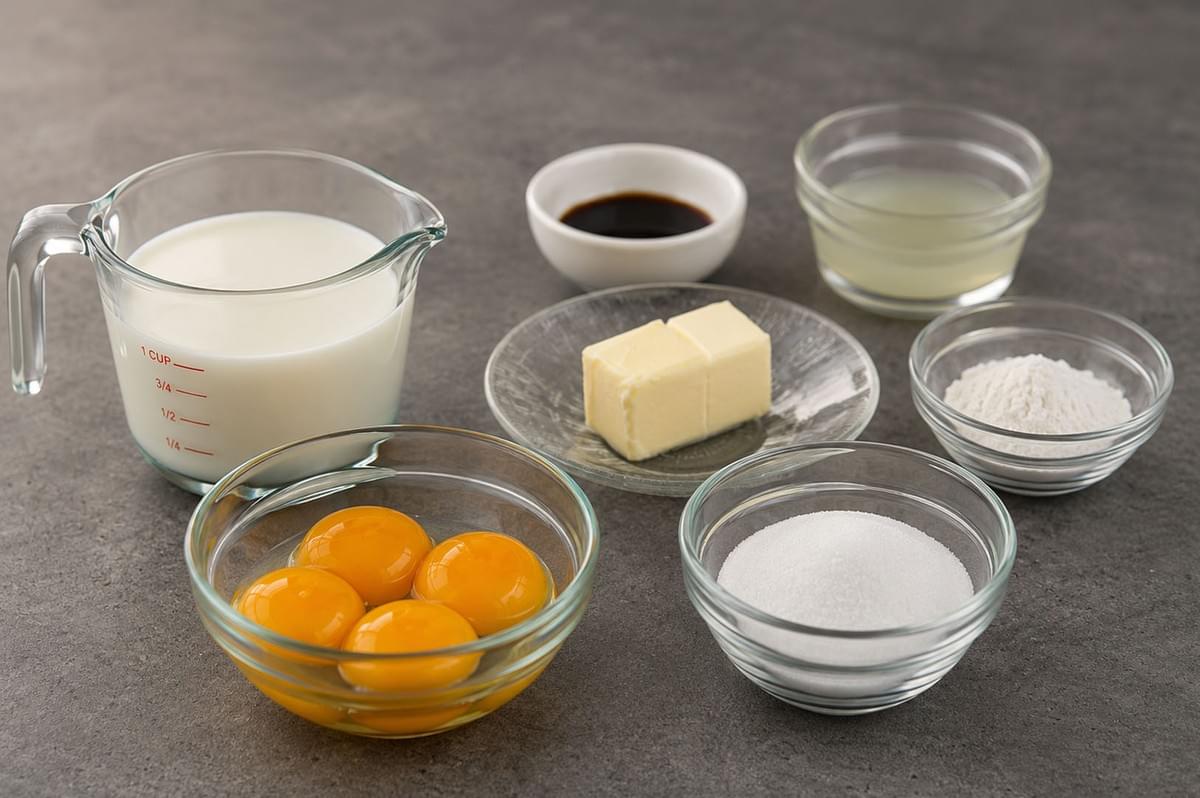
Crisp Puff Pastry Layers
- 1 package (14 to 16 ounces) all-butter puff pastry: Store-bought is perfectly fine and saves hours of work. Thaw it according to the package directions. If you want a weekend project, you can certainly substitute a batch of homemade rough puff pastry.
Vanilla Pastry Cream Filling
- 2 cups whole milk: Do not use skim milk. We need the fat for a rich texture.
- 1/2 cup granulated sugar: Divided into two equal portions.
- 6 large egg yolks: These provide structure and a beautiful golden color.
- 1/4 cup cornstarch: Our primary thickening agent.
- 1 tablespoon unsalted butter: Cold, cut into small cubes.
- 1 vanilla bean (or 2 teaspoons pure vanilla extract): If using a bean, split it lengthwise and scrape out the seeds.
Optional Toppings and Finishes
- Powdered sugar for dusting
- Fresh raspberries or sliced strawberries
- A simple powdered sugar and milk glaze (if you prefer a traditional iced top)
Step-by-Step InstructionsTools You Will Need
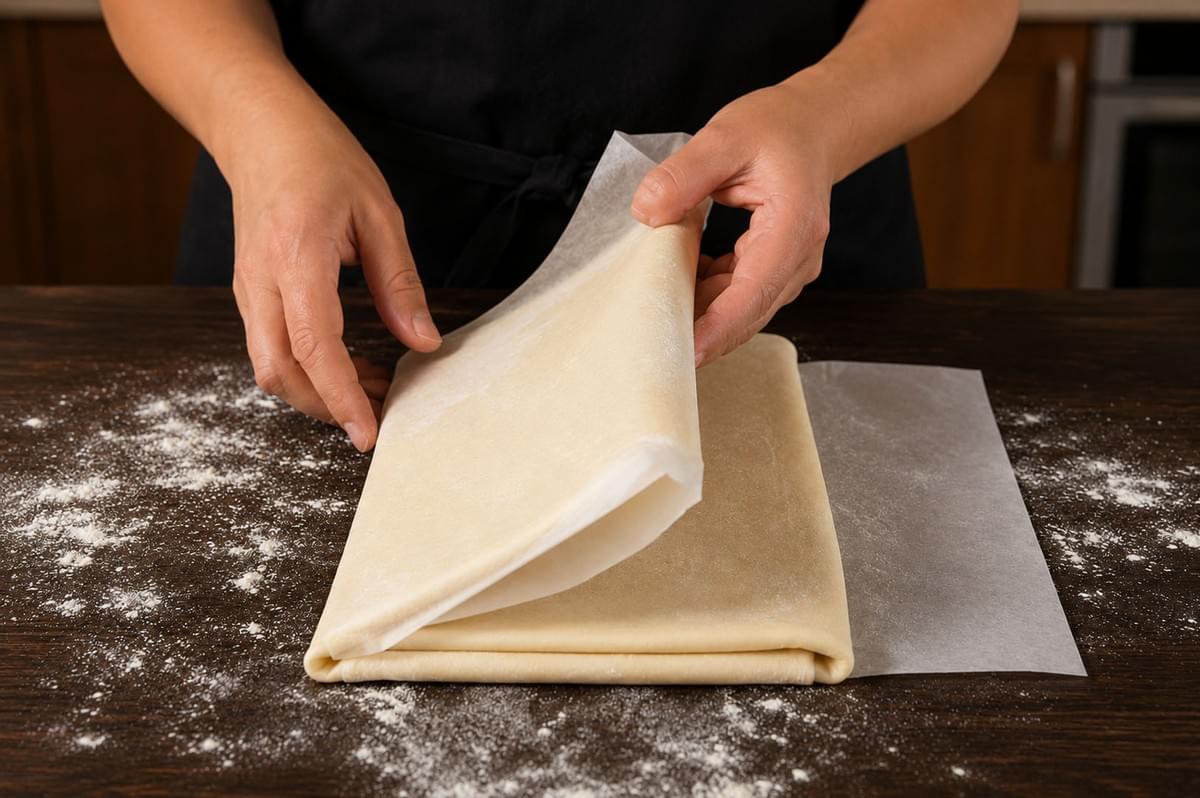
We will break this down into three manageable phases: baking the pastry, making the cream, and assembling the layers.
Phase 1: Baking the Puff Pastry
- Prep and dock: Preheat your oven to 400 degrees Fahrenheit (200 degrees Celsius). Line a baking sheet with parchment paper. Unfold your thawed puff pastry onto the paper. Using a fork, prick the pastry all over. This process is called docking, and it prevents massive air bubbles from forming.
- The double-tray trick: Place another sheet of parchment paper directly on top of the docked pastry. Then, place your second heavy baking sheet directly on top of that parchment. This weight forces the pastry to bake flat and dense, giving you those signature, shatteringly crisp layers.
- Bake and cool: Bake for 25 minutes. Carefully remove the top baking sheet and the top layer of parchment paper. The pastry should look golden brown. Return the exposed pastry to the oven for 5 to 10 more minutes until it is deeply caramelized and crispy. Transfer it to a wire rack to cool completely. It must be 100 percent cool before you attempt to cut it.
Phase 2: Cooking the Vanilla Pastry Cream
- Heat the milk: In your medium saucepan, combine the whole milk, half of the sugar, and the vanilla bean seeds (and the pod). Place the pan over medium heat until it just begins to simmer. Small bubbles will form around the edges. Turn off the heat.
- Whisk the yolks: In a separate heat-proof bowl, vigorously whisk the egg yolks, the remaining sugar, and the cornstarch. Whisk until the mixture turns pale yellow and perfectly smooth.
- Temper the eggs: This is the most important step! Remove the vanilla pod from the hot milk. Slowly drizzle about half a cup of the hot milk into the egg mixture while whisking constantly. This gradually raises the temperature of the eggs so they do not scramble.
- Thicken the cream: Pour the warmed egg mixture back into the saucepan with the rest of the milk. Place the pan over medium heat. Whisk constantly. The liquid will suddenly thicken into a rich, glossy pudding. You will know it is thick enough when the whisk leaves visible trails in the cream. Let it bubble for exactly one minute to cook out the starchy flavor, then remove from heat.
- Strain and chill: Pour the hot cream through a fine-mesh sieve into a clean bowl to catch any stray egg bits. Stir in the cold butter until melted. Press a sheet of plastic wrap directly onto the surface of the cream to prevent a rubbery skin from forming. Chill in the refrigerator for at least two hours until completely firm.
Phase 3: Assembly
- Cut clean rectangles: Place your cooled puff pastry on a cutting board. Using your serrated knife, use a gentle sawing motion to trim the uneven edges. Cut the large sheet into three equal, long strips.
- Prep the piping bag: Remove your chilled pastry cream from the fridge and give it a vigorous stir to loosen it up. Transfer it to your piping bag.
- Pipe and stack: Lay down your first strip of pastry. Pipe neat, plump dollops of vanilla pastry cream all over the surface. Gently place the second pastry strip on top. Pipe another layer of cream. Finally, top it with the third pastry strip. Press down very lightly to secure the stack.
- Final chill: Place the assembled mille-feuille in the fridge for 30 minutes before serving. This brief chill helps the cream firm up, holding the crisp layers together for cleaner slicing.
Tips for Success
In a professional kitchen, we rely on a few tricks to make this dessert shine.
- Preventing soggy pastry: Moisture is the enemy of mille-feuille. Never assemble the dessert while the pastry or the cream is even slightly warm. Both elements must be fridge-cold or room-temperature cool.
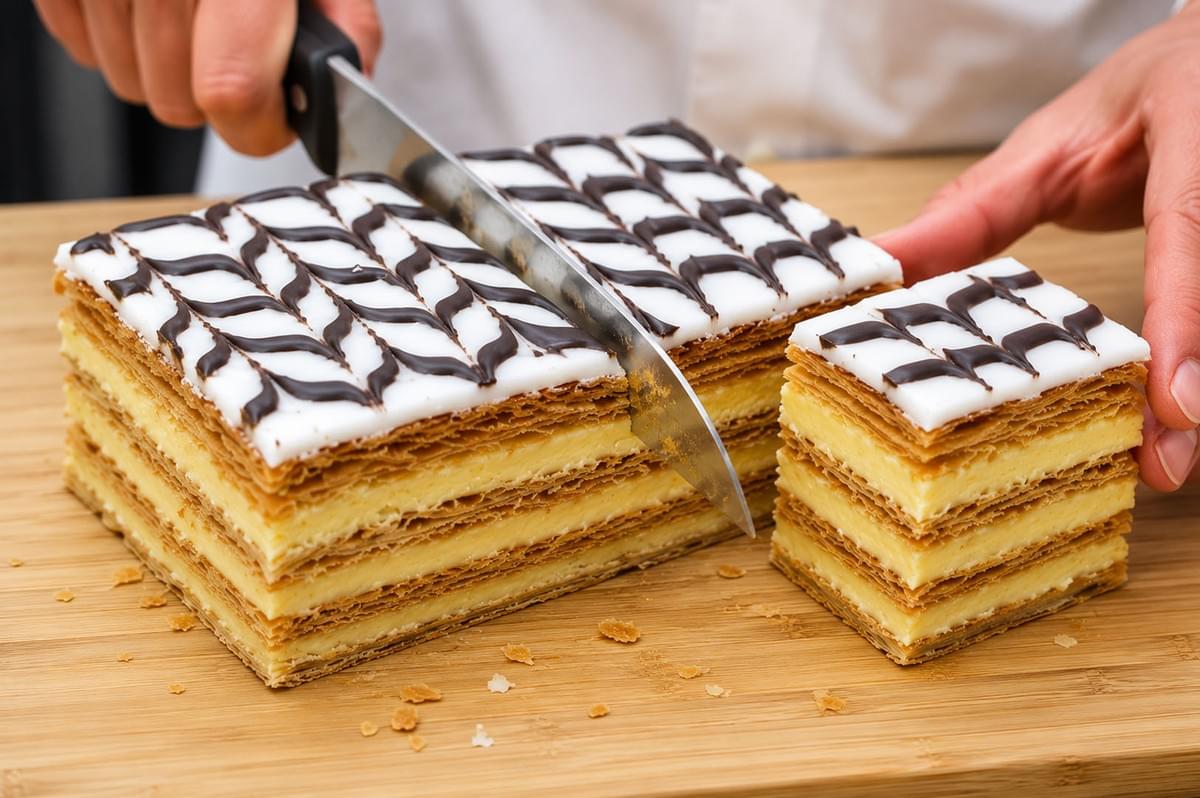
- Clean cuts: When it is time to portion your large pastry stack into individual servings, use a sharp serrated knife. Do not press down. Instead, use a very light, rapid sawing motion to gently cut through the top layer of pastry before cutting through the cream.
- Fixing a runny cream: If your pastry cream looks like soup after chilling, it did not boil long enough on the stove. The cornstarch must reach a boiling point to activate fully. Next time, wait for those large, lazy bubbles to pop on the surface for a full minute.
Variations
Once you master the classic vanilla version, you can customize your mille-feuille to match any craving or season.
- Coffee: Dissolve a tablespoon of instant espresso powder into the milk before heating it for a sophisticated, tiramisu-inspired flavor.
- Pistachio: Whisk two tablespoons of high-quality pistachio paste into the finished pastry cream before chilling.
- Chocolate: Add half a cup of finely chopped dark chocolate to the hot pastry cream right when you take it off the heat. Stir until melted and glossy.
- Strawberry or Matcha: Fold a teaspoon of culinary-grade matcha powder into the cream, or layer thinly sliced fresh strawberries directly on top of the piped vanilla cream before adding the next pastry layer.
Storage and Make-Ahead
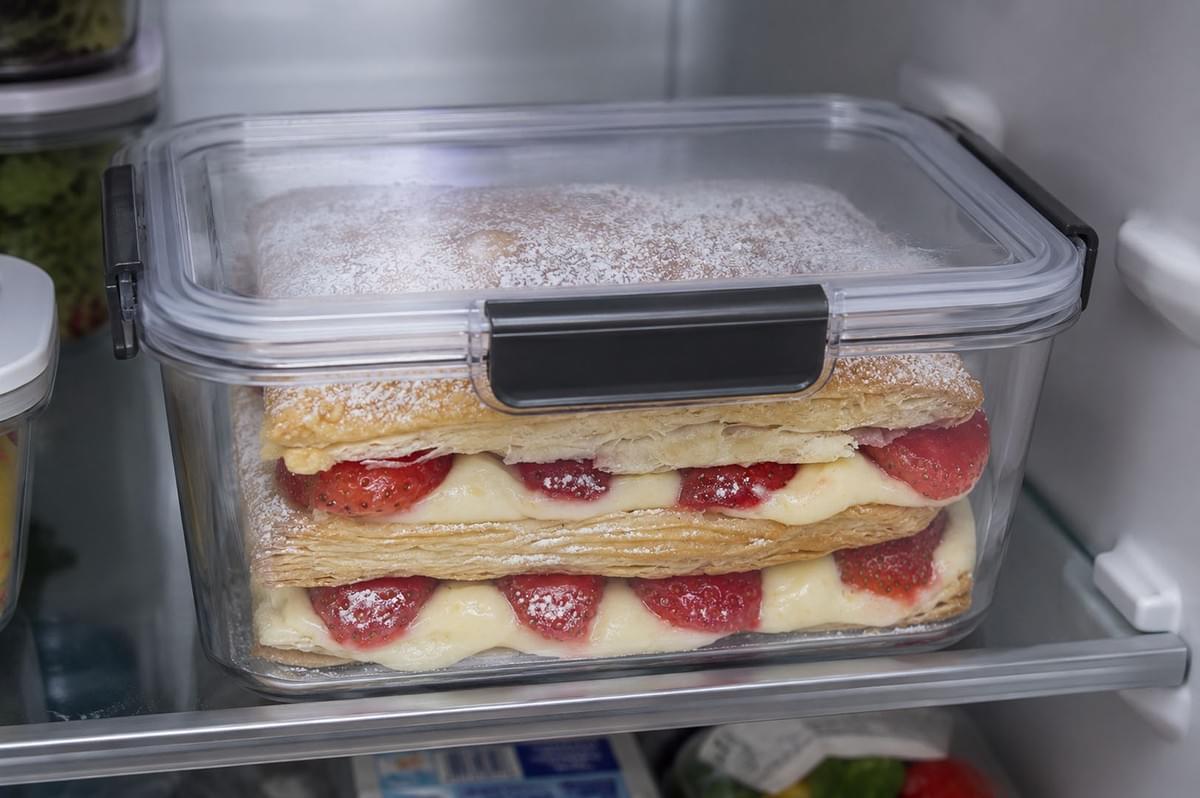
Mille-feuille is a dessert that demands a specific timeline. The crisp layers and the moist cream are locked in a textural battle from the moment they touch.
Best texture window: For the ultimate contrast, you should eat the dessert within two hours of assembly.
Storage: You can store leftovers in an airtight container in the refrigerator for up to two days. It will still taste absolutely delicious, but the puff pastry will soften significantly and lose its characteristic crunch.
Make-ahead prep: You can absolutely split the workload. The vanilla pastry cream can be made and stored in the fridge up to three days in advance. You can also bake the puff pastry sheets a day ahead of time. Store the baked, uncut pastry sheets in an airtight container at room temperature to keep them dry and crisp. Assemble everything right before your guests arrive.
Serving Suggestions
Presentation is everything with a dessert this elegant.
Wait to dust the top layer with powdered sugar until the absolute last minute before serving. If you dust it too early, the moisture from the fridge will absorb the sugar and make it disappear.
Place your sliced mille-feuille on a clean, white dessert plate to let the golden layers stand out. A small scattering of fresh berries on the side adds a lovely pop of color. Because this dessert is rich and buttery, it pairs beautifully with a slightly bitter beverage. Serve it alongside a strong cup of Earl Grey tea or a freshly brewed dark roast coffee to balance the sweetness.
Enjoy Your Masterpiece
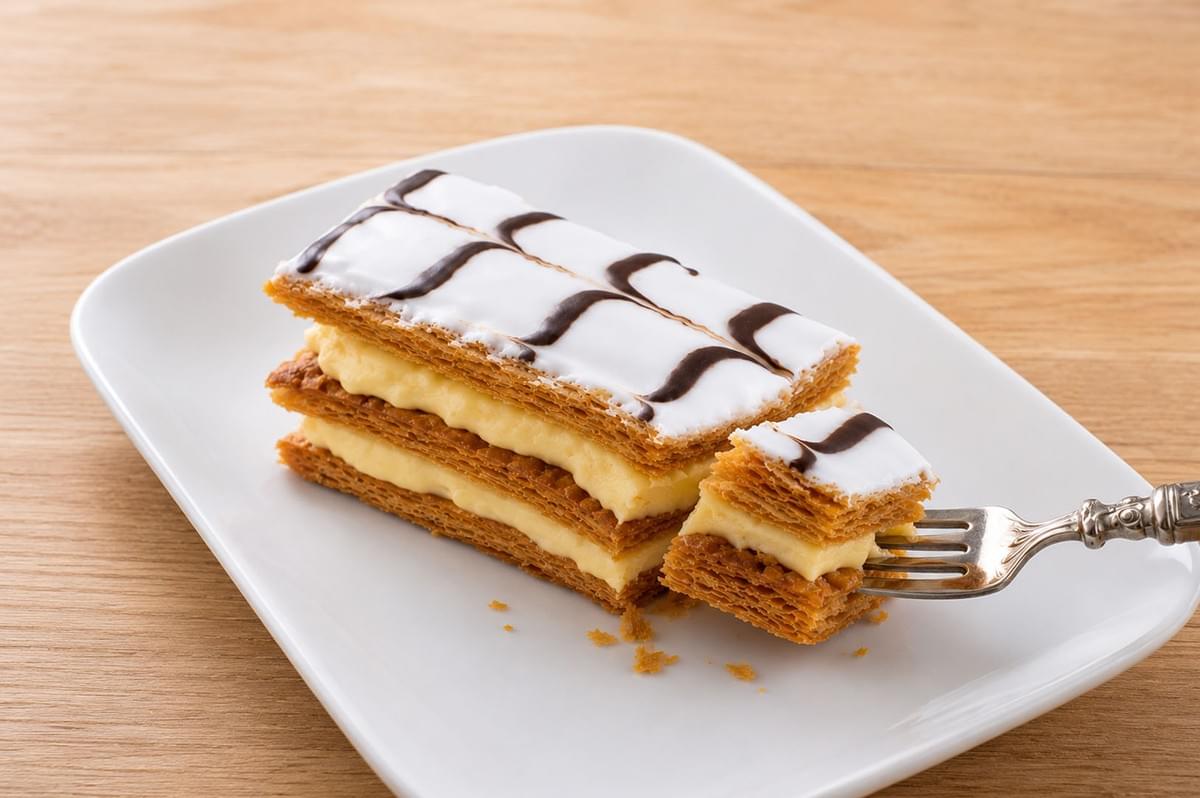
Creating a mille-feuille at home is a true culinary milestone. There is nothing quite like hearing that audible crunch as your fork breaks through the top layer, sinking into the cool, silky vanilla cream below.
Do not worry if your first attempt leans a little to the side or if your cuts are not perfectly straight. Every imperfect slice tells a story of your time in the kitchen, and I promise you, it will taste phenomenal regardless.
Put on your apron, embrace the process, and enjoy every single bite of your beautiful thousand leaves!
