

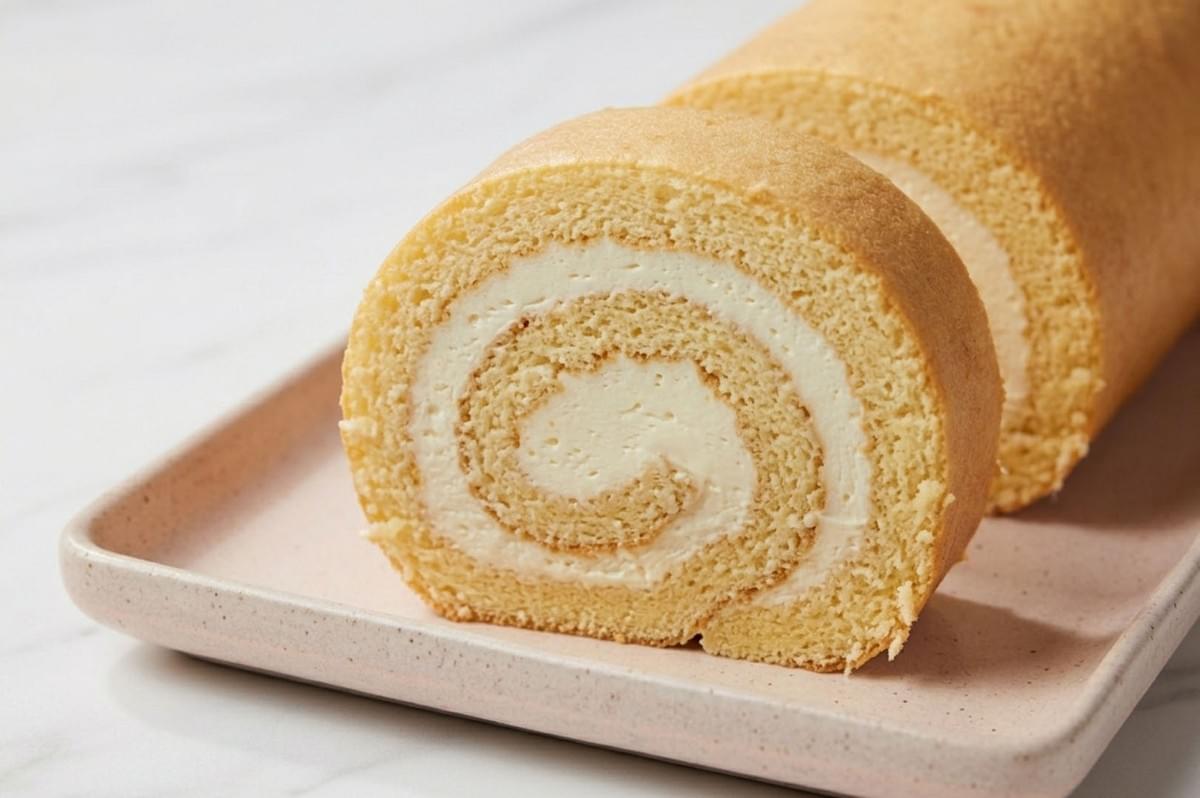
There is something deeply satisfying about slicing into a freshly baked Swiss roll cake. You hold your breath, make the cut, and reveal a beautifully neat, swirling spiral of cake and cream. It looks like magic. It tastes like a dream.
Yet, for many home bakers, the thought of rolling a delicate cake brings pure panic. We all fear that dreadful moment when the sponge snaps, cracks, or crumbles right down the middle. If you have ever felt that bakery anxiety, take a deep, relaxing breath. You are in the right place.
Today, we are going to master the art of the tight spiral. I will walk you through a foolproof method for a crack-free Swiss roll. By understanding the simple science behind the sponge, you can bake it right, roll it tight, and take a beautiful bite.
A Quick Background on the Swiss Roll
A Swiss roll (often called a jelly roll cake) is simply a light, airy sponge cake baked in a shallow pan. Once baked, it is smothered in a sweet filling and coiled into a log. The cake relies heavily on whipped eggs for its volume and tender crumb.
So, why do these beautiful cakes so often break? Cracks happen for a few very specific reasons. Overbaking is the most common culprit, as a dry sponge loses all its flexibility. Cracks also occur if you wait too long to roll the cake, trying to bend it when it has already cooled and set. Finally, a weak structural batter (like under-whipped eggs) can cause the cake to crumble under pressure.
What You Will Love About This Swiss Roll
- Soft and Supple: The sponge is light as a feather and perfectly flexible.
- Stunning Presentation: You will finally achieve those gorgeous, tight spirals you see in bakery windows.
- Endless Variations: Once you master the base, you can play with flavors to your heart's content.
- Confidence Boosting: You will learn exactly how to roll without cracking, adding a fantastic technique to your baking toolkit.
Ingredients You Need
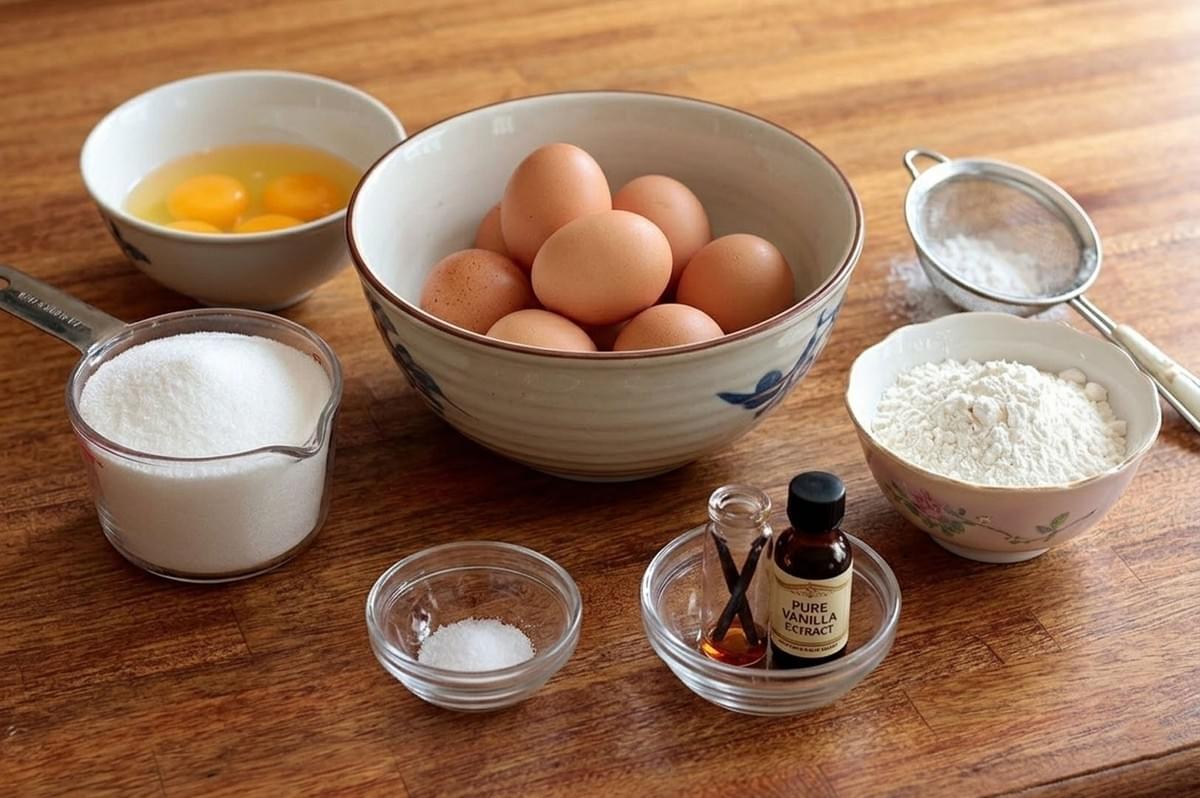
To bake a cake that loves to bend, you need the right building blocks.
The Sponge Ingredients
- Eggs: The absolute star of the show. They provide structure, lift, and moisture. Room temperature eggs whip up much better than cold ones.
- Granulated Sugar: Sugar sweetens the cake, but it also stabilizes the whipped eggs and keeps the crumb incredibly tender.
- Cake Flour: With a lower protein content than all-purpose flour, cake flour ensures the sponge stays soft and delicate.
- A Pinch of Salt and Vanilla: For that classic, warm bakery flavor.
The Filling Options
- Classic Whipped Cream: Light, fluffy, and perfect for a simple sweet treat. Use heavy whipping cream and a touch of powdered sugar.
- Jam and Cream: A layer of tart raspberry or strawberry jam topped with whipped cream is a traditional jelly roll cake favorite.
- Silky Buttercream: For a richer, more decadent dessert, an airy vanilla or chocolate buttercream works beautifully.
Fun Optional Add-ins
- Citrus Zest: Fold a tablespoon of lemon or orange zest into the batter for a bright, sunny lift.
- Cocoa or Matcha: Swap two tablespoons of the flour for cocoa powder or matcha green tea powder for a striking color and flavor twist.
Tools You Will Need
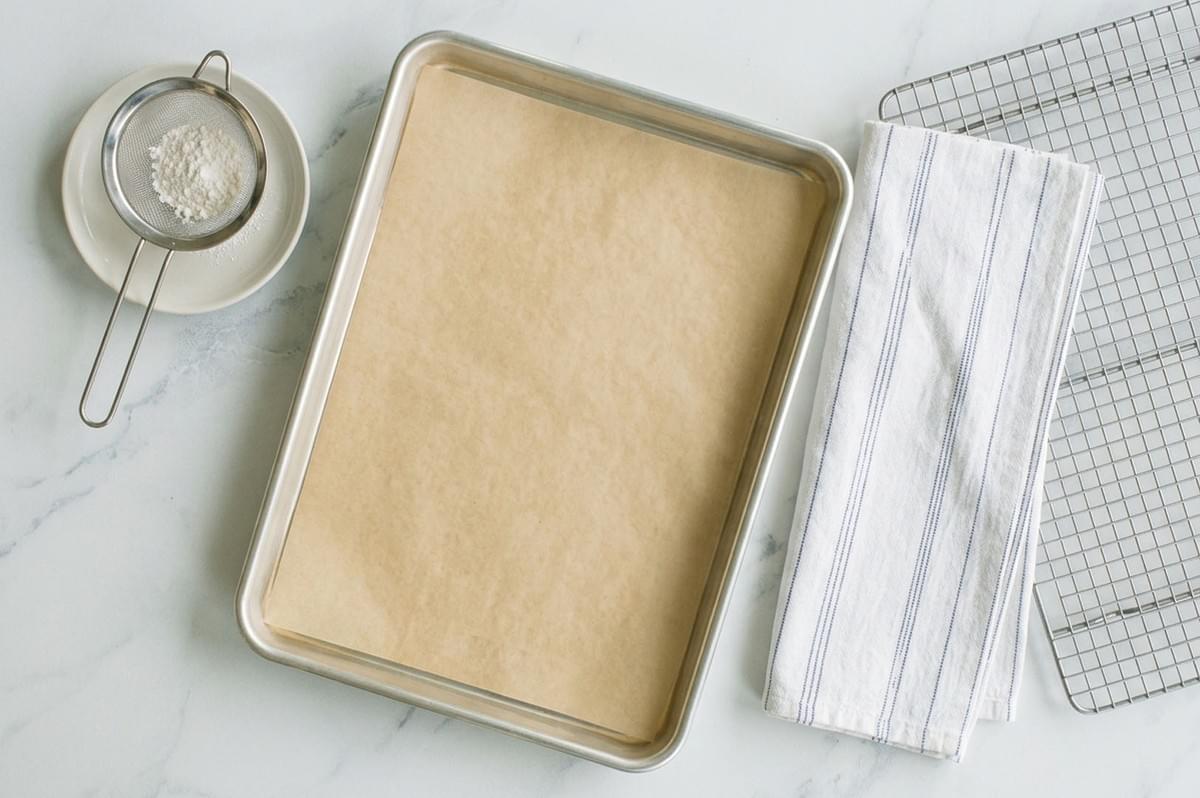
Having your tools ready makes the process smooth and stress-free.
- A Jelly Roll Pan: A standard 10x15 inch (or 11x17 inch) rimmed baking sheet is essential.
- Parchment Paper: Do not skip this! It keeps your cake from sticking to the pan.
- A Fine Sieve: For sifting your flour to avoid heavy lumps.
- A Clean Kitchen Towel: A thin, lint-free cotton tea towel is your best friend for the rolling process.
- A Wire Cooling Rack: To let the cake cool evenly once it is rolled.
Step-by-Step Instructions
Follow these steps closely, and you will be rolling like a pro.
1. Prepare your pan perfectly
Preheat your oven to 350 degrees Fahrenheit (175 degrees Celsius). Lightly grease your jelly roll pan with butter or baking spray. Press a sheet of parchment paper into the pan, making sure it goes up the sides. The grease acts like glue to keep the paper flat.
2. Beat to the ribbon stage
In a large bowl, beat your room temperature eggs and sugar on high speed for at least 5 to 7 minutes. The mixture will turn pale, thick, and incredibly voluminous. When you lift the beaters, the batter should fall in a thick "ribbon" that sits on the surface for a few seconds before sinking in.
3. Fold with care
Sift your cake flour directly over the whipped eggs. Using a rubber spatula, gently fold the flour into the eggs. Scrape the bottom of the bowl and lift upward in a smooth, circular motion. You want to keep as much air in the batter as possible.
4. Bake it right
Pour the batter into your prepared pan and smooth it into an even layer. Bake for 10 to 12 minutes. The cake is done when the top is lightly golden and springs back instantly when you press it gently with your finger. Do not overbake!
5. The warm roll (The most crucial step)
While the cake is in the oven, lay your clean kitchen towel flat on the counter. Dust it generously with powdered sugar to prevent sticking. The second the cake comes out of the oven, immediately invert the hot pan onto the sugared towel. Peel off the parchment paper. While the cake is still piping hot, fold the short end of the towel over the edge of the cake, and roll the cake and the towel up together into a tight log.
6. Cool to learn the curve
Place the rolled-up cake (still wrapped in the towel) on a wire cooling rack. By rolling the cake while it is hot, the sponge "learns" this curved shape. Let it cool completely to room temperature, which takes about an hour.
7. Unroll, fill, and re-roll
Once cool, carefully unroll the cake. It will look wavy and curled. Spread your filling in an even layer over the cake, leaving a half-inch border around the edges. Gently roll the cake back up, this time without the towel. Because the cake already learned the shape, it will coil into a tight spiral effortlessly.
8. Chill and slice
Wrap your finished cake tightly in plastic wrap and chill it in the fridge for at least one hour. This sets the filling and makes slicing much cleaner. Use a sharp, serrated knife to cut beautiful, swirly slices.
Key Tips for Tight Spirals Without Cracks
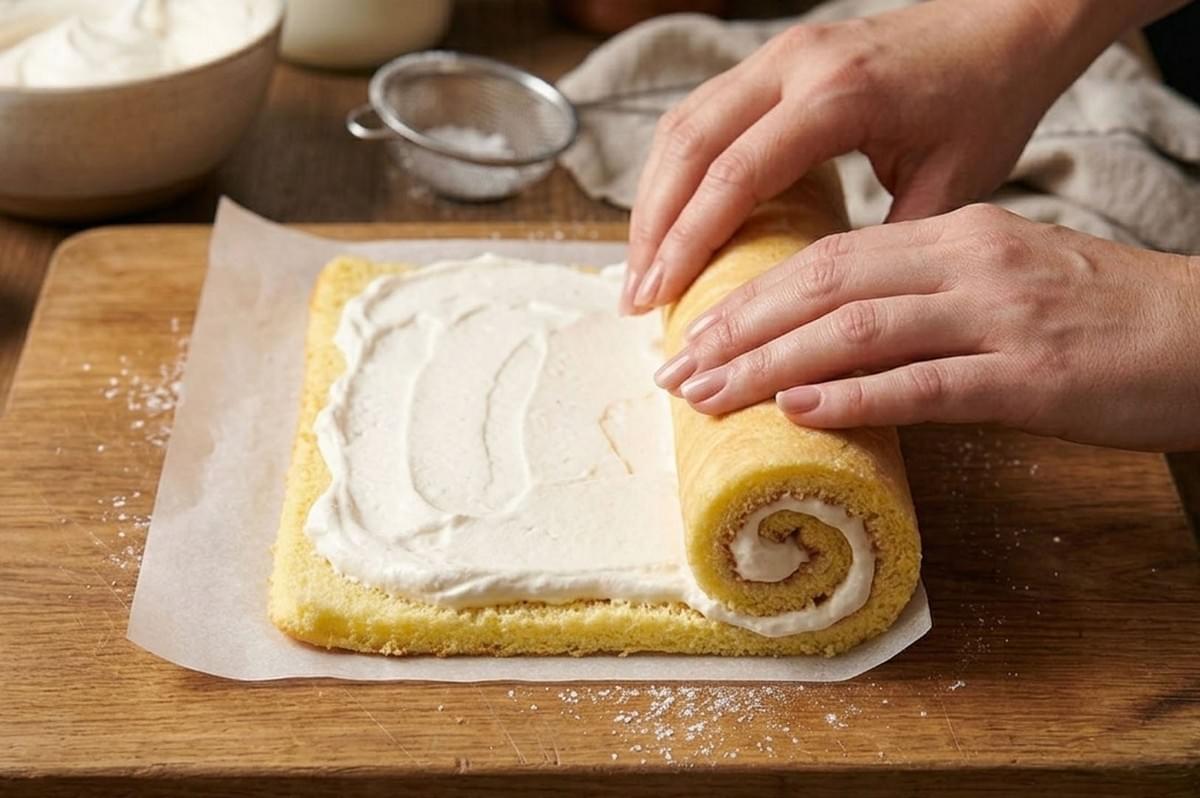
- Do not overbake: A dry cake is a brittle cake. Pull it from the oven the moment it springs back.
- Roll while hot: You must roll the sponge within one minute of it leaving the oven. The steam and heat make it incredibly pliable.
- Keep it supple: If your kitchen is very dry, you can place a very slightly damp (not wet) second towel over the cake as it cools to lock in humidity.
- Trim the edges: Before you unroll and fill the cake, use a sharp knife to trim a tiny sliver off the short edges. This gives you a much cleaner, sharper looking spiral.
- Do not overfill: Too much cream will squeeze out the sides and make it impossible to roll without cracking the outer layer of the sponge.
Storage and Make-Ahead
This cake stores wonderfully, making it a brilliant make-ahead dessert.
Fridge Time: Wrap the roll tightly in plastic wrap and store it in the refrigerator for up to 3 days. The sponge will absorb a little moisture from the cream, making it even softer on day two.
Freezer Option: You can absolutely freeze a Swiss roll. Wrap the filled and chilled cake in a layer of plastic wrap, followed by a layer of aluminum foil. Freeze for up to 2 months. Thaw it overnight in the fridge before serving.
Serving Ideas
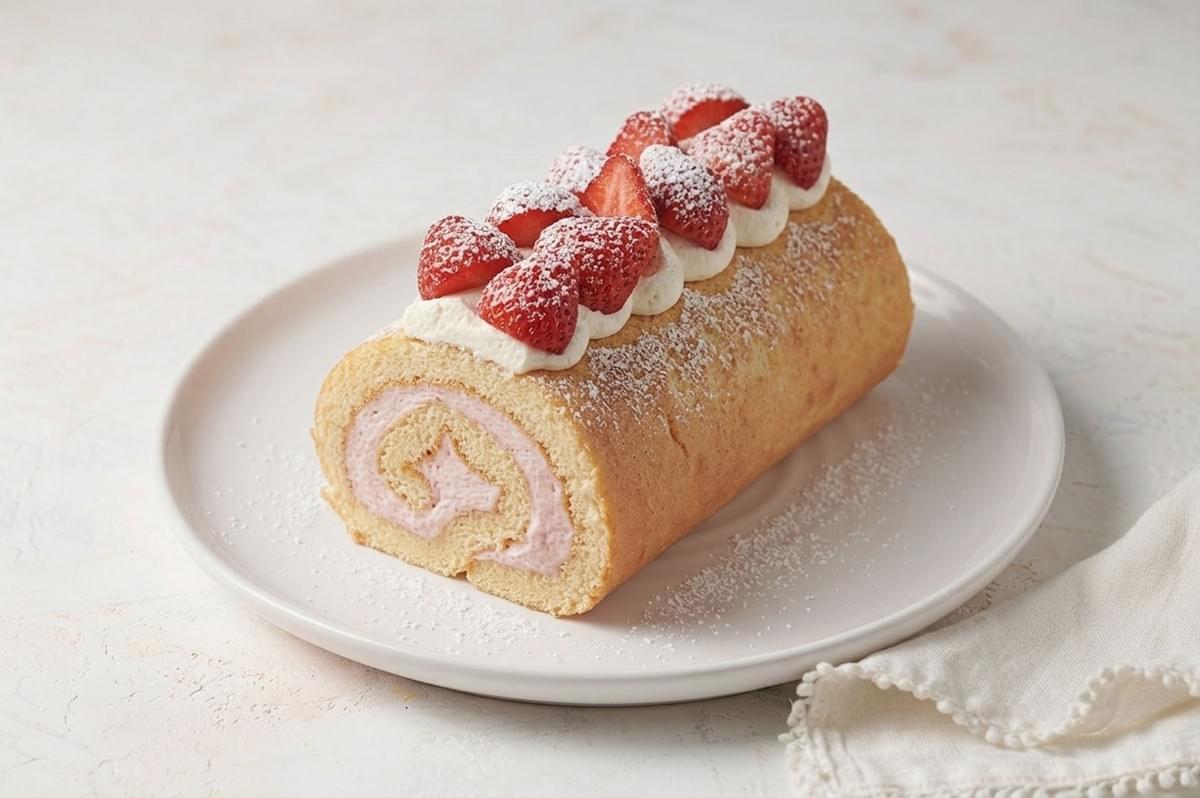
A perfect spiral deserves a beautiful presentation. Here are a few sweet ideas.
- Give it a heavy snowfall of powdered sugar right before serving.
- Serve each slice with a handful of fresh, tart berries.
- Dust the top with a fine layer of rich cocoa powder.
- Drizzle melted dark chocolate in a zigzag pattern over the top of the log for a bakery-style finish.
Recipe Card
Swiss Roll Cake
Ingredients:
- 4 large eggs (room temperature)
- 1/2 cup (100g) granulated sugar
- 3/4 cup (90g) cake flour
- 1/2 teaspoon vanilla extract
- 1/4 teaspoon salt
- Powdered sugar (for dusting)
- 1.5 cups heavy whipping cream (whipped with 3 tablespoons powdered sugar for filling)
Instructions:
- Preheat oven to 350 F (175 C). Grease a 10x15 inch jelly roll pan and line it with parchment paper.
- In a large bowl, beat the eggs and sugar on high speed for 5 to 7 minutes until pale, thick, and at the ribbon stage. Beat in the vanilla and salt.
- Sift the cake flour over the egg mixture. Gently fold the flour in with a spatula until just combined.
- Pour the batter into the prepared pan and spread evenly. Bake for 10 to 12 minutes until the top springs back when touched.
- Lay a clean kitchen towel flat and dust generously with powdered sugar. Invert the hot cake immediately onto the towel.
- Peel off the parchment paper. Starting at the short end, roll the cake and the towel up together into a tight log.
- Place the rolled cake on a wire rack and let it cool completely (about 1 hour).
- Carefully unroll the cooled cake. Spread the whipped cream evenly over the surface, leaving a small border around the edges.
- Re-roll the cake gently without the towel.
- Wrap the finished cake in plastic wrap and chill in the fridge for at least 1 hour before slicing.
Sweet Success
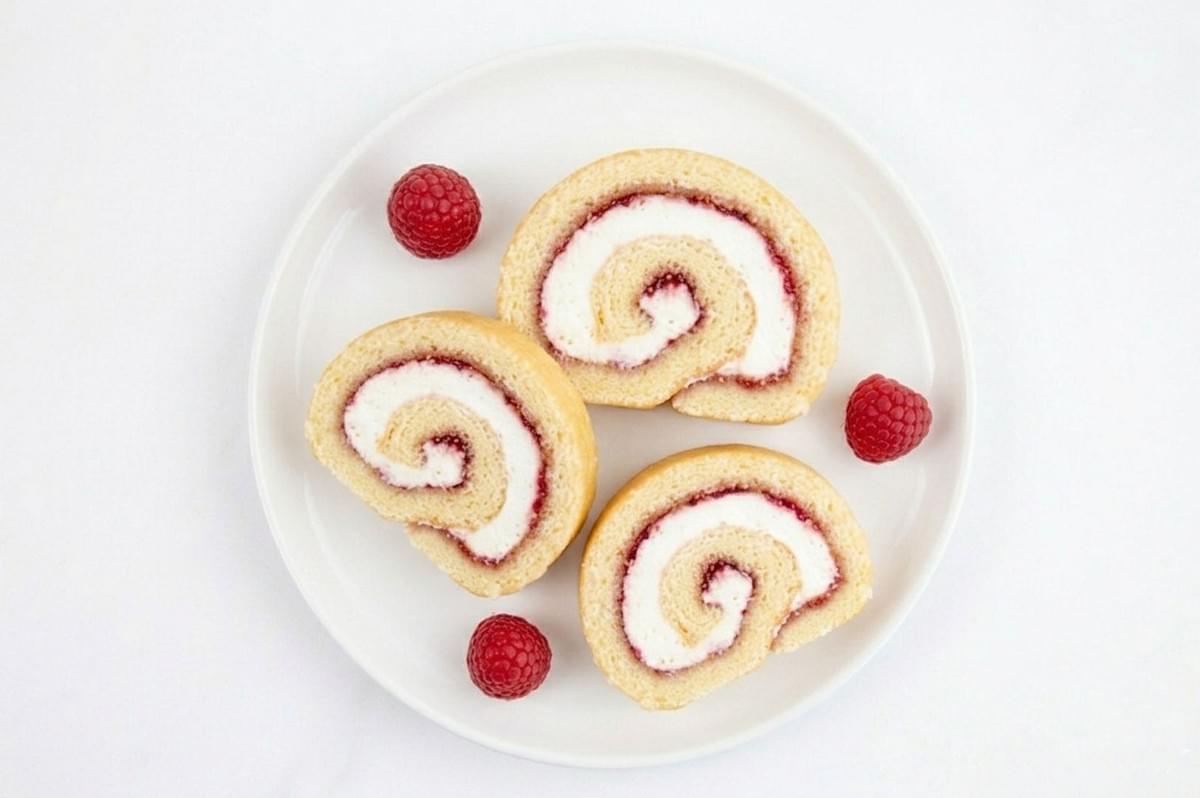
Baking should bring you joy, not stress. With these simple tips, a warm towel, and a gentle touch, you can conquer the crack-free Swiss roll once and for all. Bake it bright, roll it tight, and treat yourself to a beautiful bite. Happy baking, and please share your gorgeous, swirly creations with us!
