

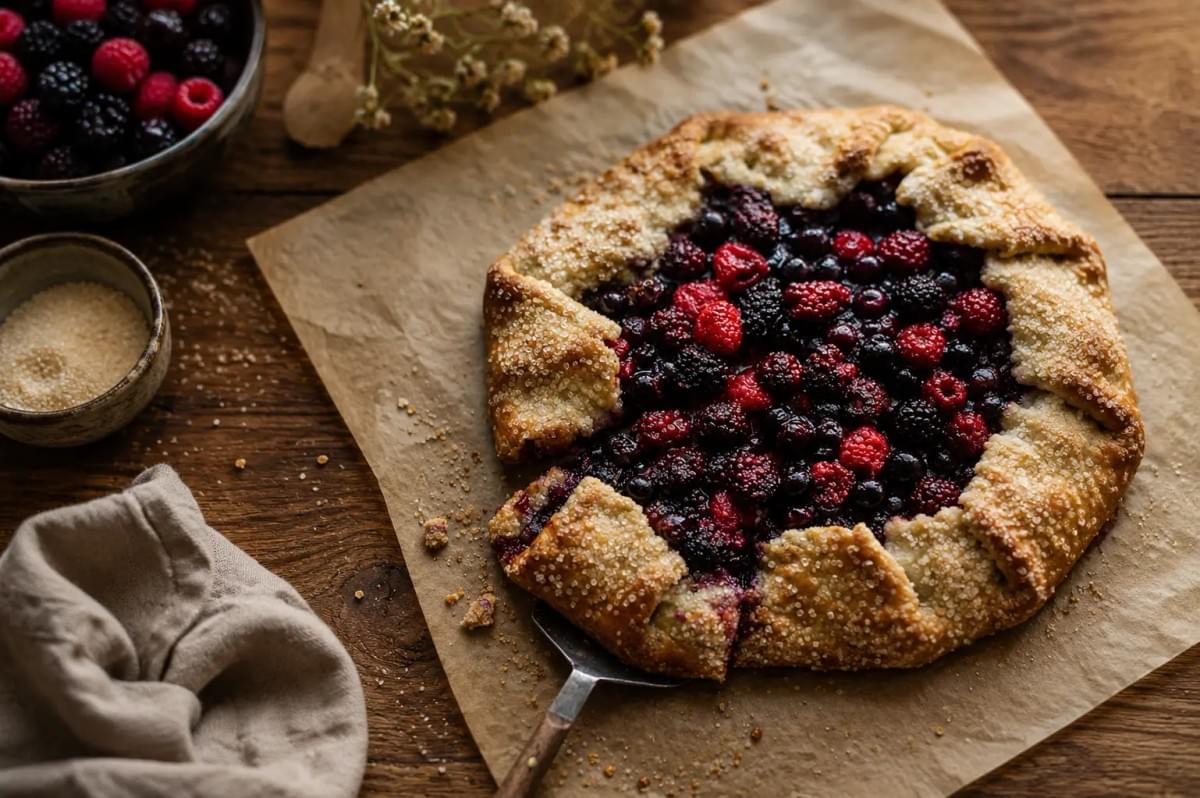
Here is the good news, right up front: this is a dessert that looks better when it looks a little wonky. No perfect crimped edges. No lattice that took an hour and a small crisis. Just fruit, folded up in a blanket of buttery dough, baking until the juices bubble over and caramelize on the pan.
If a pie is the one that shows up in a pressed dress, a galette is the one that shows up in a comfy sweater and somehow still steals the room.
So what is a galette, exactly? It is a free-form tart. You roll out one round of dough, pile fruit in the middle, and fold the edges up and over, leaving the center open. No pie dish, no fuss, no fear. The rustic look is not a flaw. It is the whole point. That is why bakers love it, and why I think you will too.
Let me walk you through it.
What You'll Love About This Mixed Berry Galette
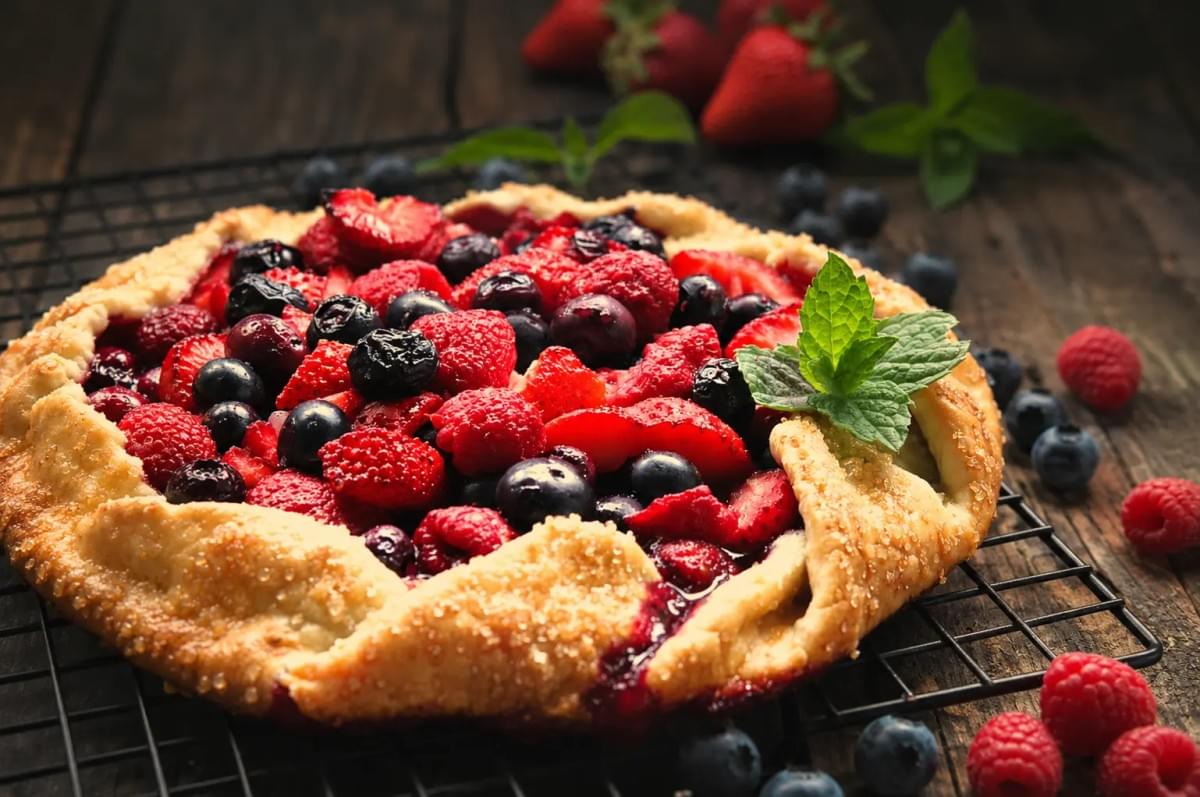
- It is genuinely easy. If you can fold a paper airplane, you can fold this.
- The fruit is flexible. Use whatever berries you have, fresh or frozen.
- That crust bakes up flaky, golden, and a little sturdy at the edge.
- Almost no special equipment. A bowl, a pan, a rolling pin, done.
- It looks impressive with hardly any effort, which is my favorite kind of baking.
Ingredients
For the Crust
- 1 1/4 cups (160 g) all-purpose flour
- 1 tablespoon sugar
- 1/4 teaspoon salt
- 1/2 cup (115 g) cold unsalted butter, cut into small cubes (cold is everything here)
- 3 to 4 tablespoons ice water
For the Berry Filling
- 3 cups (about 450 g) mixed berries (strawberries, blueberries, raspberries, blackberries, any mix you like)
- 1/3 cup (65 g) sugar (a little less if your berries are very sweet)
- 1 tablespoon cornstarch (this thickens the juices so the center sets instead of running)
- 1 teaspoon lemon juice, plus a little zest if you like (lemon wakes up the fruit and keeps it bright)
- A pinch of salt
For Finishing
- 1 egg, beaten (or a splash of milk) for brushing the crust
- 1 to 2 tablespoons coarse sugar, for sparkle and crunch
- Optional: a little lemon zest or a few thyme leaves tucked into the fruit for a quiet, grown-up note
Equipment
- A baking sheet
- Parchment paper
- A rolling pin
- Two mixing bowls
- Measuring cups and spoons
Nothing exotic. If you have made cookies, you already have what you need.
Step-by-Step Instructions
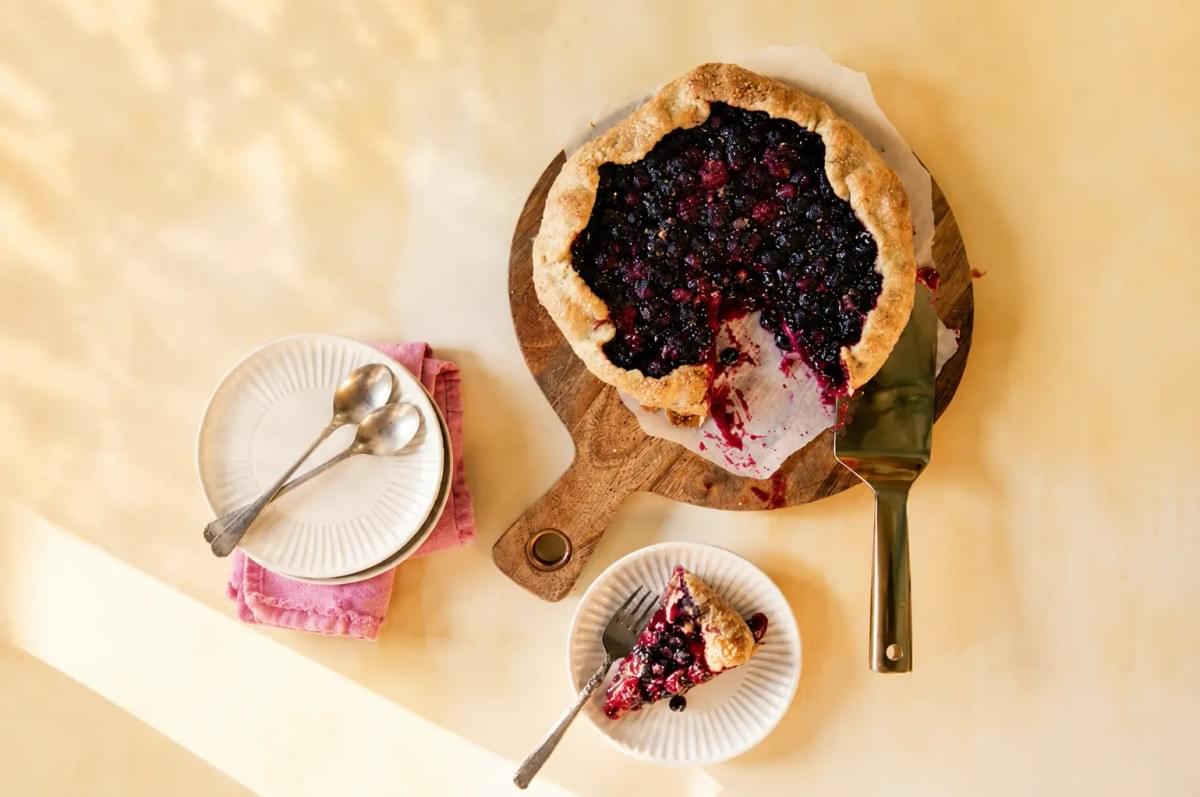
Read through once before you start. The rhythm is simple: mix, chill, fill, fold, bake.
- Make the dough. In a bowl, stir together the flour, sugar, and salt. Add the cold butter cubes and work them in with your fingers or a pastry cutter until the mixture looks like coarse crumbs with some pea-sized bits of butter still visible. Those little butter pieces are what make the crust flaky, so do not overwork them into a paste.
- Add the water. Drizzle in the ice water one tablespoon at a time, tossing gently, until the dough just holds together when you squeeze a handful. It should feel shaggy, not wet. Stop as soon as it clumps.
- Chill it. Gather the dough into a disk, wrap it, and chill for at least 30 minutes. This rest lets the butter firm up and the flour relax, which means a tender crust that rolls out without fighting you. Do not skip it.
- Make the filling. While the dough rests, toss the berries with the sugar, cornstarch, lemon juice, and a pinch of salt. If you are using big strawberries, slice them first. Let it sit a few minutes so the fruit starts to glisten.
- Roll the dough. On a piece of parchment, roll the chilled dough into a rough circle about 12 inches across and roughly 1/8 inch thick. Rough is fine. Cracks at the edge are fine. This is a galette, not a geometry test. Slide the parchment and dough onto your baking sheet.
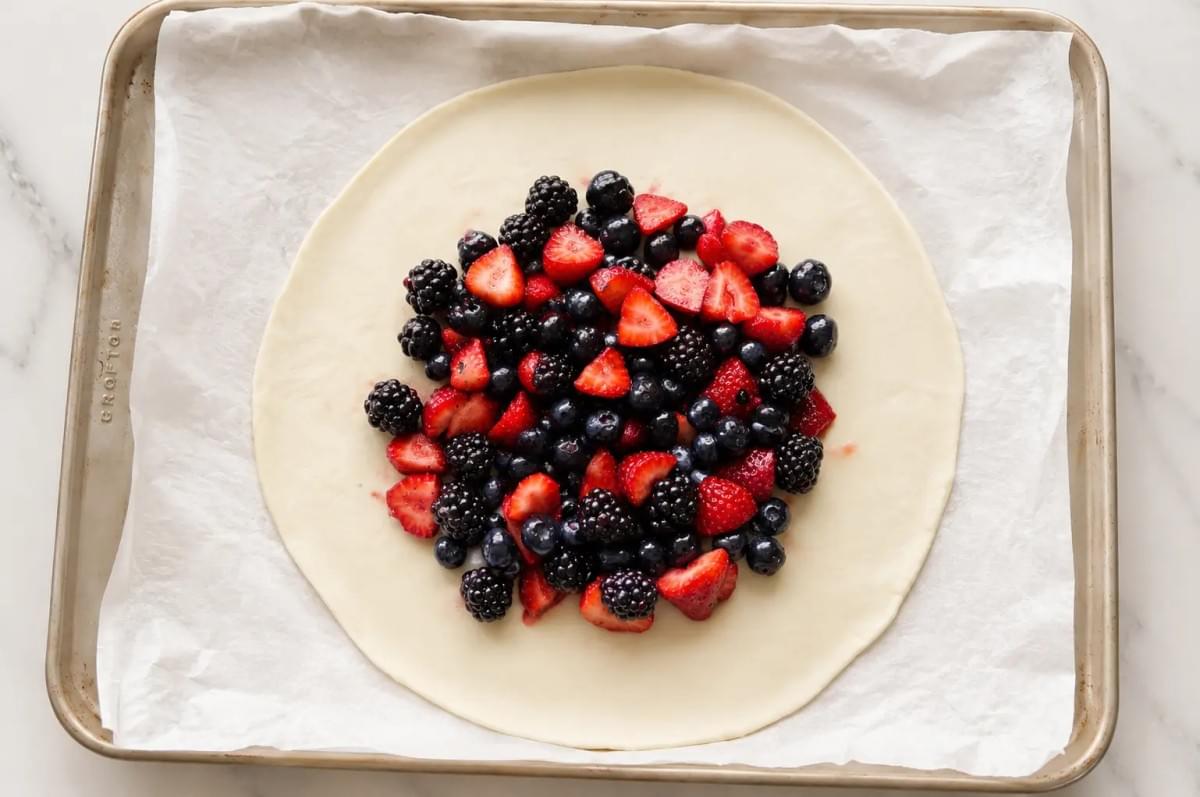
- Mound the berries. Spoon the berries into the center, leaving a 2-inch border of bare dough all the way around. Here is a small but mighty tip: leave most of the extra liquid behind in the bowl. Too much juice is the number one cause of a soggy bottom.
- Fold the edges. Lift and fold the border up and over the fruit, working your way around, pleating the dough as you go. It will overlap and pucker in spots. Perfect. That is exactly the look you want.
- Chill again (optional but smart). If your kitchen is warm and the dough has gone soft, pop the shaped galette in the fridge for 15 minutes. Cold dough holds its shape and bakes up flakier.
- Finish and bake. Brush the folded crust with the beaten egg (or milk) and scatter coarse sugar over it. Bake at 400°F (200°C) for 35 to 45 minutes, until the crust is deep golden and the berry juices are bubbling thickly in the center. If it browns unevenly, rotate the pan halfway through.
- Cool before slicing. Let it rest at least 20 minutes. This is the hardest step, I know. But the filling needs time to set, and a warm-not-molten galette slices far more cleanly.
Tips for Success
A few small things make a real difference.
- Beat the soggy bottom. Use the cornstarch, leave the extra fruit juice in the bowl, and consider sprinkling a thin layer of ground almonds, breadcrumbs, or a spoonful of flour over the dough before the berries go on. That layer soaks up stray juice and keeps the base crisp.
- Frozen berries work. Do not fully thaw them, or they turn to mush. Toss them frozen with a little extra cornstarch (about half a tablespoon more), and add a few minutes to the bake time. Expect a bit more juice.
- Dough troubleshooting. Too crumbly and dry? Add a teaspoon of ice water at a time until it holds. Too sticky? Chill it longer and dust with a little flour. Cracked edges while folding? Just press them gently back together. No one will know.
- For golden browning. The egg wash gives shine and color, the coarse sugar adds crackle, and rotating the pan keeps things even. A hot oven does the rest.
Flavor Variations
Once you have the basic galette down, it is yours to play with.
- Berry and peach. Add a few thin peach slices to the berries for a late-summer feel.
- Almond kiss. Stir a quarter teaspoon of almond extract into the fruit. It pairs beautifully with berries.
- Orange bright. Swap the lemon for orange zest and a squeeze of orange juice.
- Crumble top. Scatter a simple oat-and-butter crumble over the fruit before folding for extra texture.
- Mini galettes. Divide the dough into four small rounds and make personal-sized ones. Great for a little dinner party, and even cuter.
Serving Suggestions
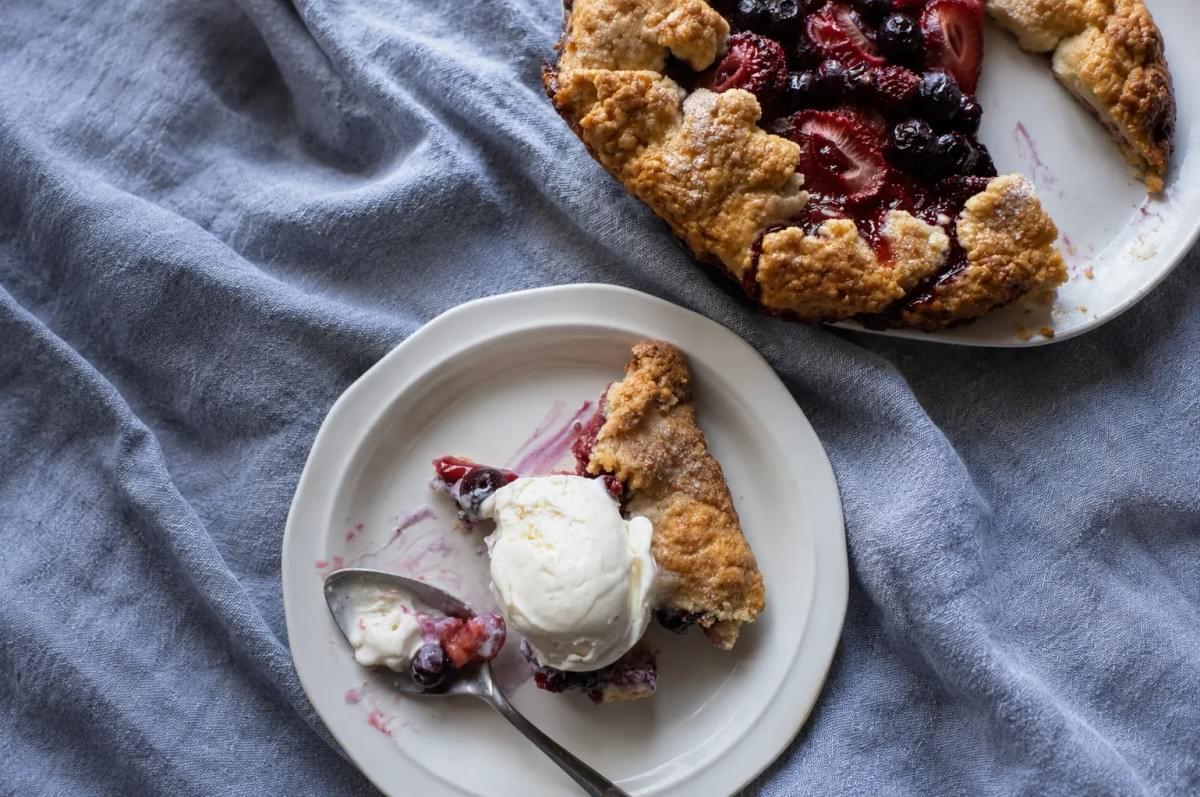
Warm from the oven, a scoop of vanilla ice cream slowly melting into the fruit is hard to beat. Softly whipped cream works too, and a spoon of plain yogurt adds a nice tang if you want something lighter.
A dusting of powdered sugar makes it look like you fussed far more than you did. And honestly? It is lovely chilled the next morning, straight from the fridge, eaten standing at the counter with a cup of coffee. No judgment here.
Storage and Make-Ahead
At room temperature, cover it loosely and enjoy within a day. In the fridge, it keeps for up to 3 days, though the crust softens a little when cold.
To bring back the crisp, reheat slices in a 350°F (175°C) oven for about 10 minutes. The microwave works in a pinch, but the crust will go soft.
Planning ahead? The dough is your friend. Make it up to 3 days in advance and keep it wrapped in the fridge, or freeze it for up to 2 months. Thaw frozen dough overnight in the fridge before rolling.
Go Make a Mess (a Delicious One)
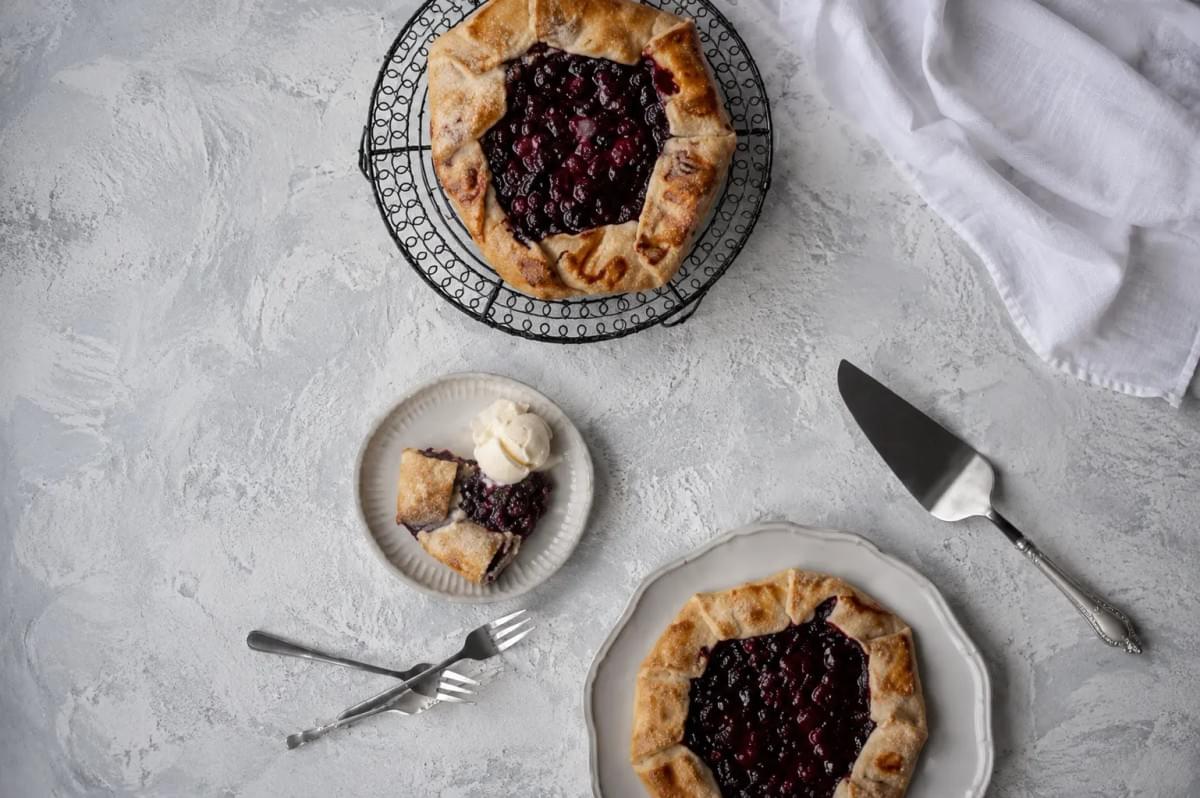
That is the whole beauty of a galette. It asks you to relax. To fold imperfectly. To let the juices run where they want and call it charm.
So roll out the dough, pile on the berries, and fold it up your own way. Bake it until your kitchen smells like a bakery and the pan is dotted with sticky, caramelized fruit.
Then cut a slice, pour some tea or coffee or a tall glass of lemonade, and share it with someone. Or don't. Some galettes are meant to be eaten quietly, one slice at a time, standing right there in the kitchen. Happy baking, friends.
Craving more recipes like this one? Head over to Our Food Rhythms for more kitchen inspiration, seasonal ideas, and feel-good food to cook at home.
