

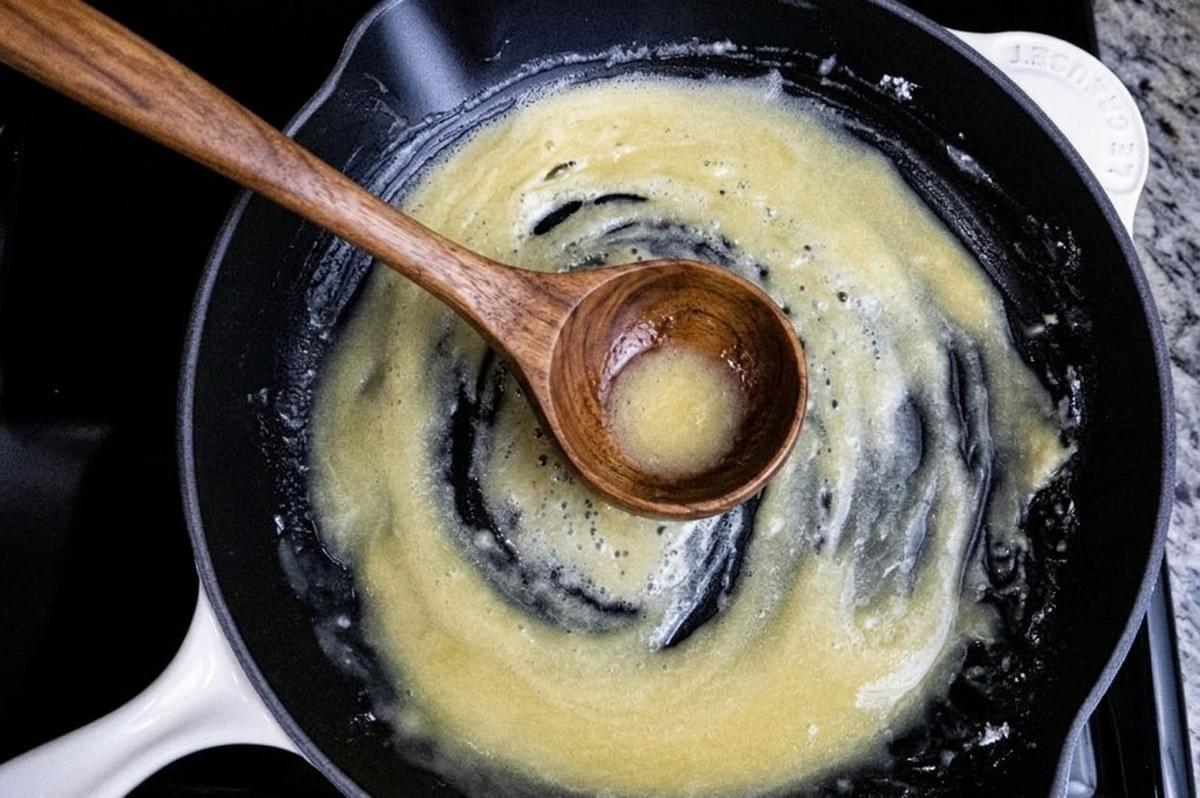
Every confident home cook eventually encounters a recipe that asks them to "make a roux." Whether you are preparing a comforting macaroni and cheese, a rich Thanksgiving gravy, or a complex Louisiana gumbo, mastering this foundational technique is absolutely essential.
While the concept of cooking flour and fat together sounds simple, the execution requires patience, attention to detail, and a basic understanding of culinary science. A properly executed roux acts as the architectural backbone of your dish.
What Exactly is Roux?
At its core, a roux is a mixture of equal parts fat and flour cooked together over heat. This mixture serves as the starting point for three of the five classic French mother sauces (béchamel, velouté, and espagnole) and acts as the flavor foundation for Cajun and Creole stews.
To understand why roux works, we must look at the science of starch. If you drop raw flour directly into hot liquid, the exterior of the flour clumps will instantly gelatinize. This creates an impenetrable seal that traps dry, raw flour inside, resulting in a lumpy and unappetizing sauce. By whisking the flour into melted fat first, you coat the individual starch granules in lipids. This fat barrier prevents the flour from clumping when liquid is introduced, allowing the starches to swell evenly and thicken the sauce smoothly.
The Four Stages of Roux (From White to Dark)
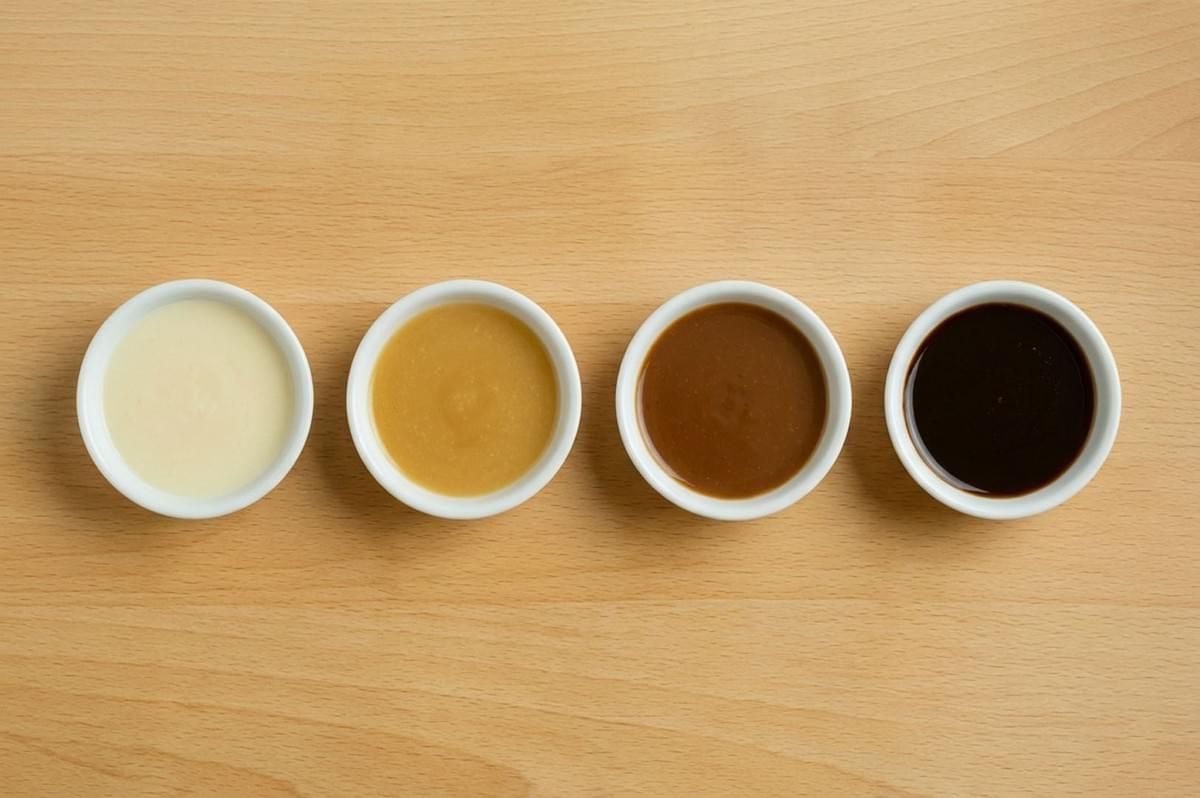
The longer you cook the flour and fat mixture, the darker it becomes. Culinary tradition categorizes roux stages into four primary colors.
White Roux
A white roux is cooked just long enough to eliminate the raw, pasty taste of the flour. The color remains very pale, resembling the shade of heavy cream.
- How to make it: Cook the flour and butter mixture over medium-low heat for roughly 2 to 5 minutes.
- Aroma: It smells faintly of warm pastry or baking bread.
- Best uses: This stage is used when you want maximum thickening power and a neutral color. It is the base for béchamel sauce, macaroni and cheese, white gravies, and creamy chowders.
Blond Roux
A blond roux is cooked slightly longer than a white roux. It takes on a pale golden hue, similar to the color of a manila envelope or light toast.
- How to make it: Continue cooking past the white stage for an additional 3 to 5 minutes (roughly 5 to 10 minutes total).
- Aroma: It smells like popcorn or lightly toasted nuts.
- Best uses: Blond roux is perfect for velouté sauce (made with chicken or veal stock). It adds a subtle richness without heavily coloring the final dish.
Brown Roux
A brown roux crosses the threshold from functional thickener to flavor enhancer. The color deepens to the shade of peanut butter or a shiny copper penny.
- How to make it: Cook over medium-low heat for 15 to 30 minutes, stirring constantly to prevent scorching.
- Aroma: The smell is distinctly nutty, similar to roasting pecans or baking savory crusts.
- Best uses: This stage is the backbone of espagnole sauce and classic brown gravies. It pairs beautifully with dark beef or mushroom stocks.
Dark Roux
A dark roux is the hallmark of Cajun and Creole cooking. It is cooked until it reaches the color of dark milk chocolate or strong coffee. Because it has cooked for so long, its thickening power is significantly diminished, but its flavor is intensely complex.
- How to make it: Cooking a dark roux requires profound patience. It can take anywhere from 30 to 45 minutes (or longer) over low heat. You must stir continuously.
- Aroma: It smells deeply roasted, earthy, and reminiscent of dark cocoa or dark roasted coffee beans.
- Best uses: Dark roux is strictly used for flavor and body in dishes like gumbo and étouffée.
Step-by-Step: How to Make Roux
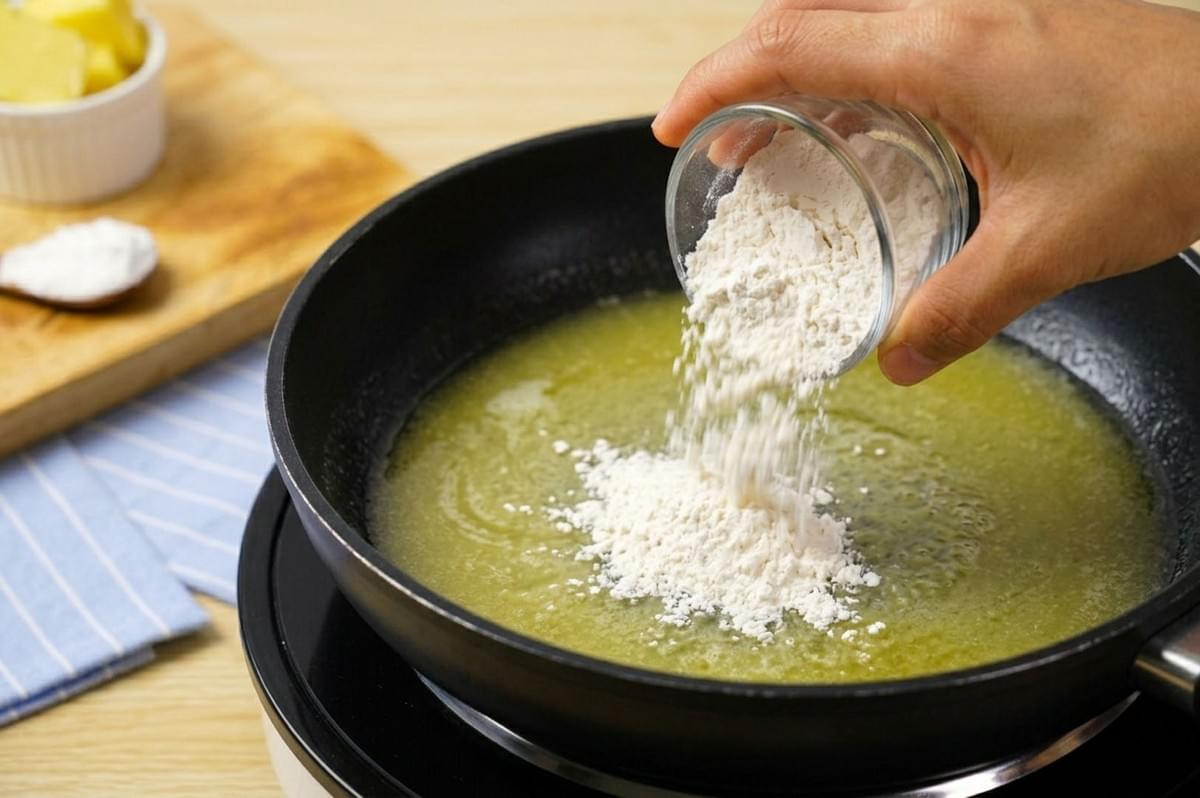
Mastering this technique requires attention to detail. Follow these steps to ensure a perfect result every time.
1. Measure your ingredients
The standard ratio for a roux is one part fat to one part flour by weight. While volume measurements (like one cup of oil to one cup of flour) are common in home kitchens, weighing your ingredients with a digital scale yields the most consistent results. If you must use volume, note that a cup of flour weighs less than a cup of fat, so your mixture will be slightly looser.
2. Choose your fat carefully
For white and blond stages, unsalted butter is the traditional choice because of its excellent flavor. However, butter contains milk solids that will burn over prolonged heat. If you are making a brown or dark roux, you must use a fat with a higher smoke point. Clarified butter, neutral cooking oil (like canola or vegetable oil), or traditional lard are the best choices for darker applications.
3. Combine and control the heat
Place a heavy-bottomed pot or skillet over medium-low heat. Cast iron or enameled cast iron works beautifully because of their even heat distribution. Melt your fat completely. Sprinkle the flour evenly over the melted fat.
4. Stir and monitor
Using a sturdy whisk or a flat-edged wooden spoon, immediately incorporate the flour into the fat. Stir continuously. The mixture will quickly form a smooth paste.
5. Look for visual and aroma cues
Do not rely solely on the clock. Heat levels vary wildly from stove to stove. Instead, rely on your senses. Watch the color transition from pale white to golden, and eventually to brown. Lean over the pot occasionally to smell the progression from raw flour to toasted nuts.
6. Respect the safety rules
A cooking roux is essentially culinary napalm. The mixture of hot oil and flour adheres to the skin and can cause severe burns. Never leave the pot unattended. Stir carefully to avoid splashing, and keep children and pets away from the stove.
Roux Troubleshooting Guide
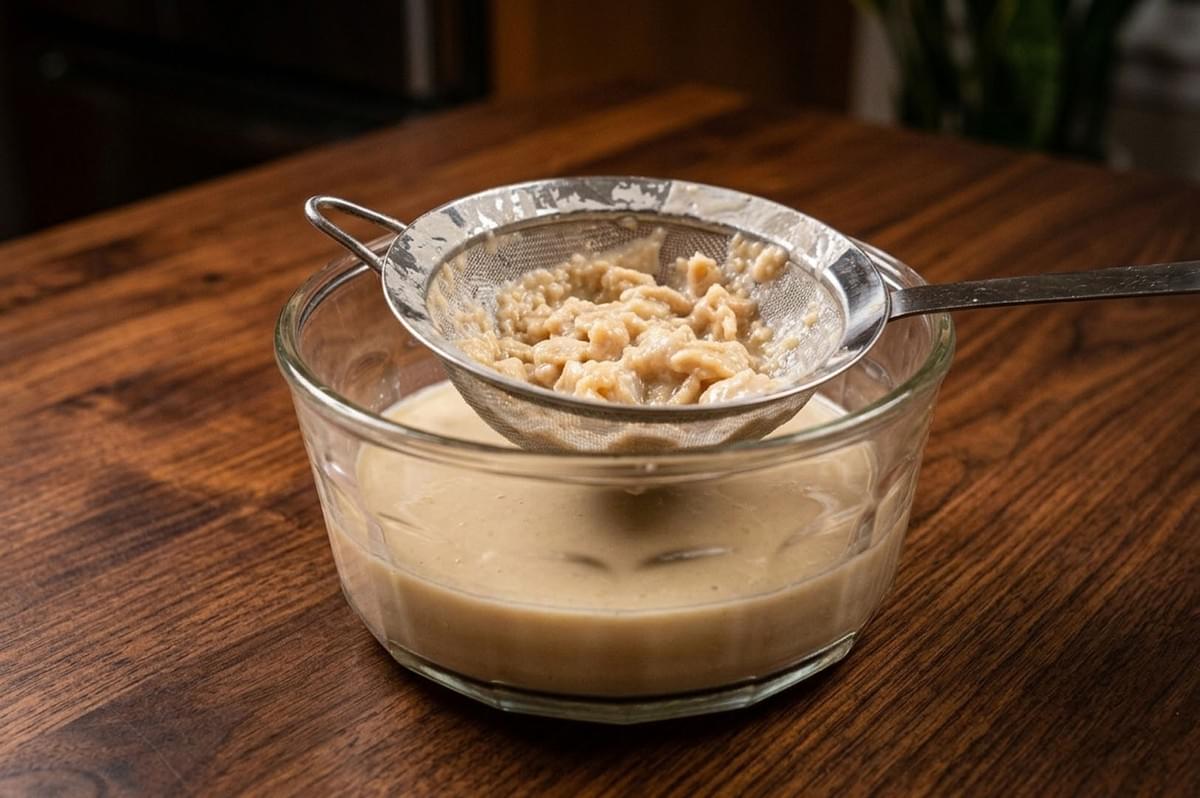
Even experienced cooks encounter occasional issues. Here is how to fix common problems during roux troubleshooting.
Lumps in the sauce: This usually happens if the liquid was added too quickly or the temperatures were mismatched. To fix this, remove the pot from the heat and whisk aggressively. If that fails, run the sauce through a blender or pour it through a fine-mesh sieve.
Black or burnt specks: If you see dark, black flakes floating in your mixture, the flour has scorched. The aroma will also take on an acrid, bitter scent. Unfortunately, there is no way to rescue a burnt roux. The bitter flavor will ruin your entire dish. You must discard it, wash the pot, and start over.
Greasy mouthfeel: A sauce that feels oily or separates as it cooks means you used too much fat in your initial ratio. Once the liquid is simmering, you can use a ladle to carefully skim the excess oil from the surface of the sauce.
Sauce is too thin: Remember that flour requires a simmering temperature to reach its full thickening potential. Bring the liquid to a gentle boil for a few minutes. If it is still too thin, your ratio of liquid to roux was too high. Do not add raw flour directly to the pot to fix it. Instead, mash equal parts softened butter and raw flour together in a small bowl (a mixture called beurre manié) and whisk small pieces of it into the simmering sauce.
Floury taste in the finished dish: This indicates that the white roux was not cooked long enough before the liquid was added. The flour must cook for at least two to three minutes to neutralize the raw starch flavor.
Storage and Make-Ahead Tips
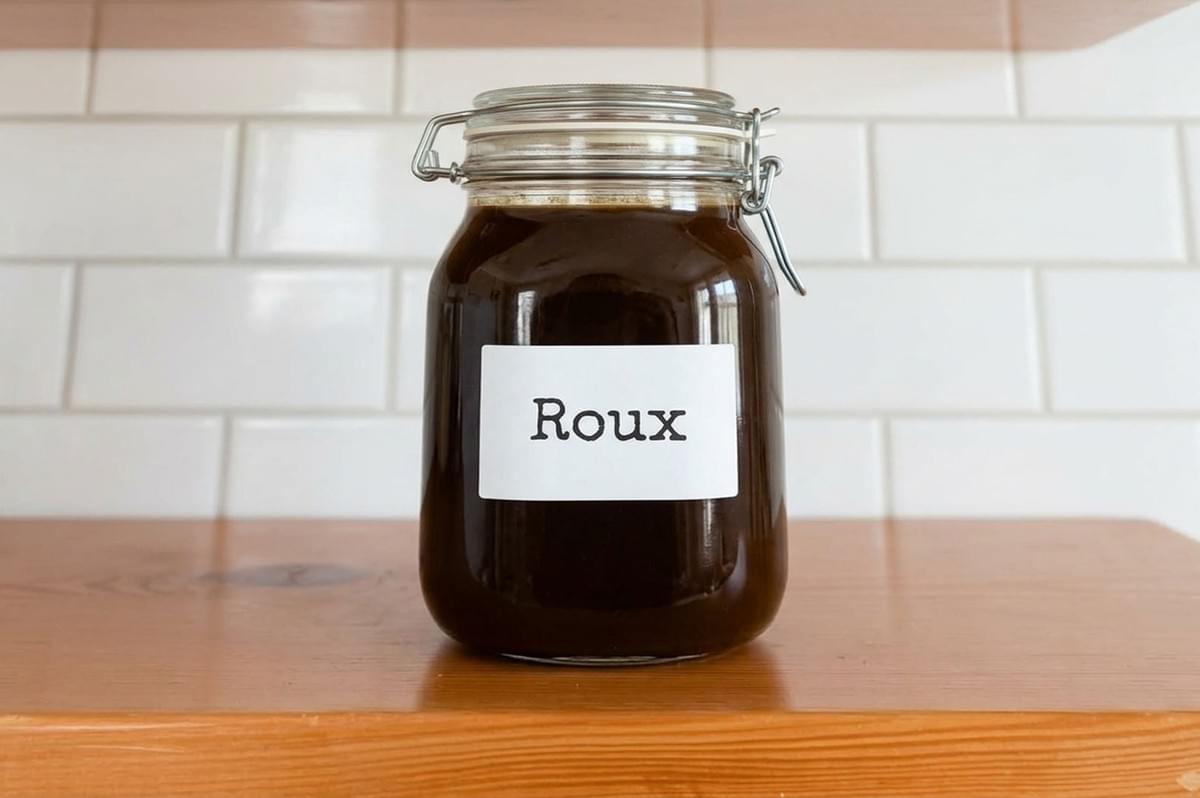
Making a dark roux is time-consuming, so many cooks prefer to make it in large batches and store it for future use.
To store your finished mixture, let it cool completely in the pot. Once it reaches room temperature, transfer it to a clean, airtight glass jar.
If you made the mixture with vegetable oil, it is shelf-stable and can be kept in a cool, dark pantry for several weeks. If you used butter or animal fat, you must store the jar in the refrigerator, where it will keep for up to three months. You can also freeze it in silicone ice cube trays for up to six months.
When you are ready to use cold, stored roux, simply bring your soup or stock to a simmer on the stove. Whisk the cold, solid paste directly into the hot liquid. It will melt and thicken the dish beautifully.
Conclusion: Mastering the Technique
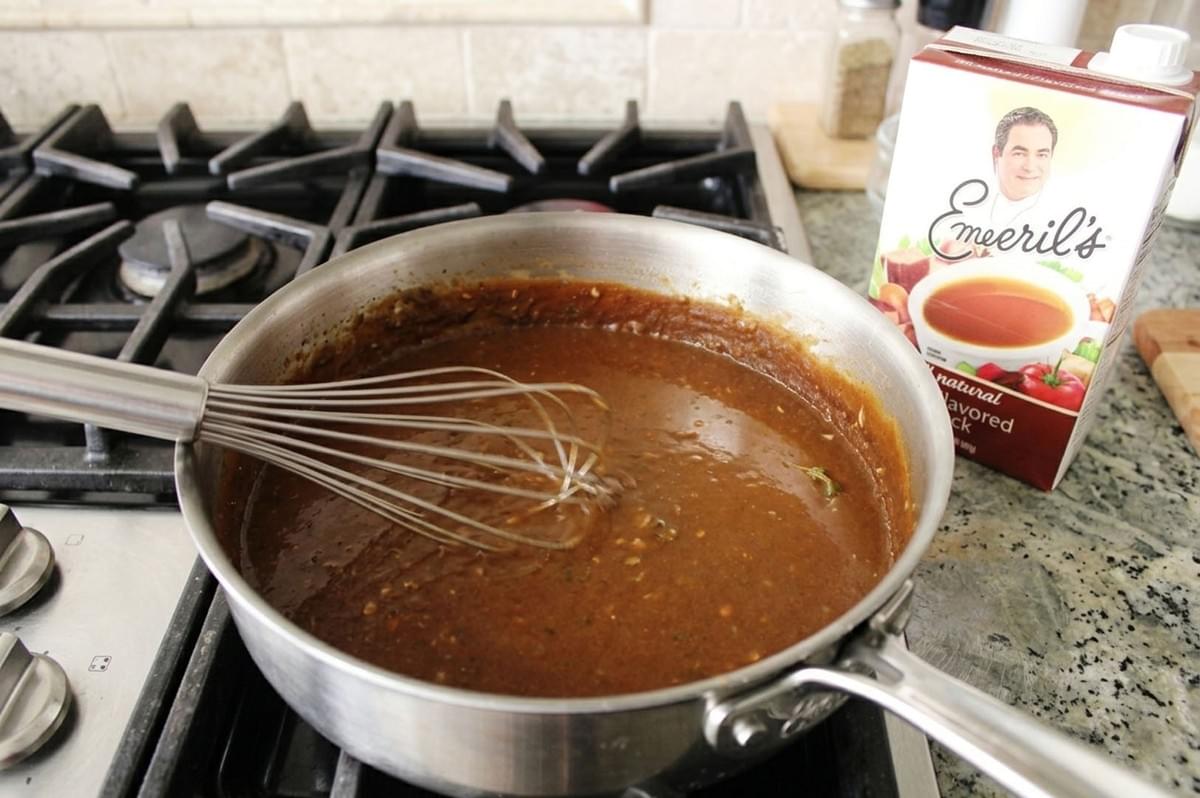
Understanding how to make roux is a transformative step in your culinary journey. By mastering this simple combination of fat, flour, and heat, you unlock the ability to create incredibly silky sauces, rich gravies, and deeply flavorful stews.
The secret lies in choosing the right roux stages for your specific recipe. Use a brief, white stage to build a velvety macaroni and cheese, and rely on a slow, dark stage to build an unforgettable pot of gumbo. Remember to trust your senses, manage your heat, and always keep whisking. With a little practice, this classic technique will become second nature in your kitchen.
