

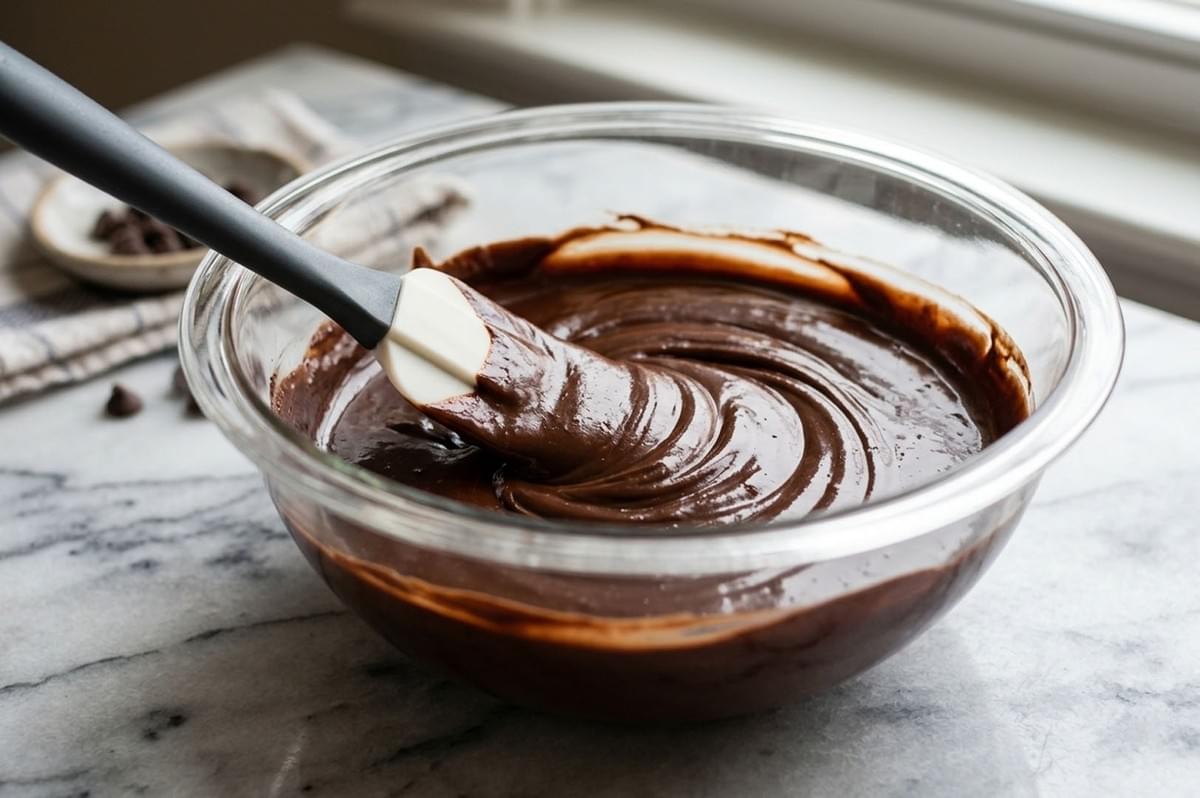
If there is one chocolate trick that will completely transform your baking game, it is mastering chocolate ganache. It sounds fancy, but ganache is simply chocolate and warm cream mixed together. This single, magical combination unlocks a whole universe of desserts.
Depending on how much cream you use compared to chocolate, this simple mixture can behave in totally different ways. That is why understanding chocolate ganache ratios is so incredibly important. By tweaking the math just a little bit, you can achieve three entirely different dessert goals: glossy cake drips, rich rolled truffles, and sliceable tart fillings. Let us dive into the kitchen and make some magic happen.
What Is Chocolate Ganache (and Why It Sometimes Misbehaves)
At its core, ganache is an emulsion. You are forcing the fat and cocoa solids in the chocolate to bond smoothly with the water and milk fat in the heavy cream.
Temperature matters immensely here. If your cream is boiling hot, it can burn the chocolate or separate the fats. If your cream is too cold, the chocolate will not melt evenly, leaving you with annoying little lumps.
Different chocolates also behave differently. Dark chocolate (around 60% to 70% cacao) is the standard for most recipes. Milk chocolate and white chocolate contain more dairy and sugar, making them much softer at room temperature. Because they are softer, they require less cream to set up properly.
The Ganache Ratio Cheat Sheet
Here are the golden rules for dark chocolate ganache ratios measured by weight.
- 2:1 Ratio (Two parts chocolate to one part cream): This creates a firm, rich truffle ganache. It is perfect for rolling into balls or creating very thick, pipeable fillings.
- 1:1 Ratio (Equal parts chocolate and cream): This is your classic ganache. It is ideal for thick cake frostings, macaroon fillings, and a silky tart ganache filling.
- 1:2 Ratio (One part chocolate to two parts cream): This makes a thin glaze. It is perfect for pouring over ice cream, soaking into sponges, or creating a beautifully thin ganache drip.
Important Note: If you are using milk or white chocolate, you almost always need to add more chocolate (or use less cream) than these standard ratios dictate, otherwise your mixture will end up too runny.
Ingredients and Tools
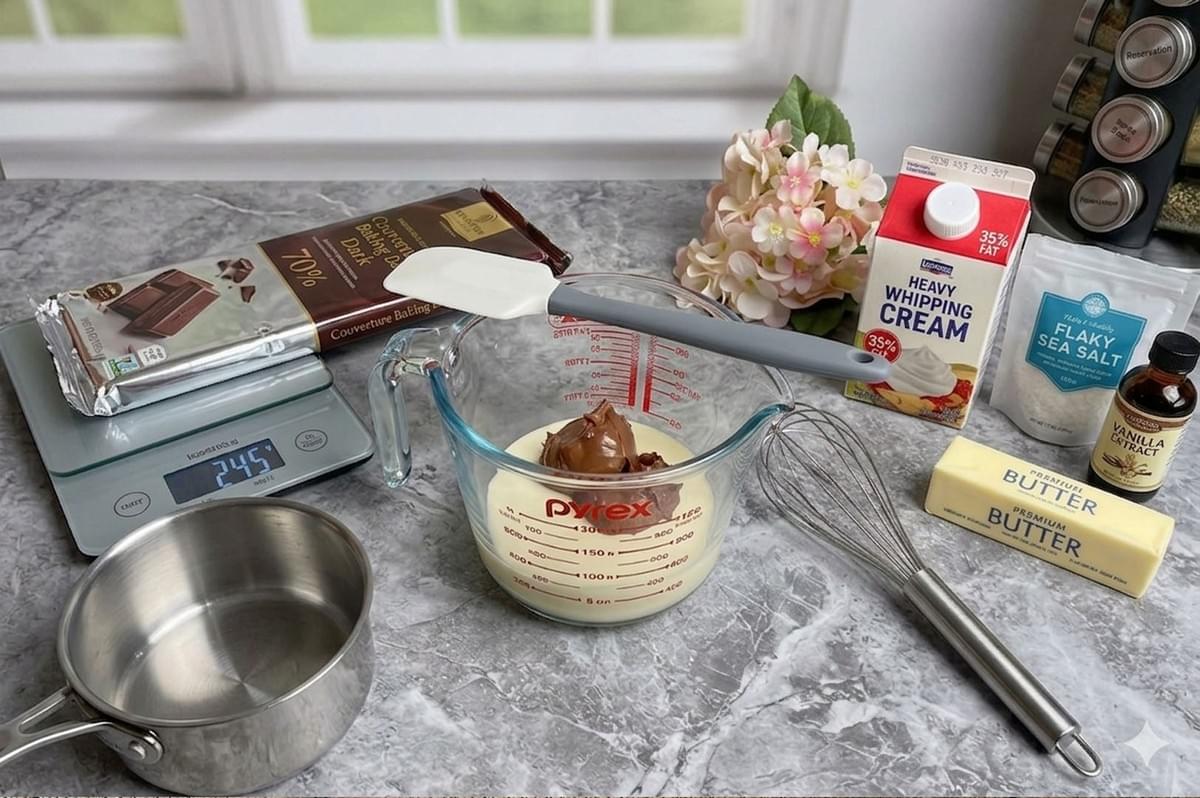
You do not need a fancy pastry kitchen to make ganache. Here is your basic checklist.
Ingredients:
- High-quality chocolate baking bars (avoid standard chips if possible)
- Heavy whipping cream (at least 35% fat)
- Optional flavorings (vanilla, salt, butter)
Tools:
- A heatproof glass or metal mixing bowl
- A whisk and a silicone spatula
- A kitchen scale (highly recommended for accurate ratios)
- A small saucepan (for the stovetop method) or a microwave
- An instant-read thermometer (optional, but helpful)
How to Make Ganache (Two Methods)
Whether you prefer the stove or the microwave, the goal is a glossy, smooth mixture with no oily puddles.
Method 1: The Stovetop Method
- Chop your chocolate very finely and place it in your heatproof bowl.
- Pour your heavy cream into a small saucepan and place it over medium heat.
- Watch the cream closely. Take it off the heat the exact moment it begins to simmer around the edges. Do not let it boil.
- Pour the hot cream over the chopped chocolate. Do not stir it yet! Let it sit undisturbed for 5 full minutes so the heat can gently melt the chocolate.
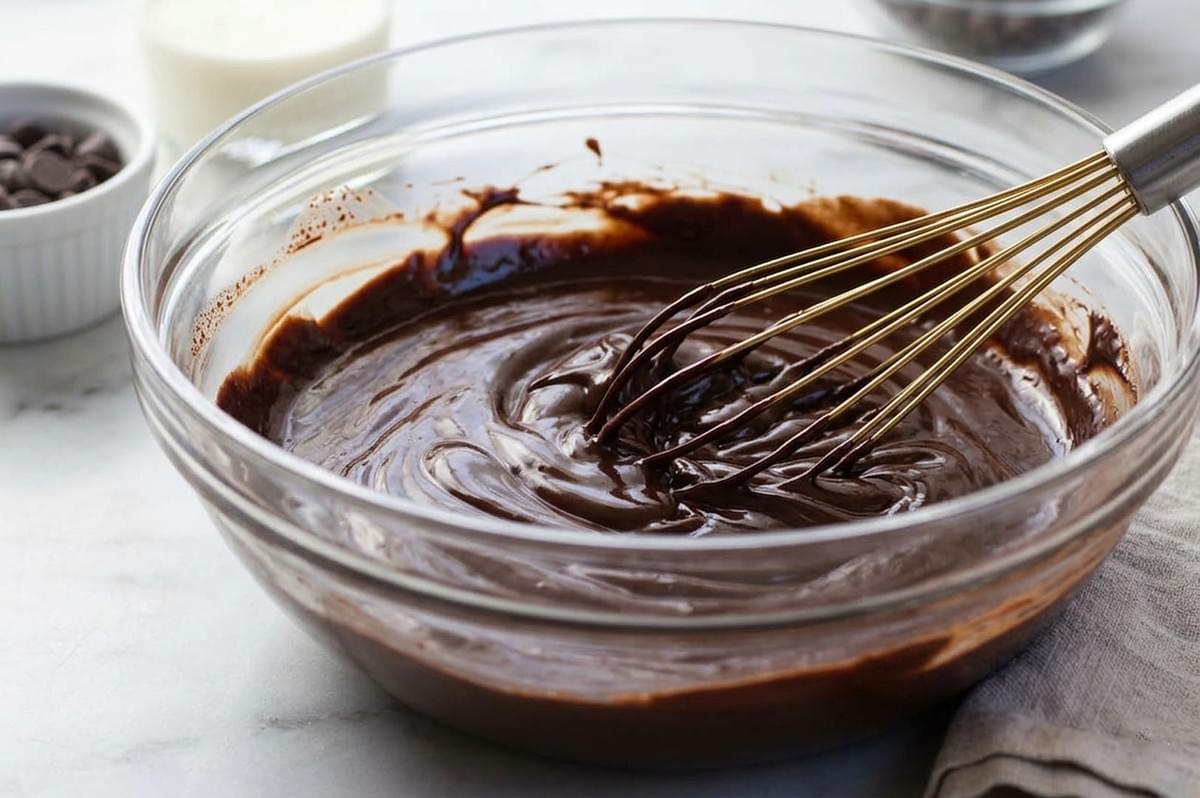
- Use a whisk to stir the mixture, starting in the very center in small, tight circles. As the emulsion forms in the middle, slowly widen your circles until the entire bowl is smooth and incredibly glossy.
Method 2: The Microwave Method
- Place your finely chopped chocolate and cold heavy cream together in a microwave-safe bowl.
- Heat the bowl in the microwave on 50% power for 30 seconds.
- Remove the bowl and gently stir.
- Return it to the microwave for another 20 seconds at 50% power. Stir again.
- Repeat this process until the mixture is mostly melted. Let the residual heat finish melting the last few stubborn lumps. Avoid overheating at all costs.
Use Case 1: Perfect Ganache Drip (Cakes and Cupcakes)
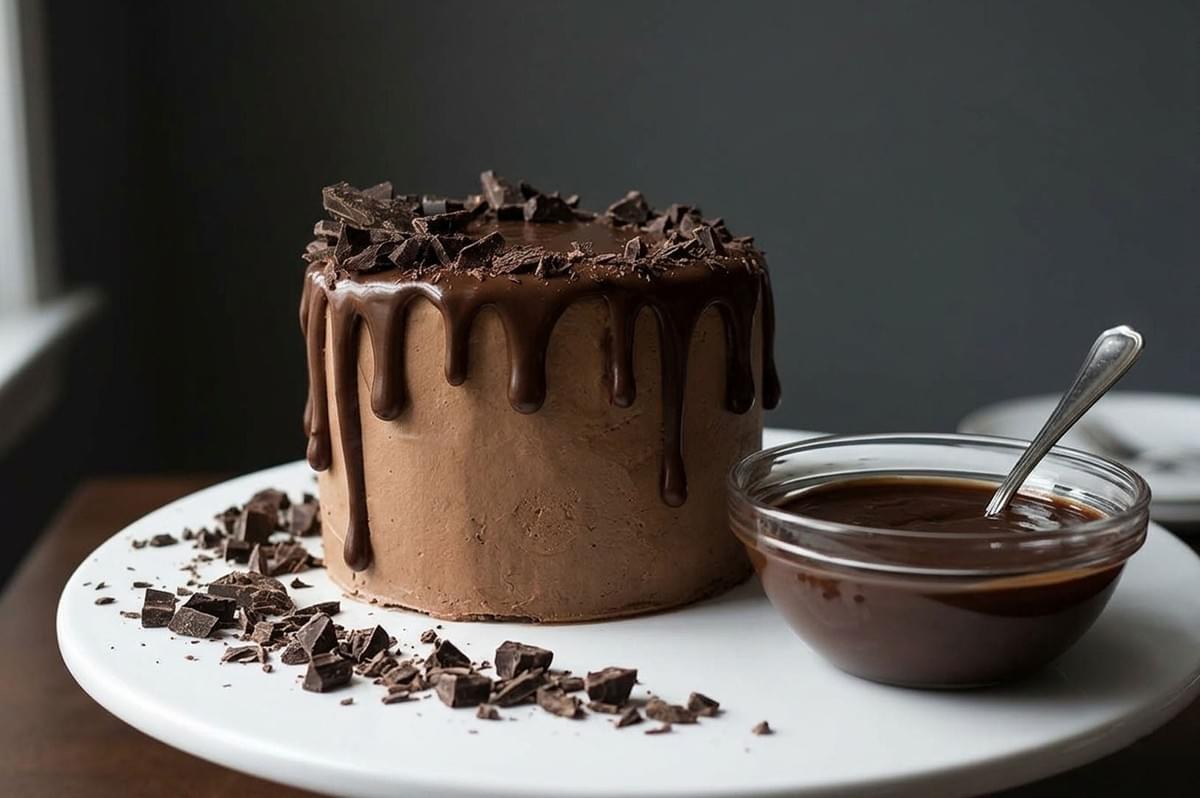
A beautiful ganache drip makes any layer cake look like it came from a professional bakery.
For a controlled, medium-thick drip using dark chocolate, a 1:1 ratio is a great starting point. If you want a slightly thinner flow, lean closer to 1 part chocolate and 1.5 parts cream.
Cooling is the secret to the perfect drip. If you pour ganache while it is hot, it will run all the way down the cake and pool on your cake stand. Let the ganache cool at room temperature for 10 to 15 minutes. Test it by letting a spoonful run down the inside of a cold glass.
Quick Troubleshooting:
- Too thick: Stir in a teaspoon of warm cream.
- Too thin: Let it cool for another 5 minutes to thicken up.
- Breaks or looks split: Your cake might be too cold, causing the drip to shock and seize.
- Dull finish: You may have overheated your cream.
Use Case 2: Truffles (Rolling, Coating, Flavoring)
Making handmade truffles feels luxurious, but it is wonderfully simple.
You will need the 2:1 firm truffle ganache ratio. For example, use 8 ounces (226g) of chocolate and 4 ounces (113g) of heavy cream. Once your ganache is mixed and smooth, pour it into a shallow dish. Press a piece of plastic wrap directly onto the surface and chill it in the fridge for 2 hours until it is firm enough to scoop.
Use a small cookie scoop or a melon baller to portion the ganache. Roll the portions quickly between your palms. To finish them, you can roll the sticky centers in cocoa powder, finely chopped toasted nuts, or colorful sprinkles. If you want a professional snap, dip them in a tempered chocolate shell.
Simple Flavor Variations:
- Espresso: Dissolve a teaspoon of instant espresso powder into the hot cream before pouring it over the chocolate.
- Orange Zest: Stir a tablespoon of freshly grated orange zest into the finished, warm ganache.
- Peanut Butter: Whisk two tablespoons of creamy peanut butter into the warm mixture until smooth.
Use Case 3: Tarts (Silky Filling)
A chocolate tart is an elegant dessert that requires surprisingly little effort.
For a beautifully sliceable tart ganache filling, stick to the classic 1:1 ratio. Once your mixture is emulsified, you can stir in a tablespoon of room-temperature unsalted butter. The butter adds a spectacular, mirror-like shine to the finished tart. Add a pinch of flaky sea salt and a splash of vanilla extract for extra depth.
Pour the warm filling directly into your pre-baked tart shell. Place the tart in the fridge to set for at least 2 to 3 hours. For the best flavor and a silky texture, pull the tart out of the fridge 30 minutes before serving.
Troubleshooting: Fix Common Ganache Problems
Chocolate can be temperamental, but almost any mistake is fixable.
- Split or greasy ganache: If your mixture looks like oily soup, the emulsion has broken. Do not throw it away! Vigorously whisk in a tablespoon of warm milk or warm water. The extra liquid will pull the fats and liquids back together.
- Seized chocolate: If your chocolate turns into a stiff, grainy paste, it has seized. This happens when a tiny drop of water gets into melting chocolate. Unfortunately, you cannot fix seized chocolate for ganache, but you can save it for baking brownies. Always keep your bowls completely dry.
- Grainy texture: This means your chocolate did not melt fully. Place the bowl over a pot of barely simmering water (a double boiler) and stir gently until the lumps disappear.
- Too soft or too firm: If it cools and is too soft for your needs, melt it gently and stir in more melted chocolate. If it is too firm, warm it up and whisk in a little extra warm cream.
Storage and Make-Ahead Tips
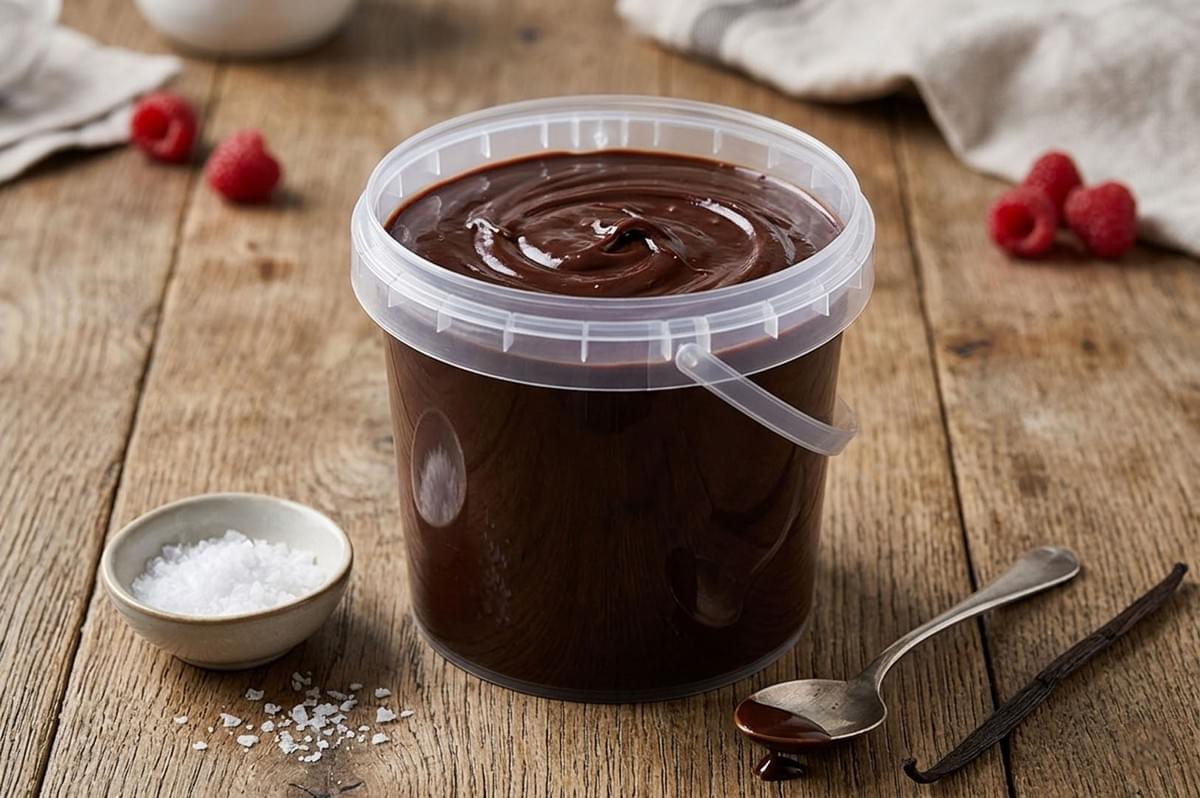
Ganache is incredibly friendly for make-ahead baking.
If you are using your ganache within two days, you can cover it tightly and leave it at room temperature. For longer storage, place it in an airtight container in the fridge for up to a week.
You can also freeze rolled truffles in a freezer-safe bag for up to three months. To reheat firm ganache, microwave it at 50% power in 10-second bursts, stirring gently until it reaches your desired consistency.
FAQs
Can I use chocolate chips?
You can, but they are not ideal. Chocolate chips contain stabilizers designed to help them hold their shape in the oven, which can make your ganache waxy or thick. Chopped baking bars melt much smoother.
Can I use half-and-half or milk?
Heavy whipping cream is necessary because the fat stabilizes the emulsion. Milk or half-and-half has too much water and will likely cause your mixture to seize or split.
Can I make ganache dairy-free?
Absolutely. Swap the heavy cream for full-fat canned coconut milk (scoop out the thick cream at the top of the can) and use high-quality vegan dark chocolate.
How do I whip ganache?
Make a 1:1 ratio ganache and let it cool completely until it is the texture of soft peanut butter. Use a hand mixer to whip it on medium speed for 2 minutes until it becomes pale and fluffy. Watch it closely, as it can become grainy if over-whipped.
How long does ganache last?
Because the high sugar content acts as a preservative for the cream, ganache will last 2 days at room temperature, 1 week in the fridge, or up to 3 months in the freezer.
Start Mixing
Do not let chocolate intimidate you. Now that you know the basic chocolate ganache ratios, you have everything you need to experiment with confidence. Grab your kitchen scale, pick out some good quality chocolate, and try your hand at a glossy cake drip first.
Once you see how simple it is to bring cream and chocolate together, you will be rolling truffles and pouring tarts before you know it. Happy baking!
